DIY: Boombox
I lost my JBL Flip bluetooth speaker, and I always wanted a bit more “boom”, so I decided to build a real boombox.
Few things I want to have:
- Has to be cheap
- Has to sound atleast OK
- Battery operated, with decent runtime
- Bluetooth, AUX
Optional, “nice to have”:
- Lightweight (I don’t really care about weight, but the boombox should be atleast “portable”)
- CD, Radio, USB
- Charger for phone
So, let’s get started!
Case
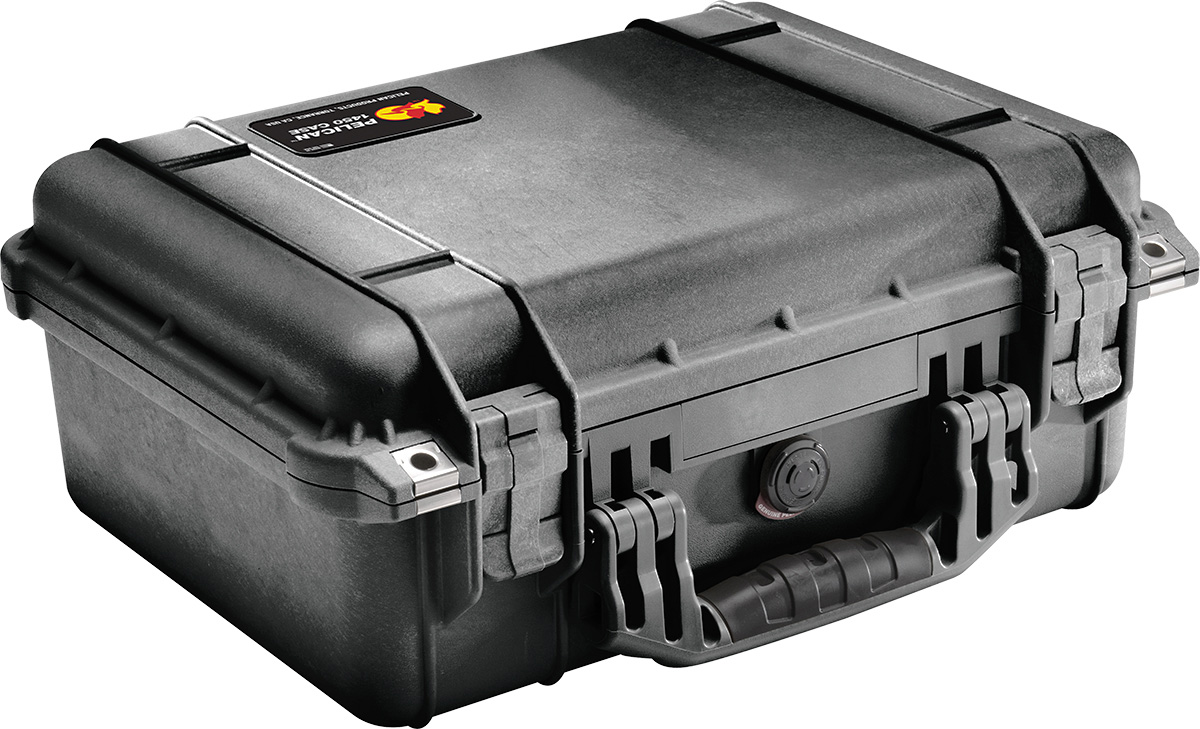
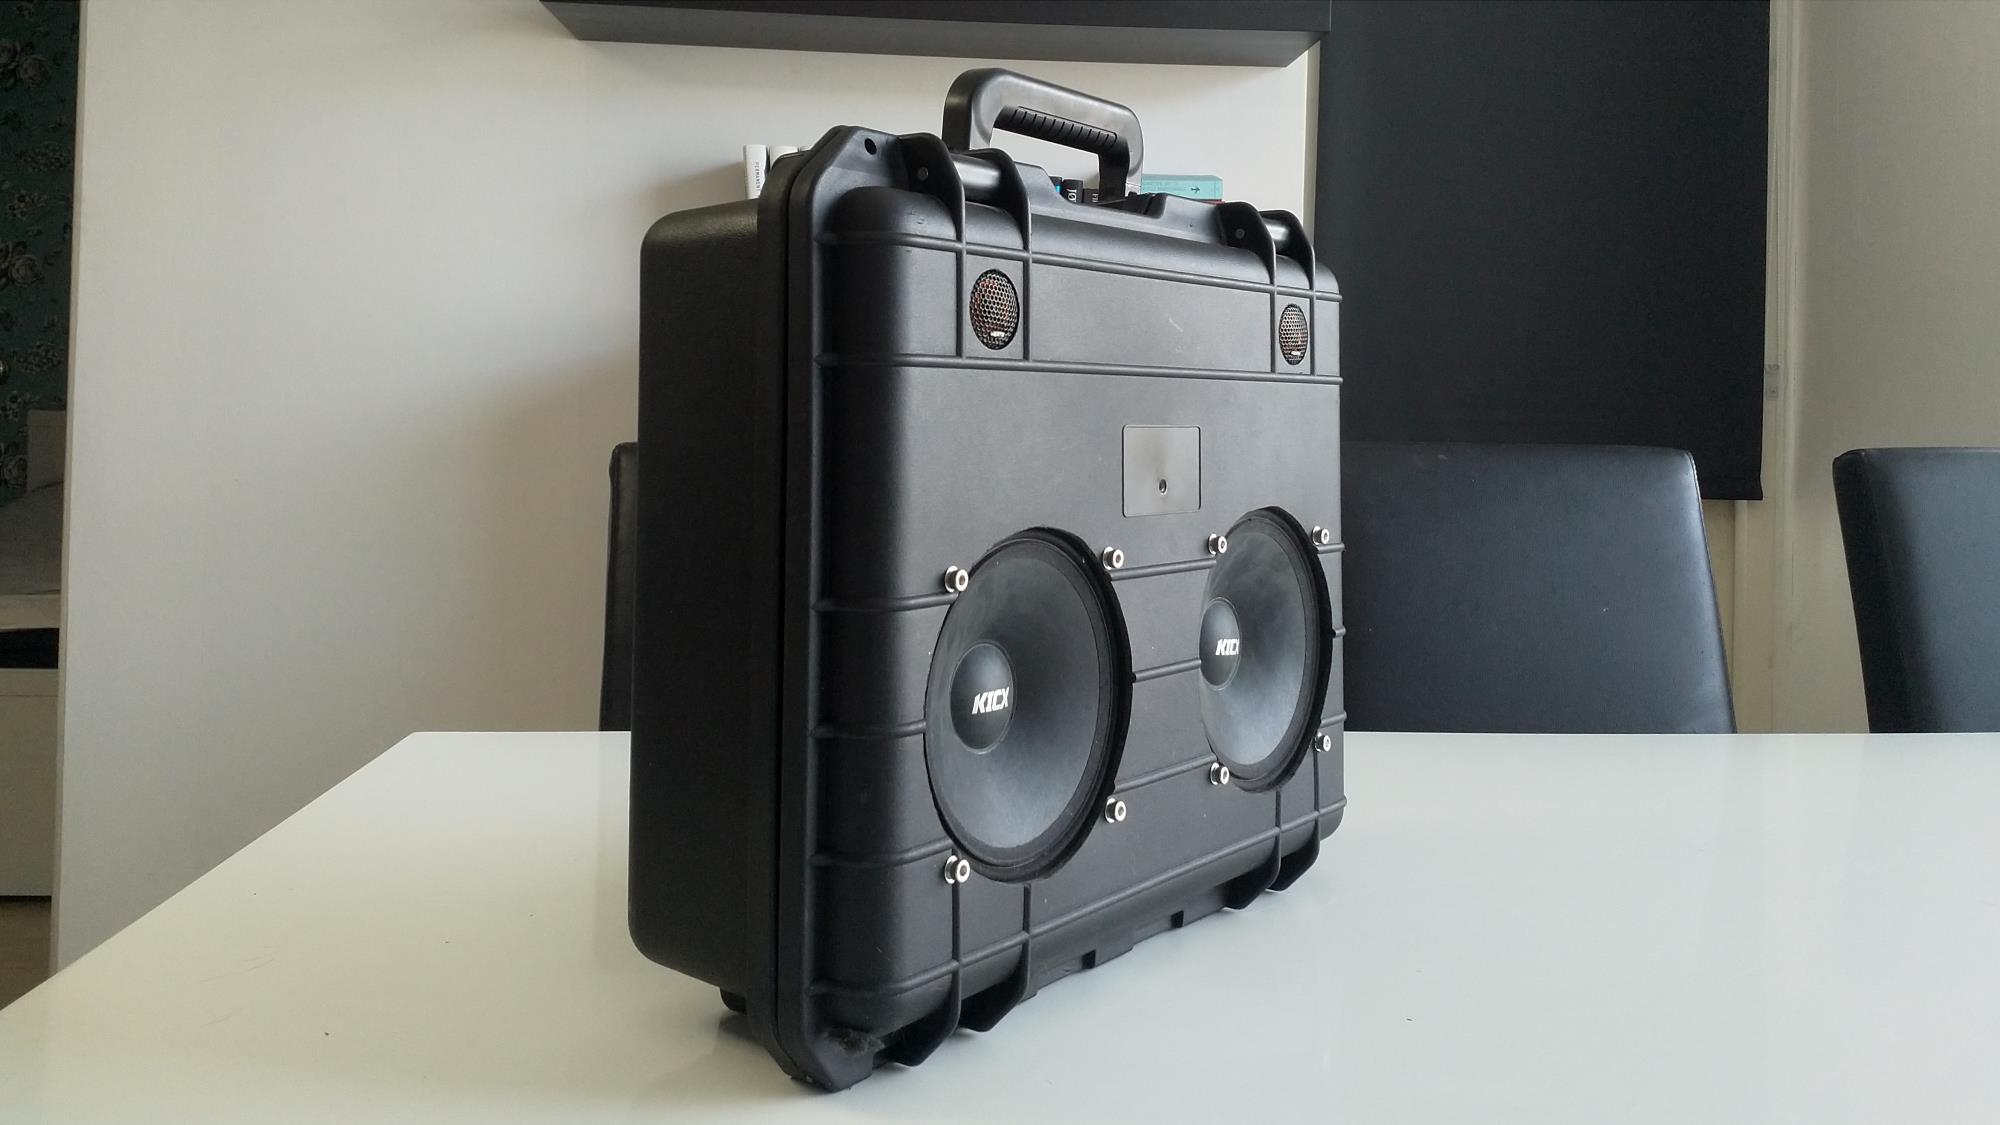
I had a older Pelican 1450 clone lying around, so I tought that hey, thats a perfect case for a boombox! The case itself is lightweight, made from glassfiber reinforced nylon, has a carrying handle, is airtight (important for that BASS) and looks pretty cool (black).
Speakers/crossover
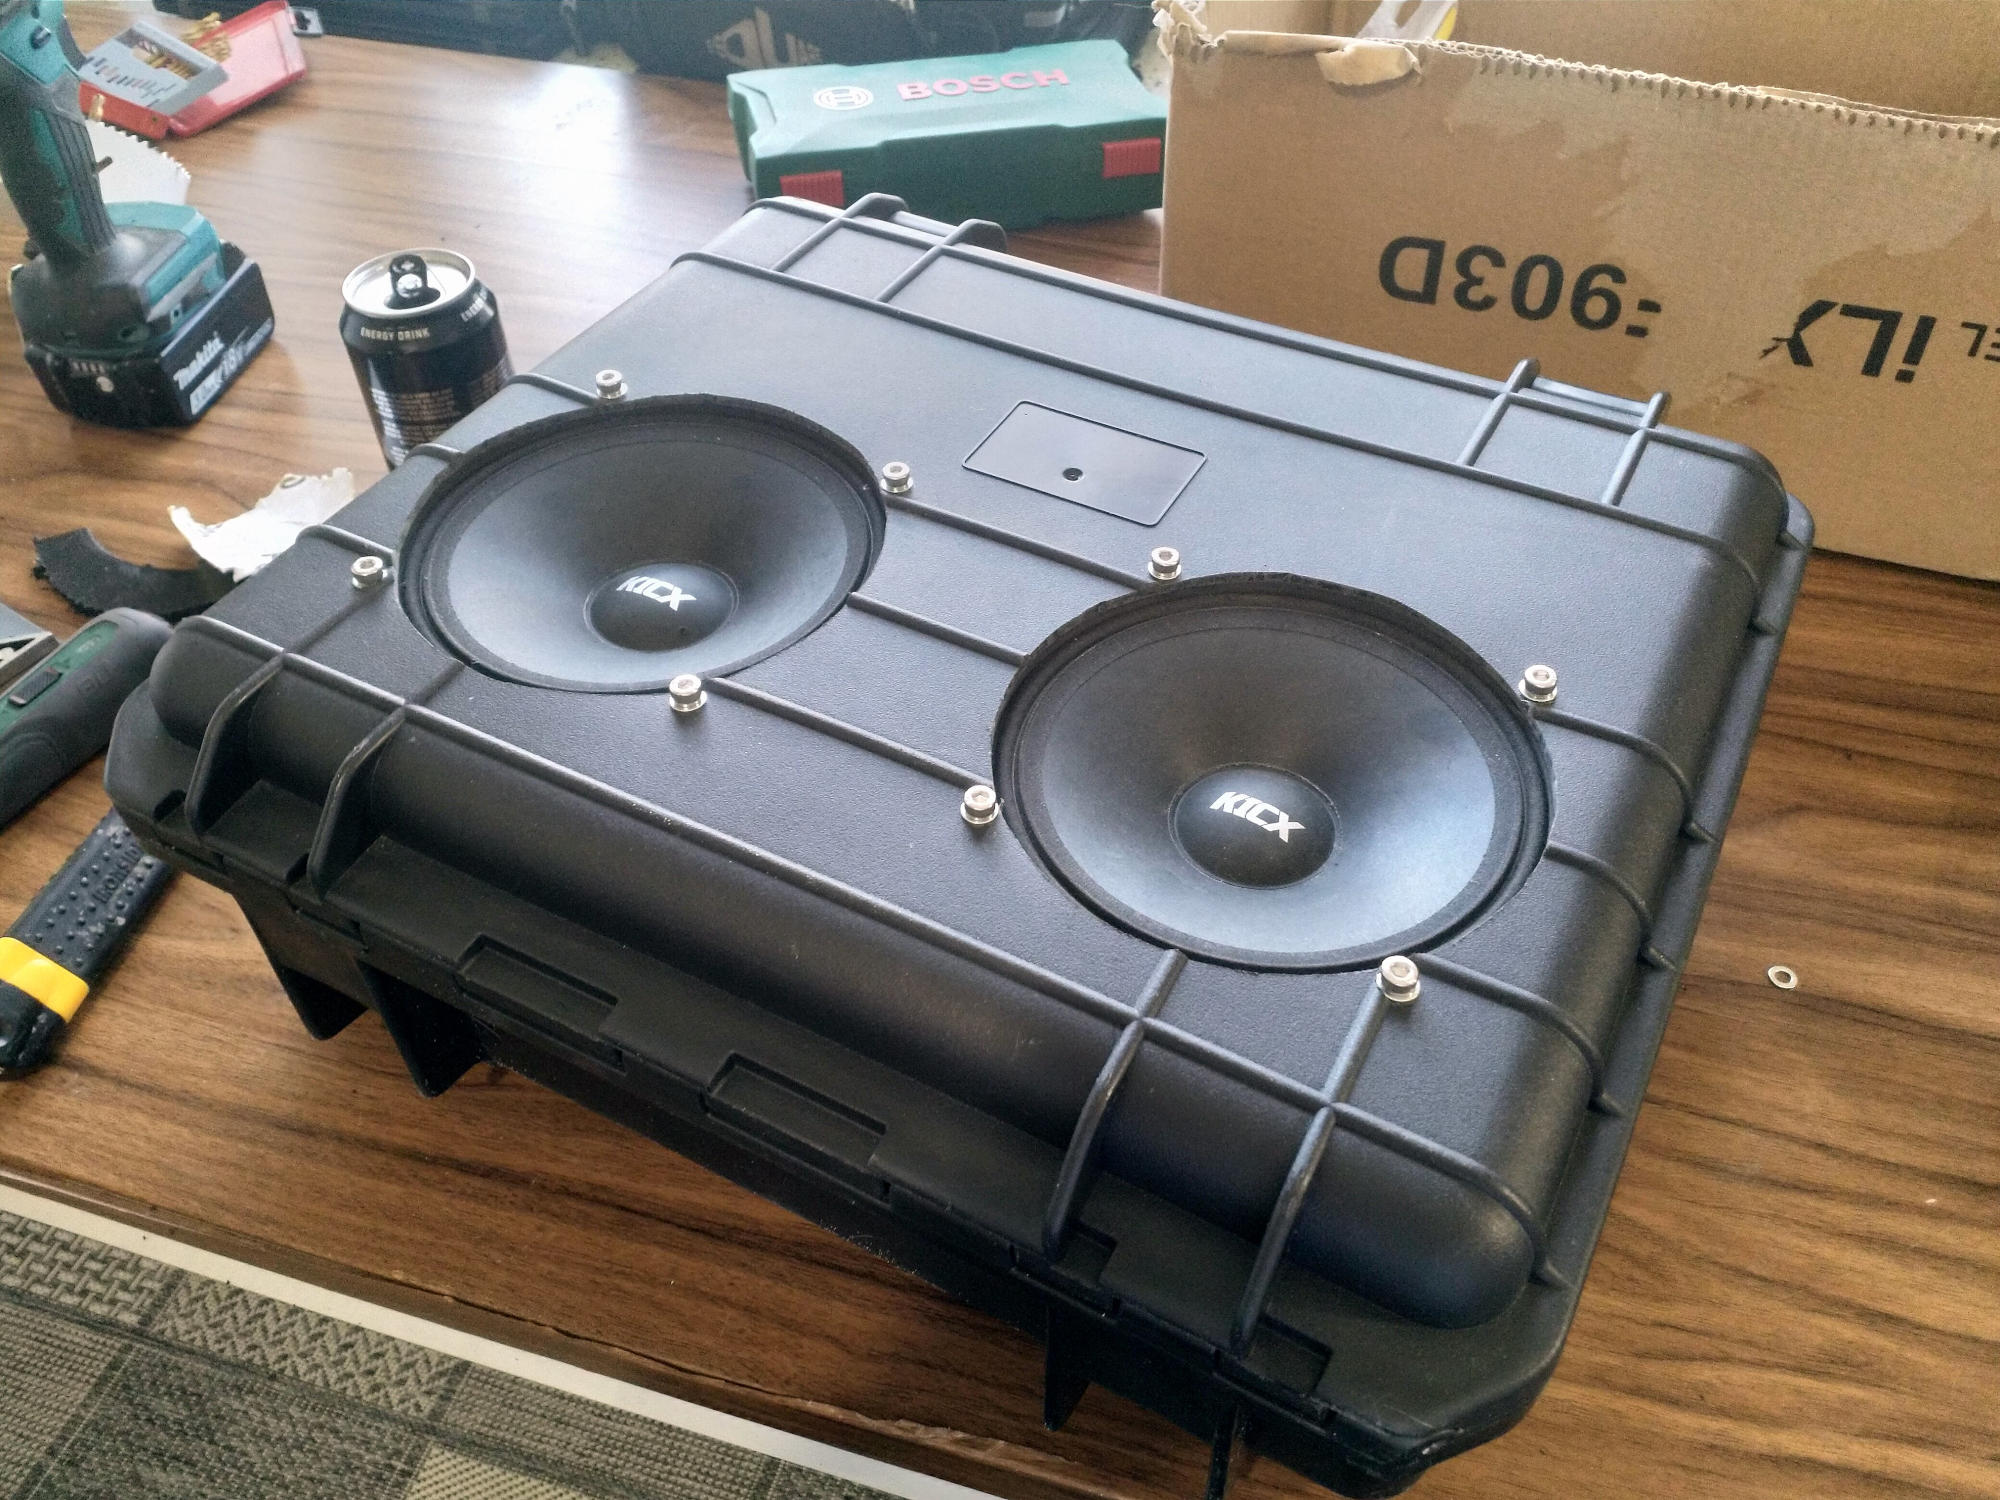
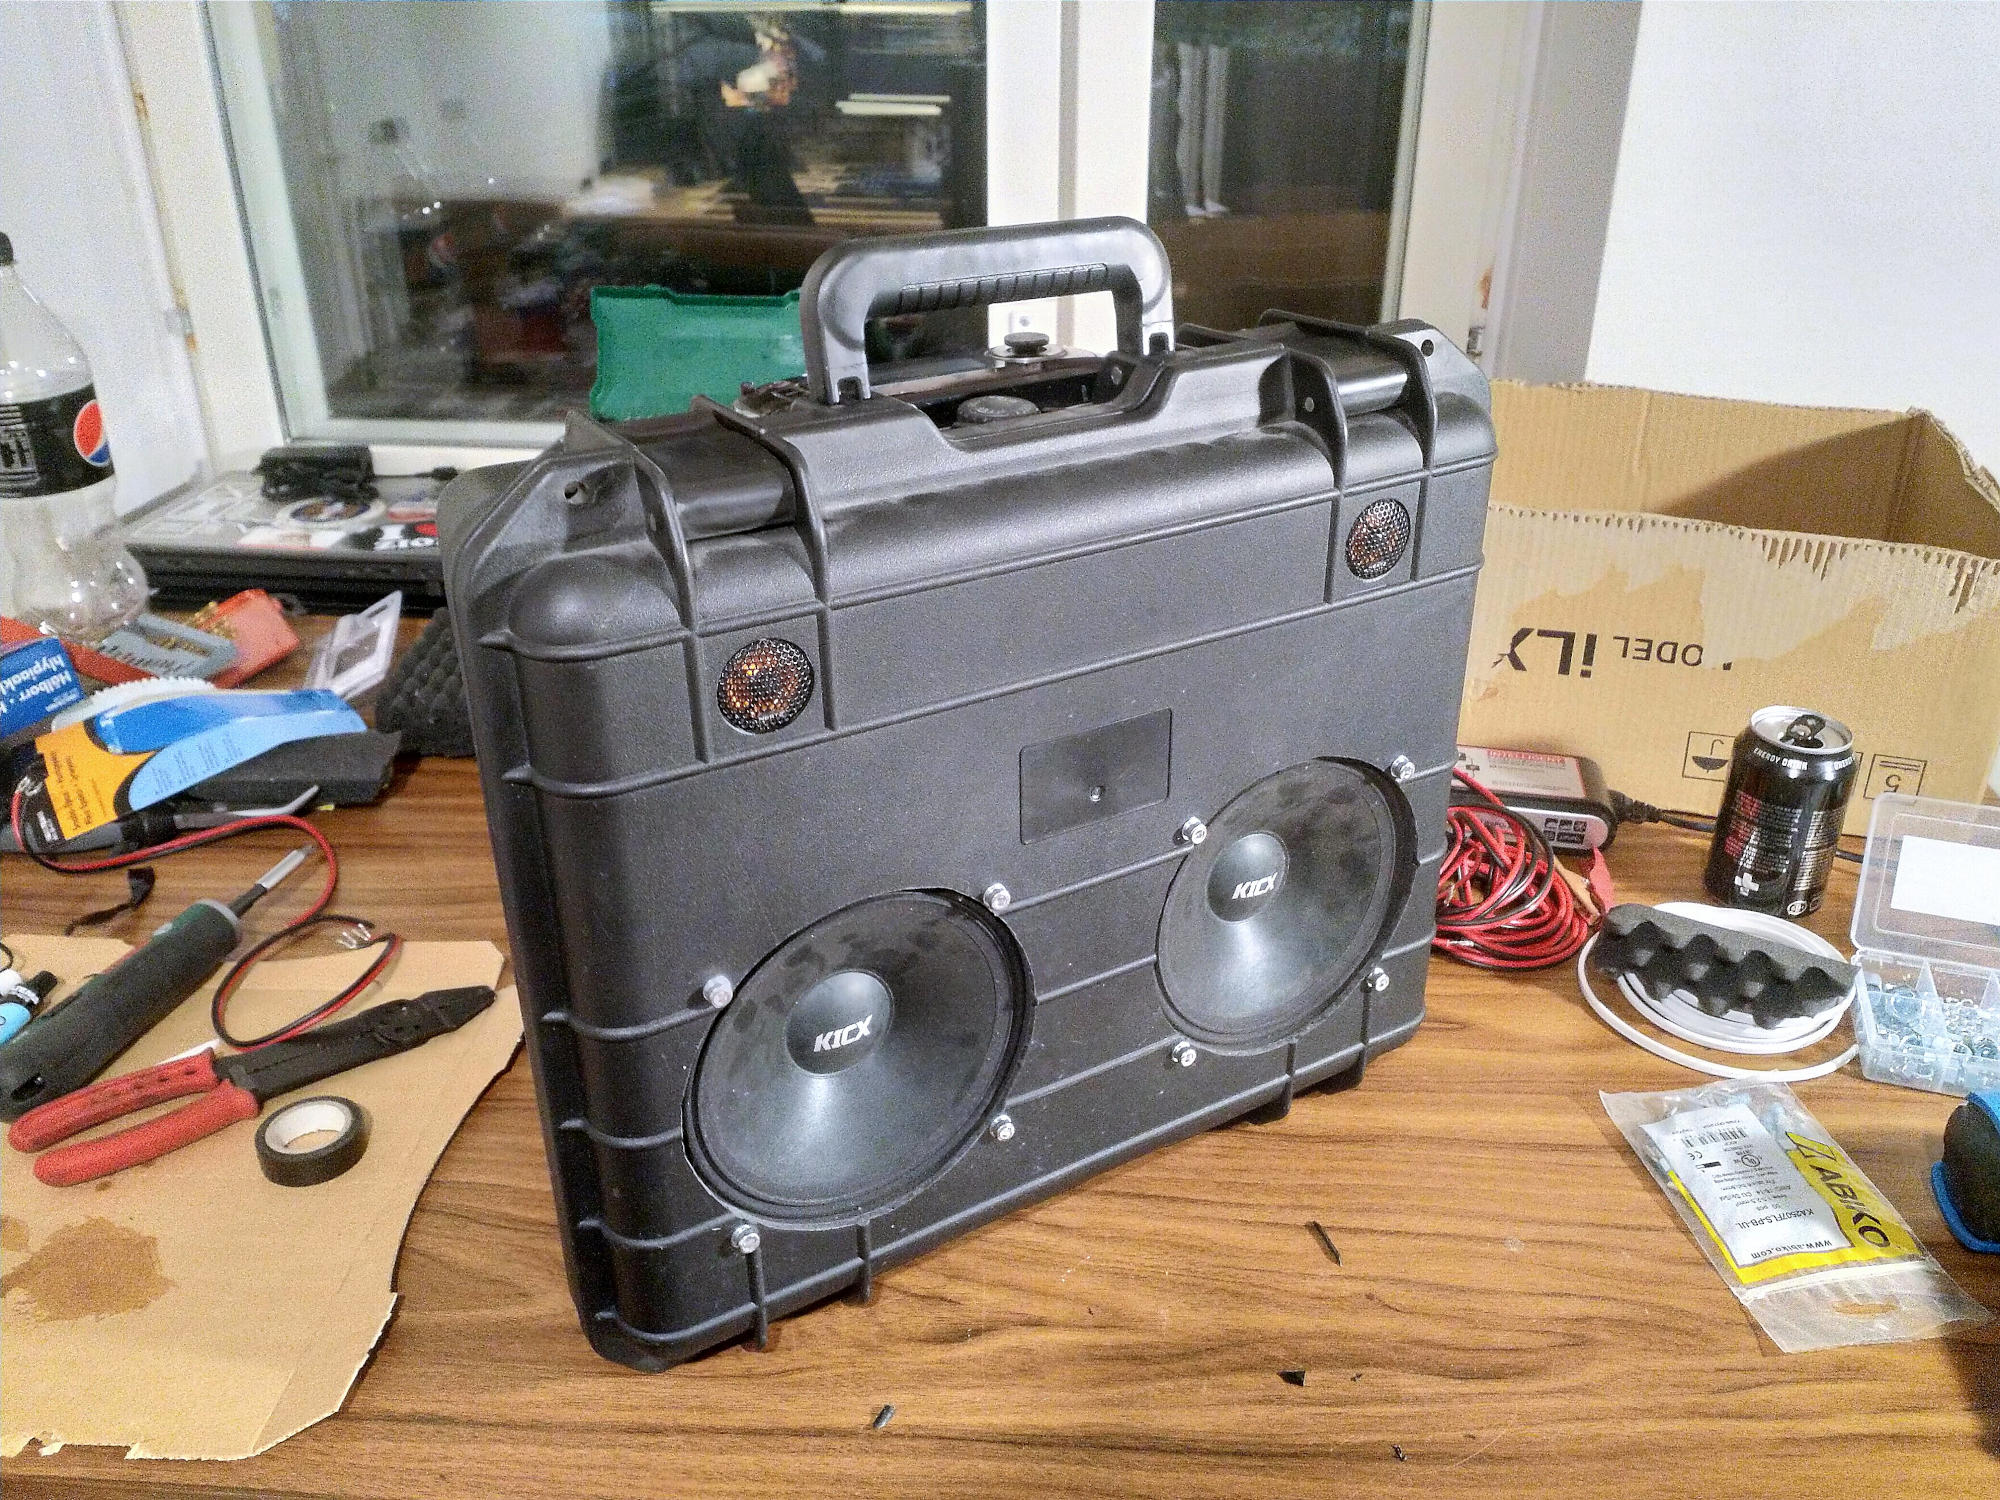
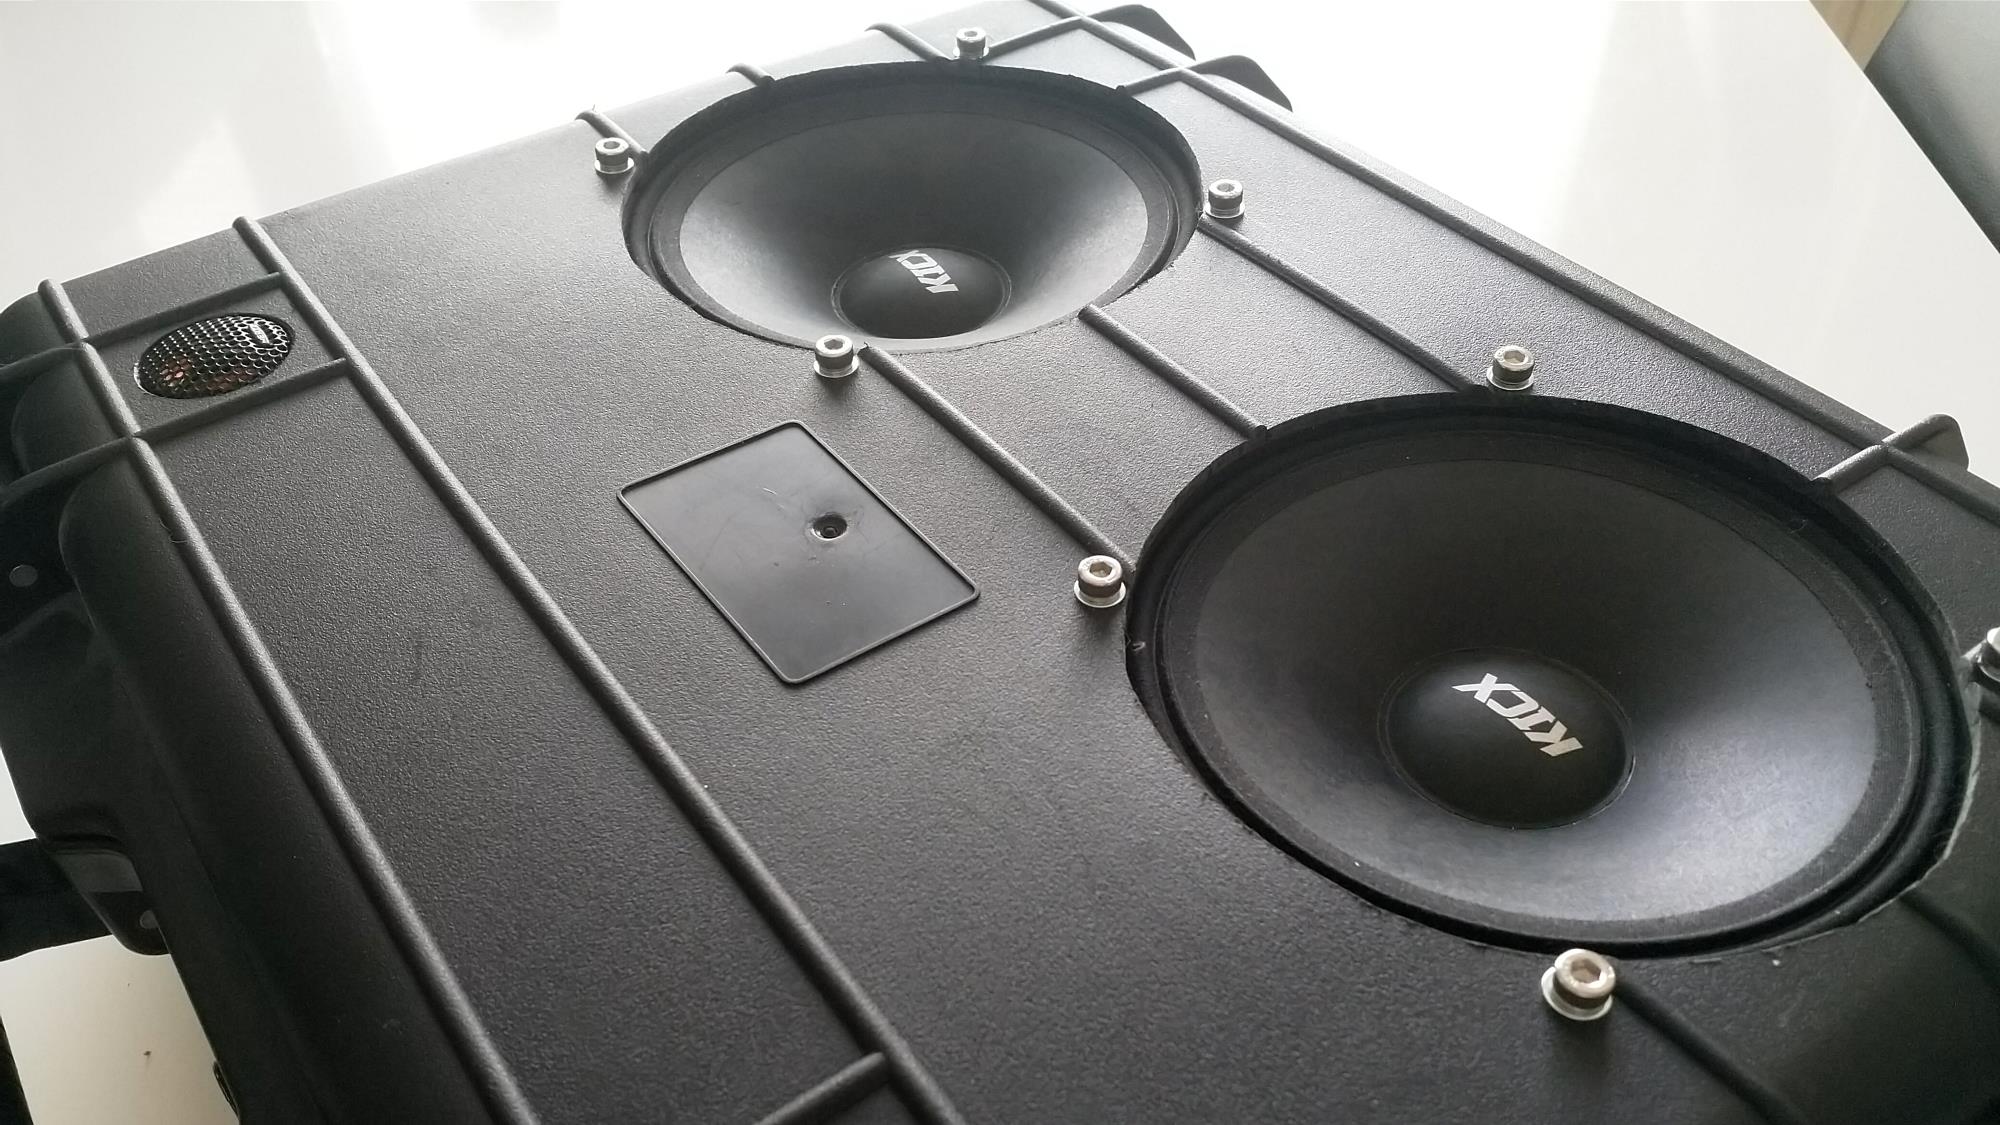
After I ditched the Kicx speakers out of my SQ competition car, I had no use for them. So, the Kicx LL 6.5 V2 6.5" speakers were used to get some beats installed into the case!
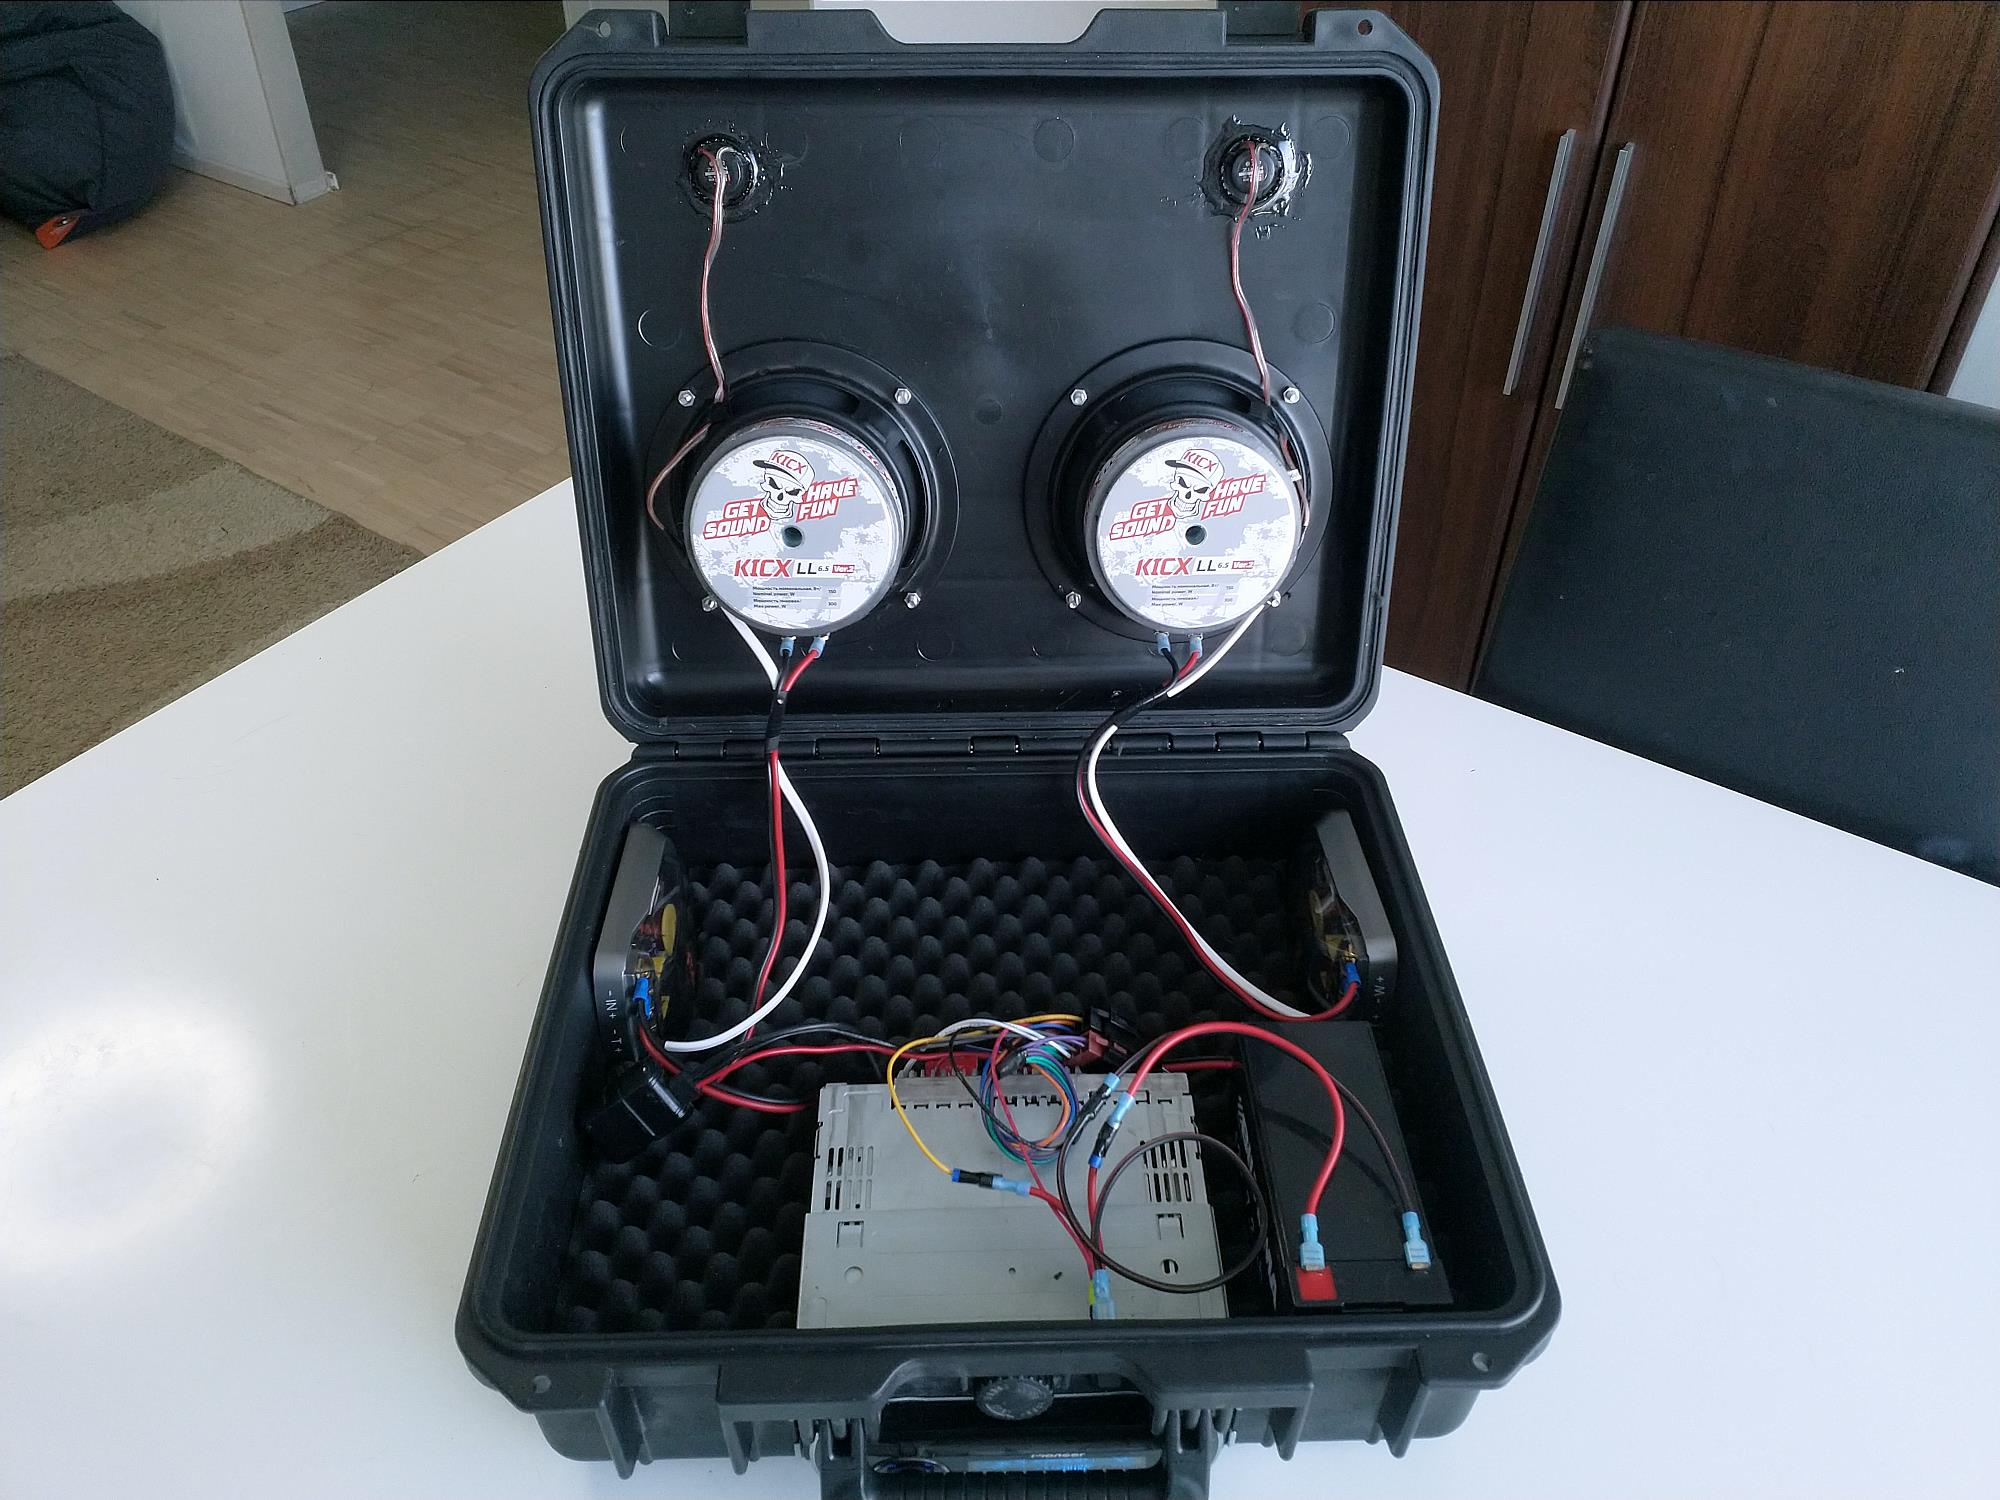
First, I drilled two 165mm holes for the speakers, and then installed the speakers with M4 stainless bolts, through the plastic case.
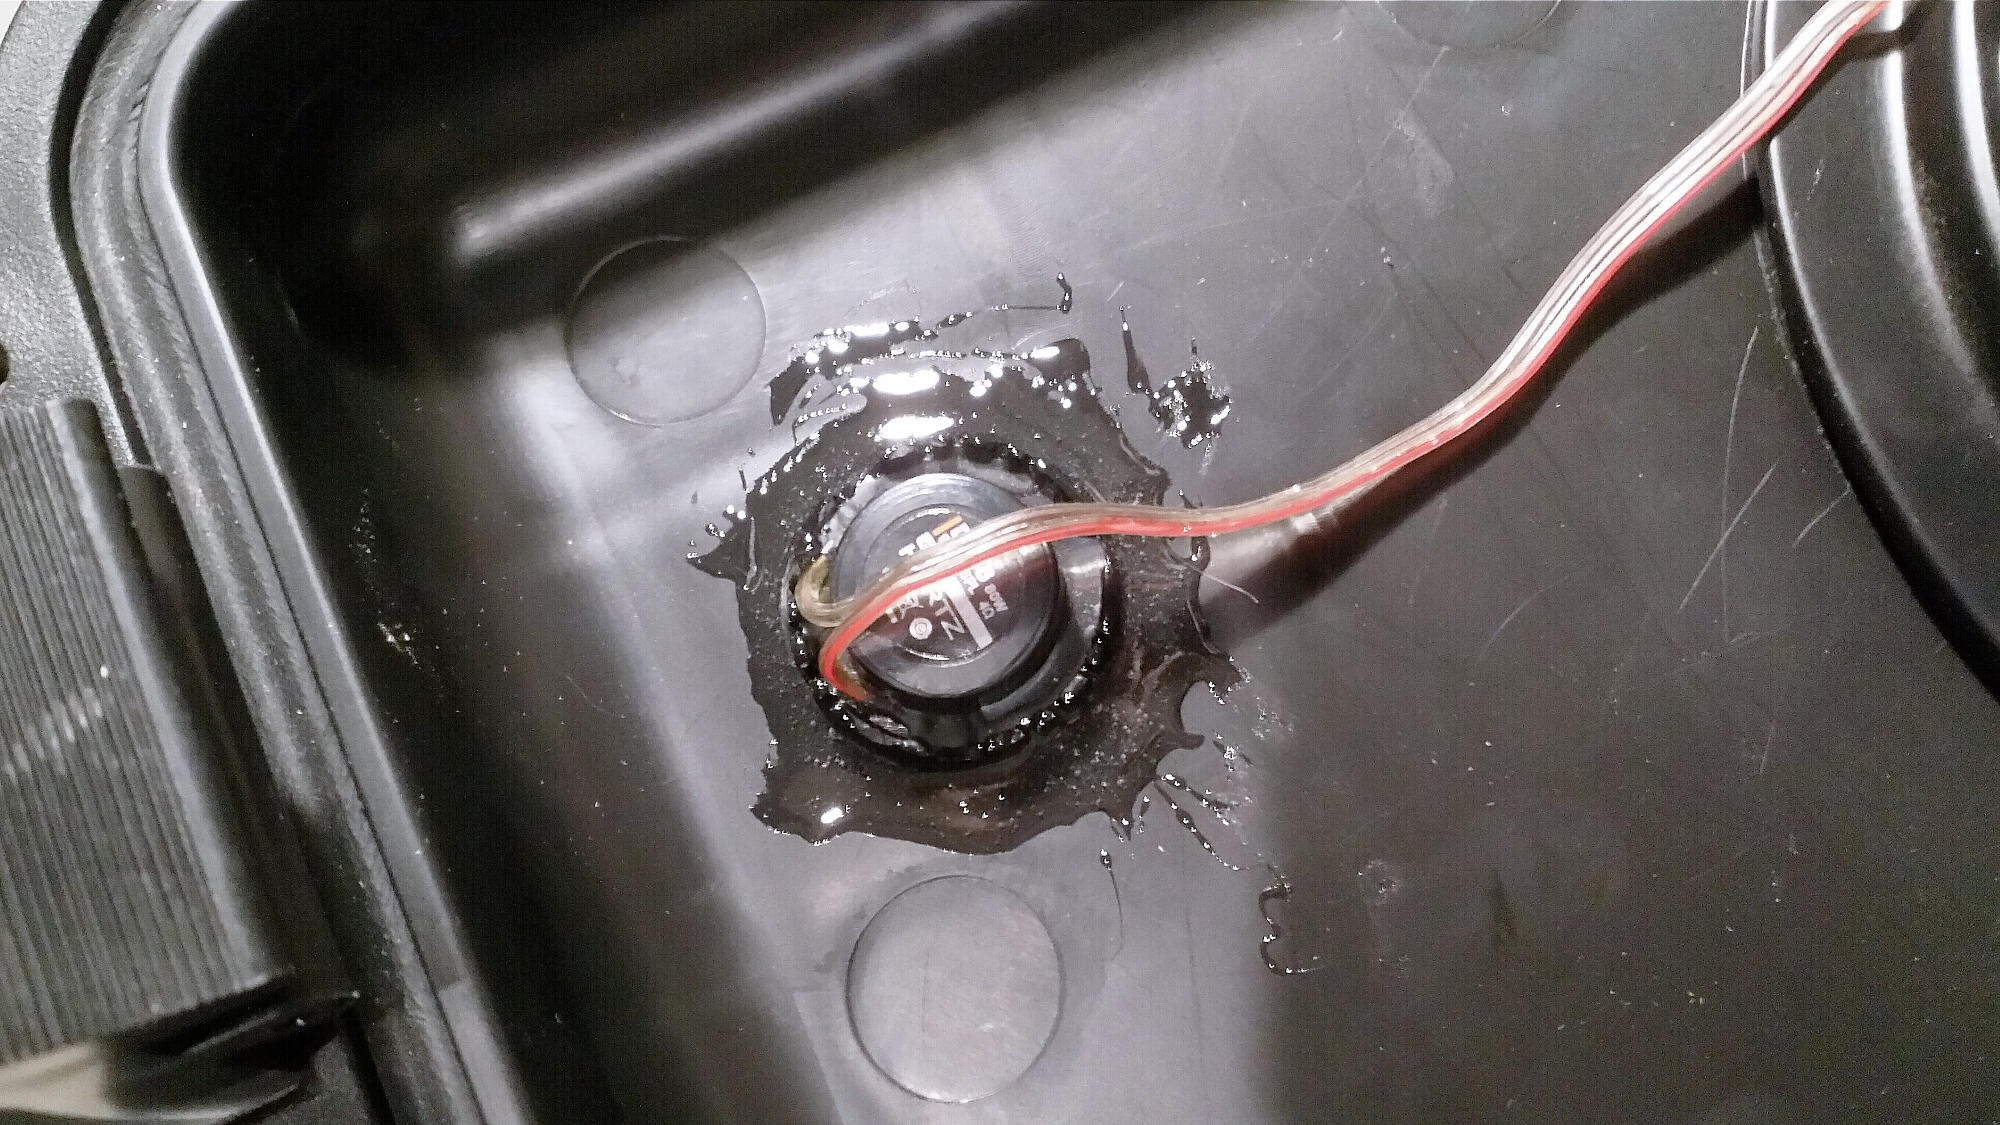
Now with the mids done, let’s install the tweeters, to get those nice “highs”. I bought two older Hertz DT16 tweeters, and drilled two 32mm holes for them to the upper corners of the case. If I want, I can someday upgrade to a 3-way system, by just drilling 3" hole and swapping out the crossovers.
I fastened the tweeters with 2-component epoxy, so they are “weatherproof” and don’t leak air trough
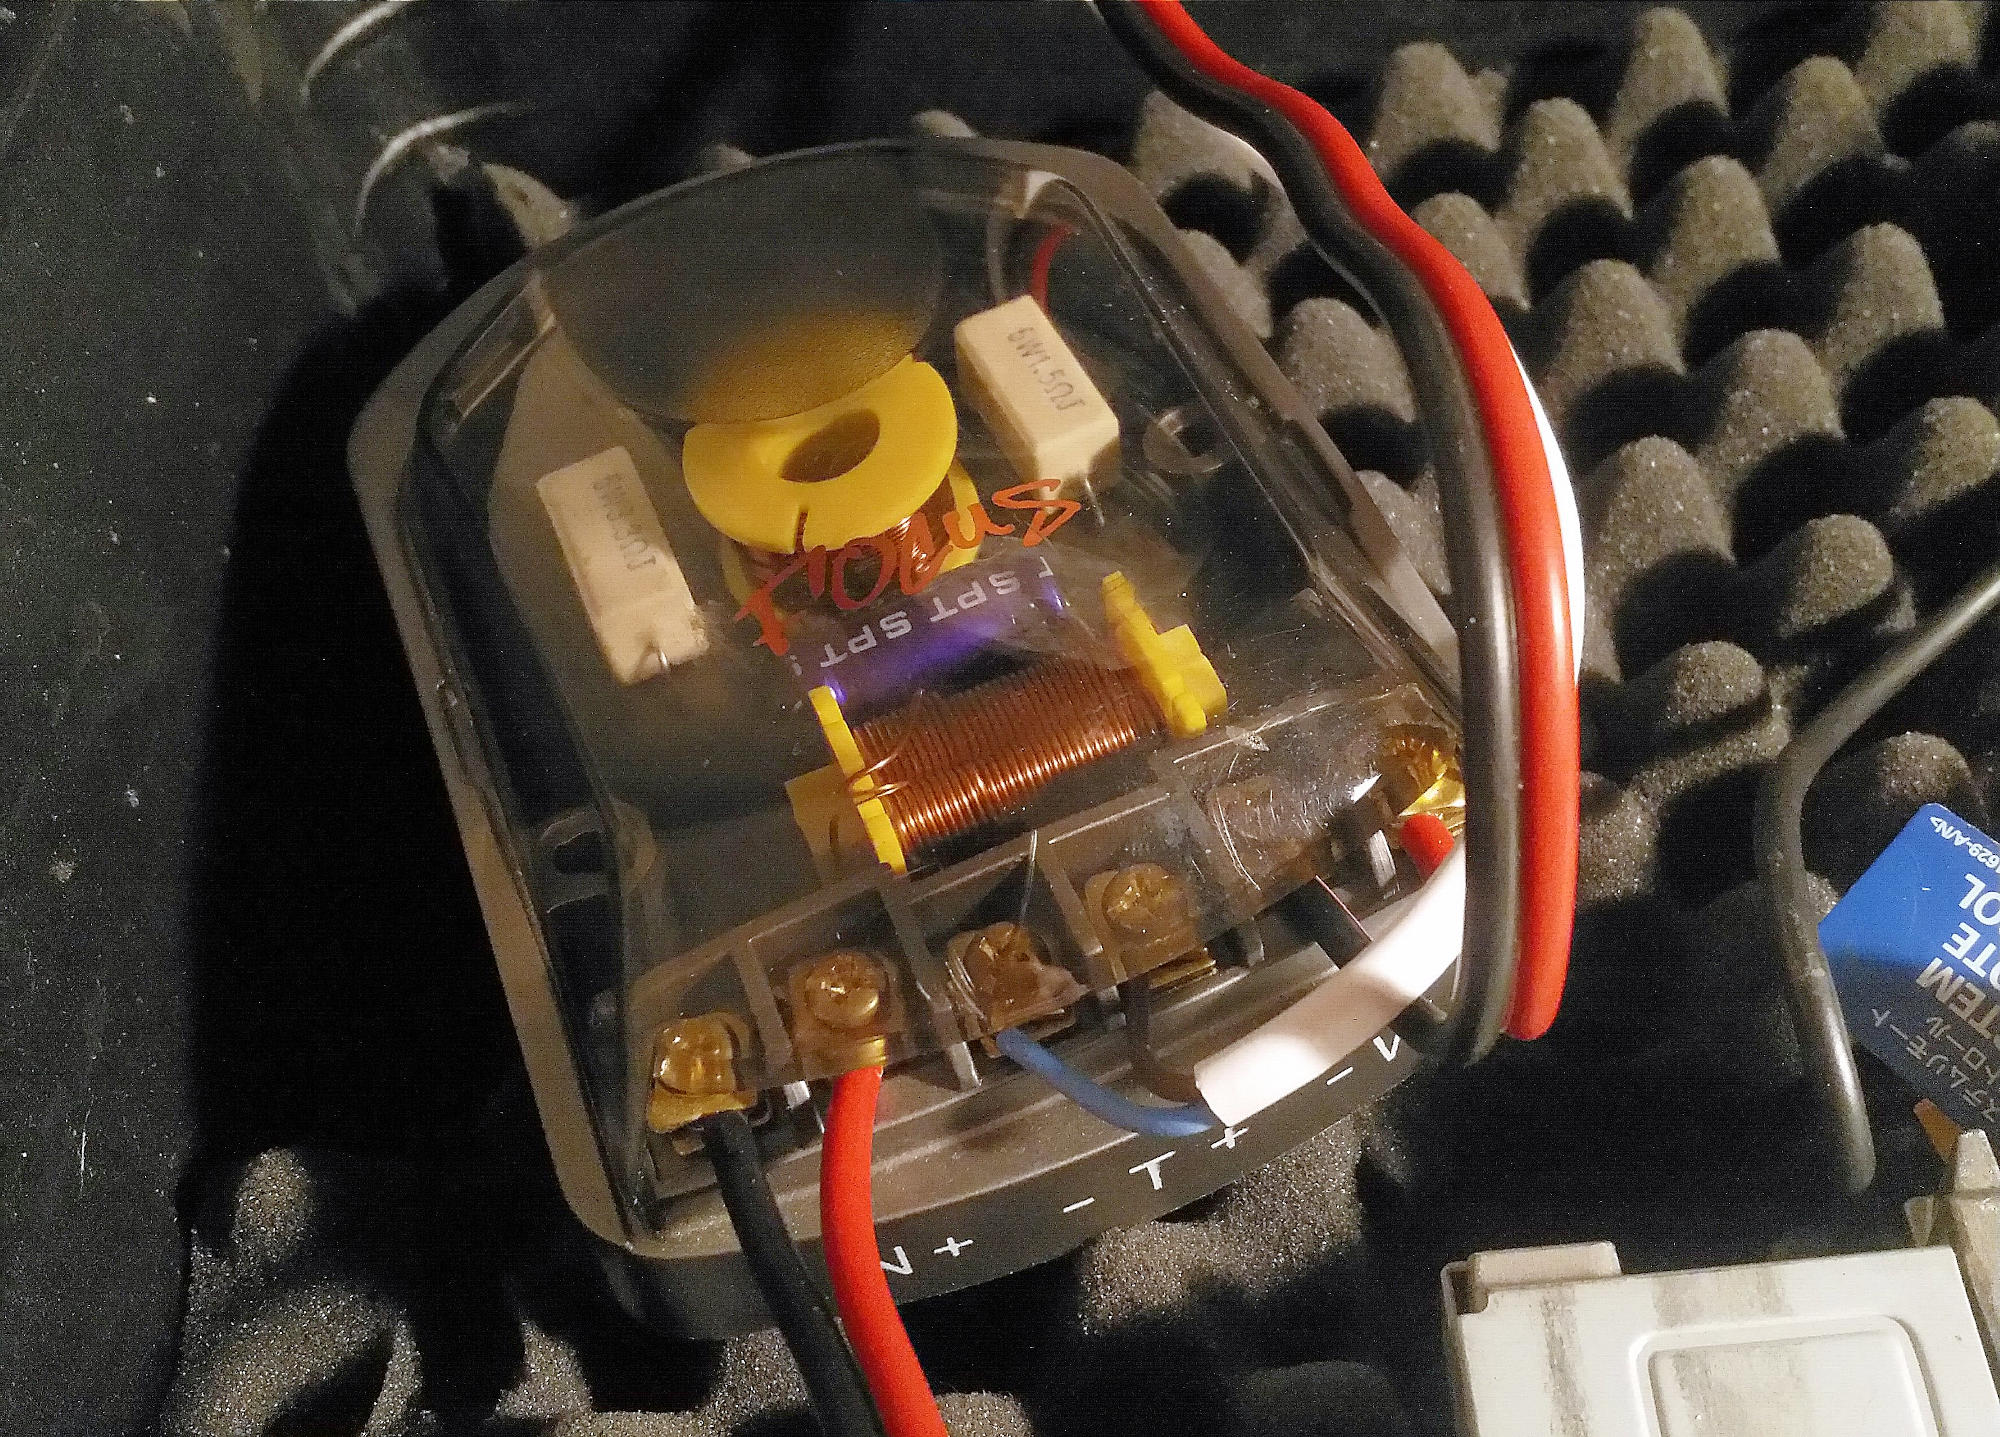
Now add the crossovers to the mix, to get better sound, and protect the tweeters from low frequencies. I chose Focus Audio 2-Way crossovers I found lying around. If you want better sound, match the crossovers and speakers from same manufacturer and product line.
AMP/Headunit
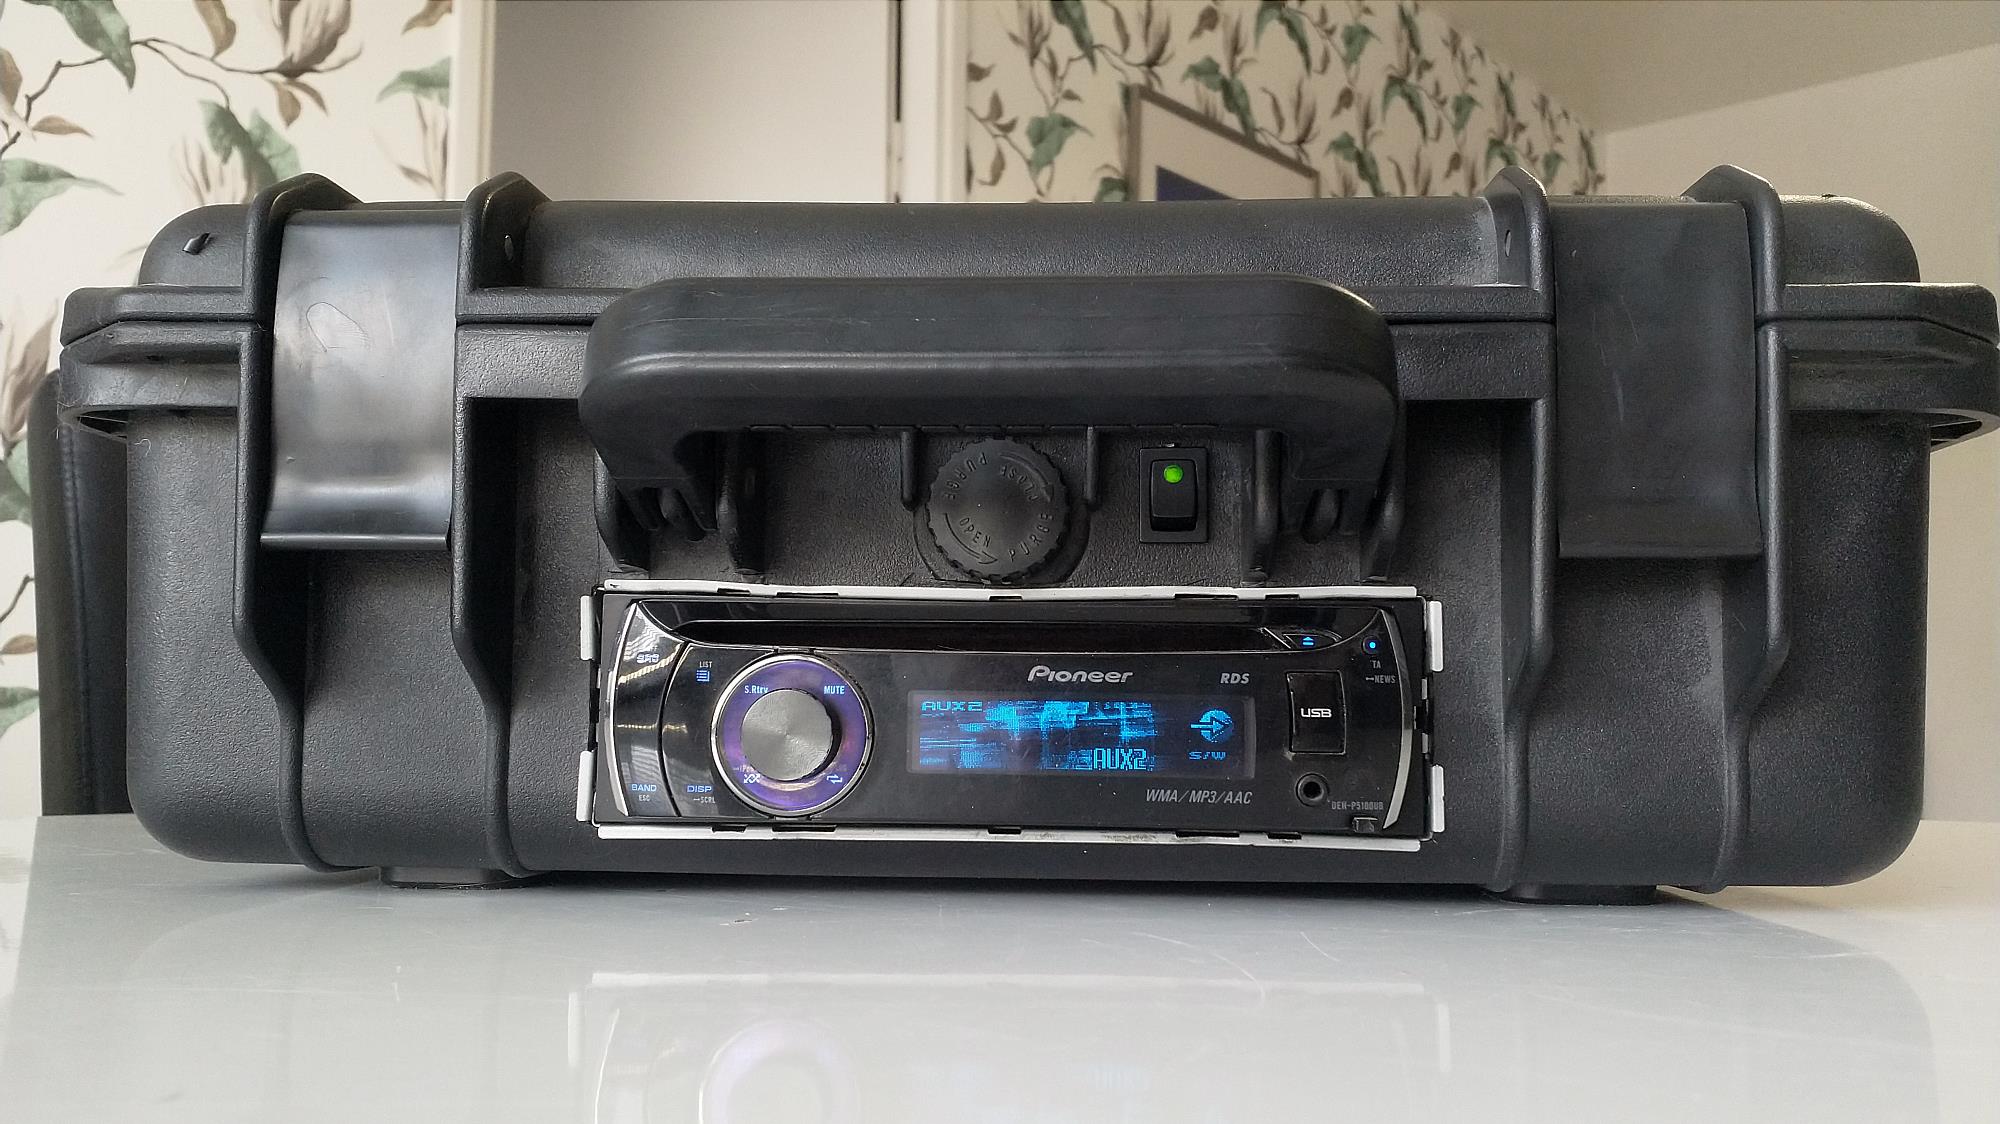
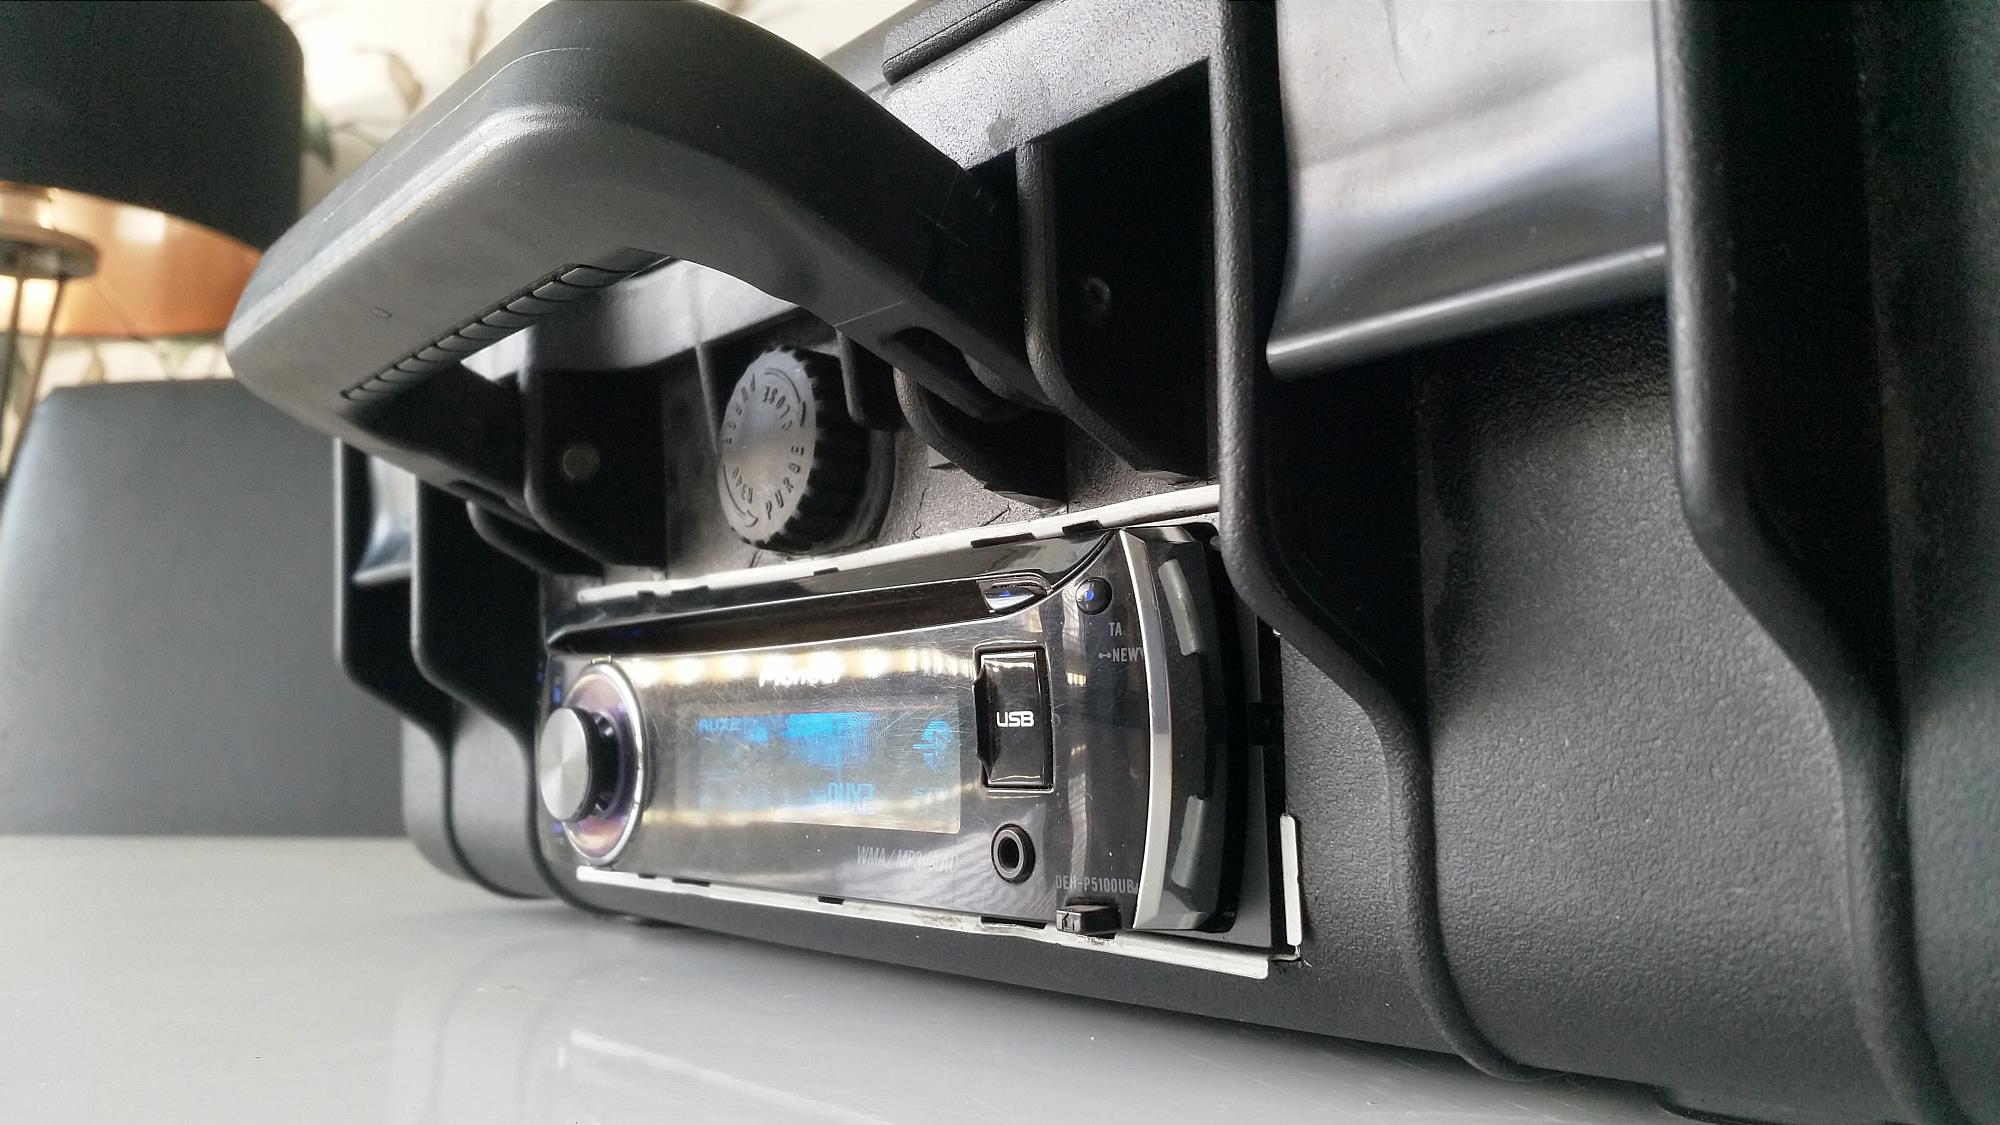
For the amplifier, I got a older Pioneer DEH-P5100UB headunit. Great things about using headunits designed for cars are:
- 12V, so no need for any voltage conversions
- CD player that doesn’t skip when moving
- AUX, Bluetooth (new ones atleast, mine has bluetooth added via CD changer input) and USB for inputs
- 4x50W, enough power… for now :)
- Small
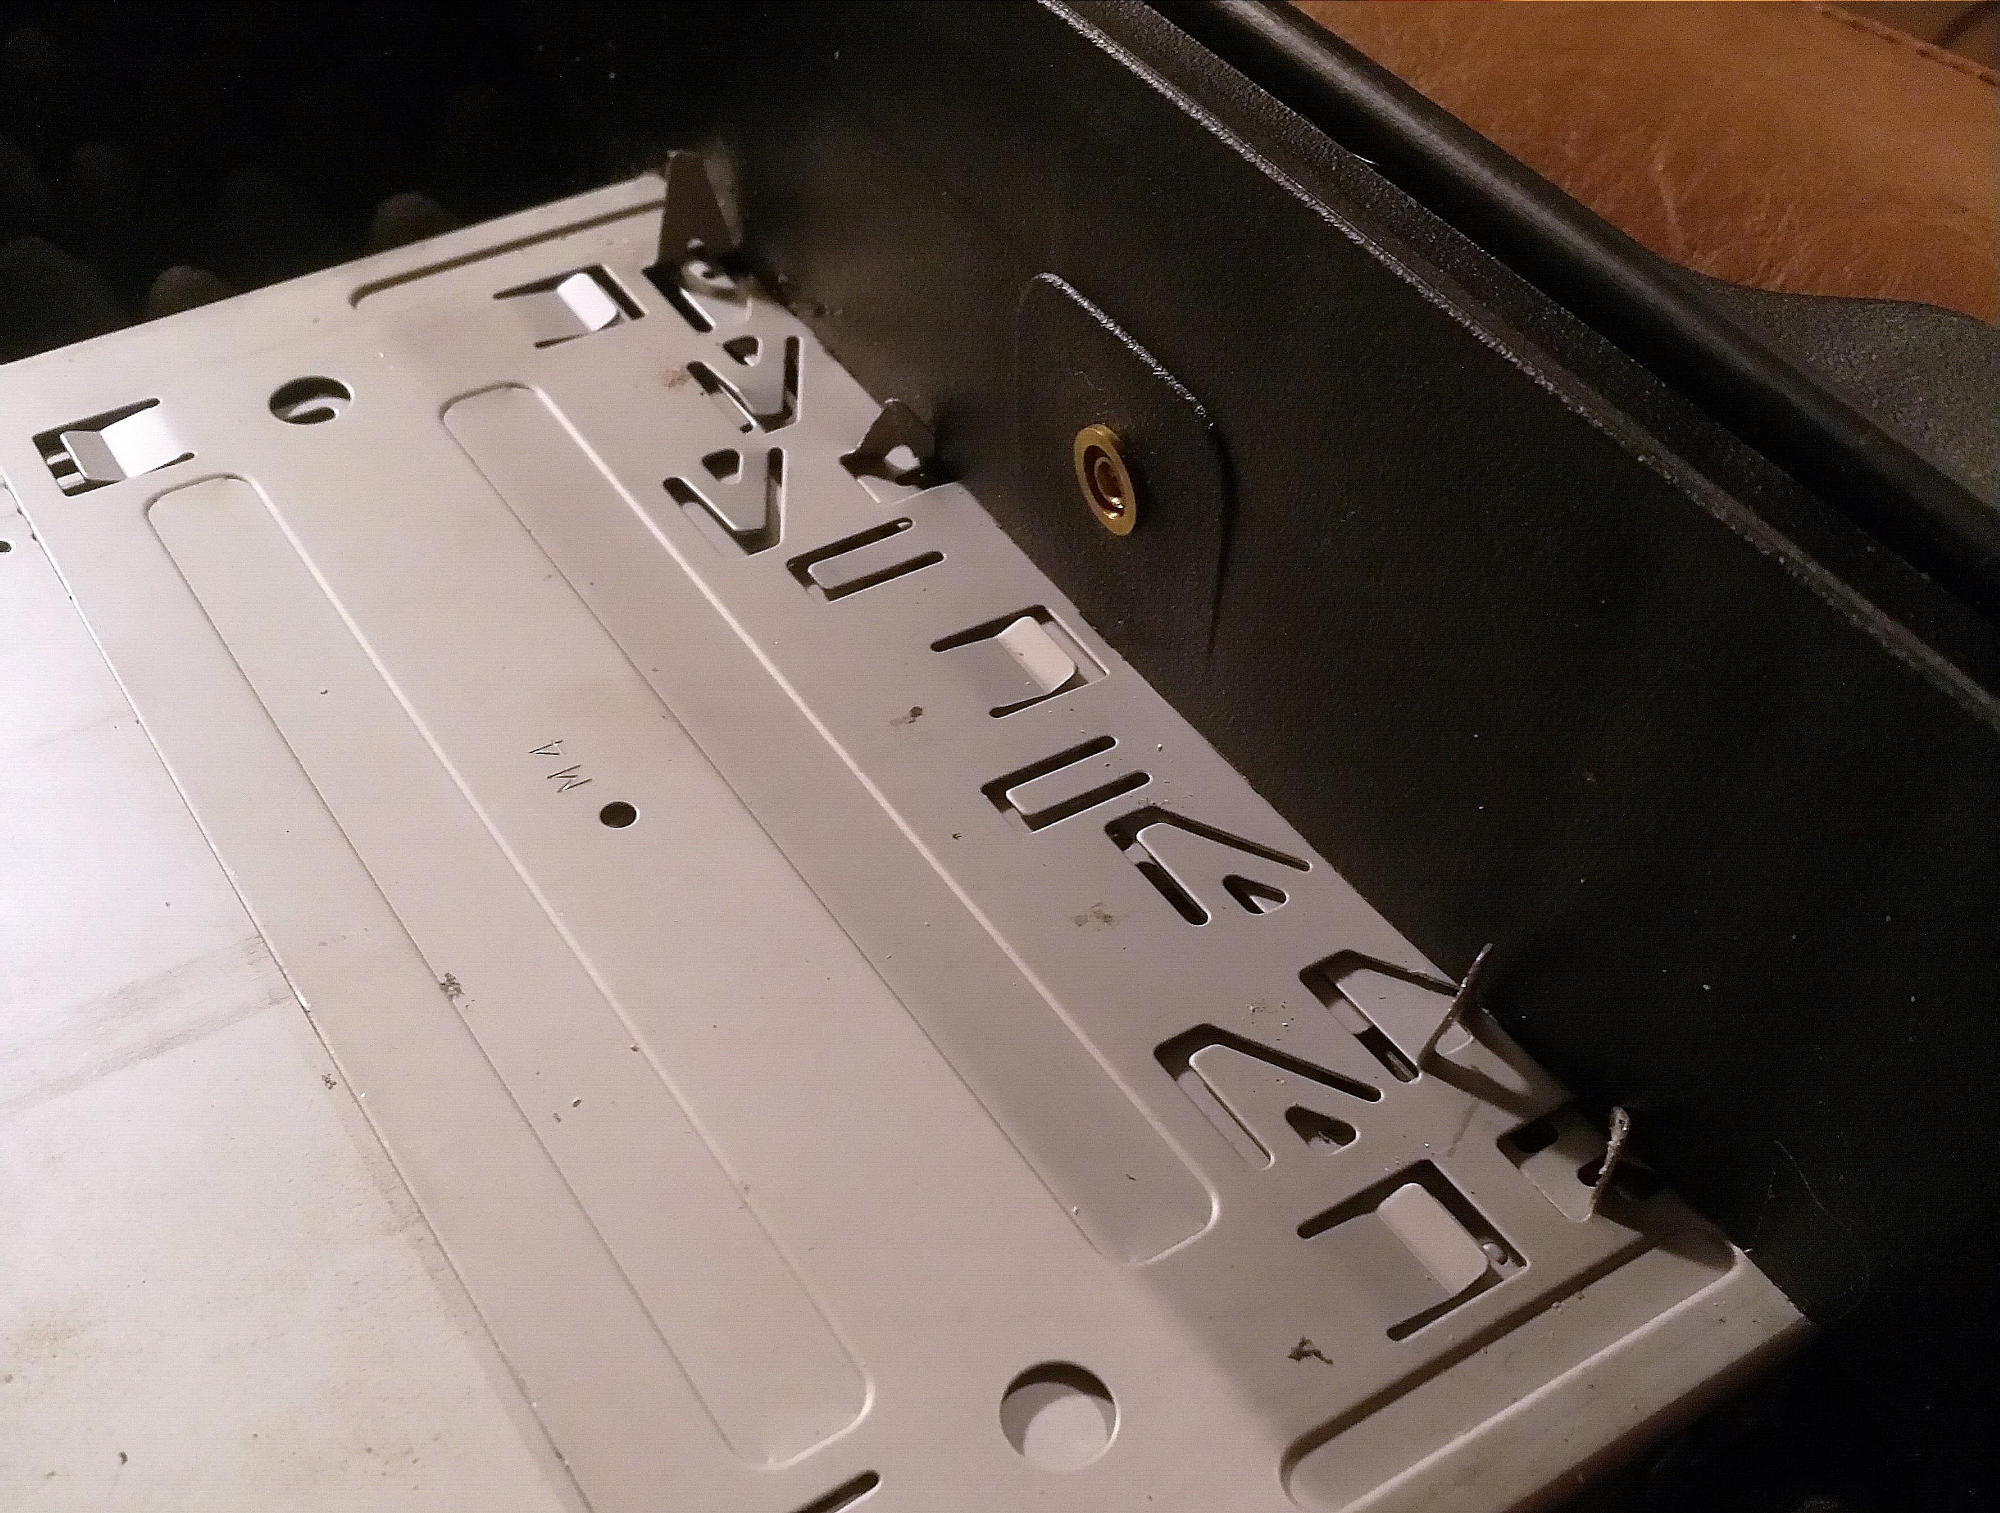
First, I made a standard “1-DIN” sized hole to the case, and attached the metal support bracket to the plastic by turning the metal tabs over. I also installed a 12V switch to the ACC line. The switch has small a light, to show that the power is on.
Wiring/battery
Wiring is simple, just connect the wires according to headunit wiring diagram. I’m using pioneer wiring, converted to a standard ISO plug.
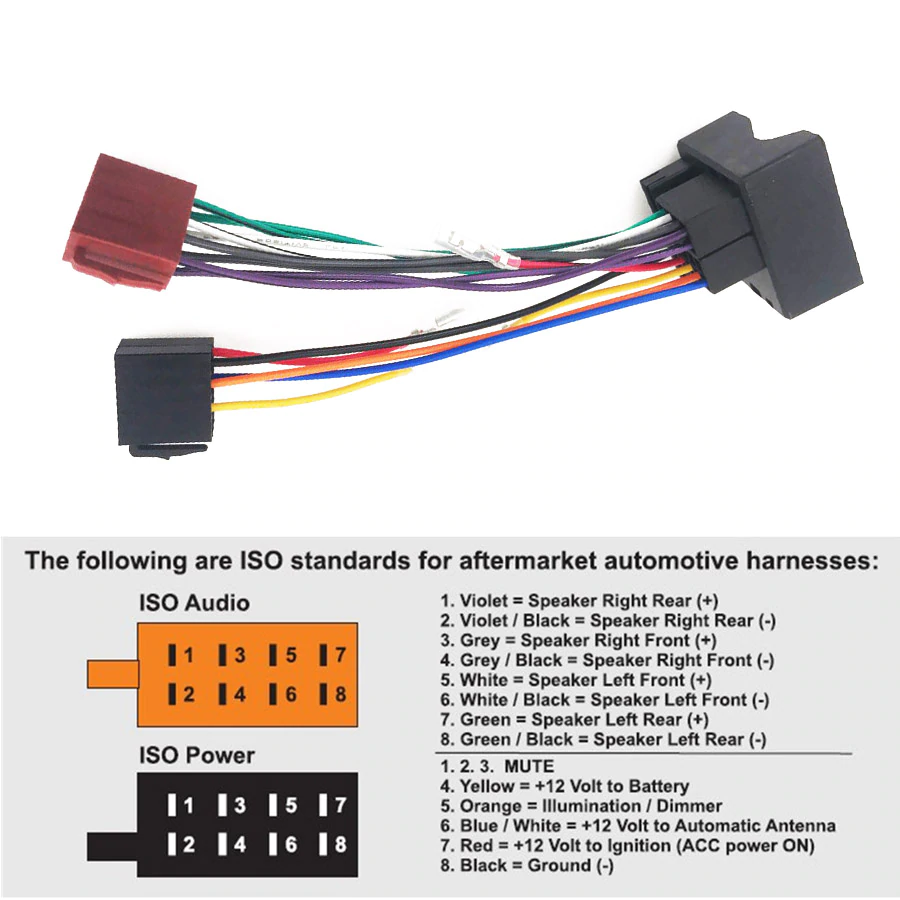
To not drain the battery, and switch off the headunit, add a switch between battery +12V and ACC wire, like in cars. Connect the red (constant +12V) and black (negative) directly to the battery.
TODO;
- Wire a USB charger
- Wire battery charger
Completed unit
Pics from inside, with one installed 12V 5Ah battery
Pics outside
Video from testing
