
This first documented project has nothing to do with computers or cars or motorcycles, but rather enables me to actually do them, without disturbing the balance of relationships (you know what I mean…)
The project is divided to a few parts.
- Clean up the storage “room”
- Remove the old support bars
- Install new adjustable support bars
- Mock up some 3D and find out what depth of shelves we can use
- Fill it up, so that you need another room…
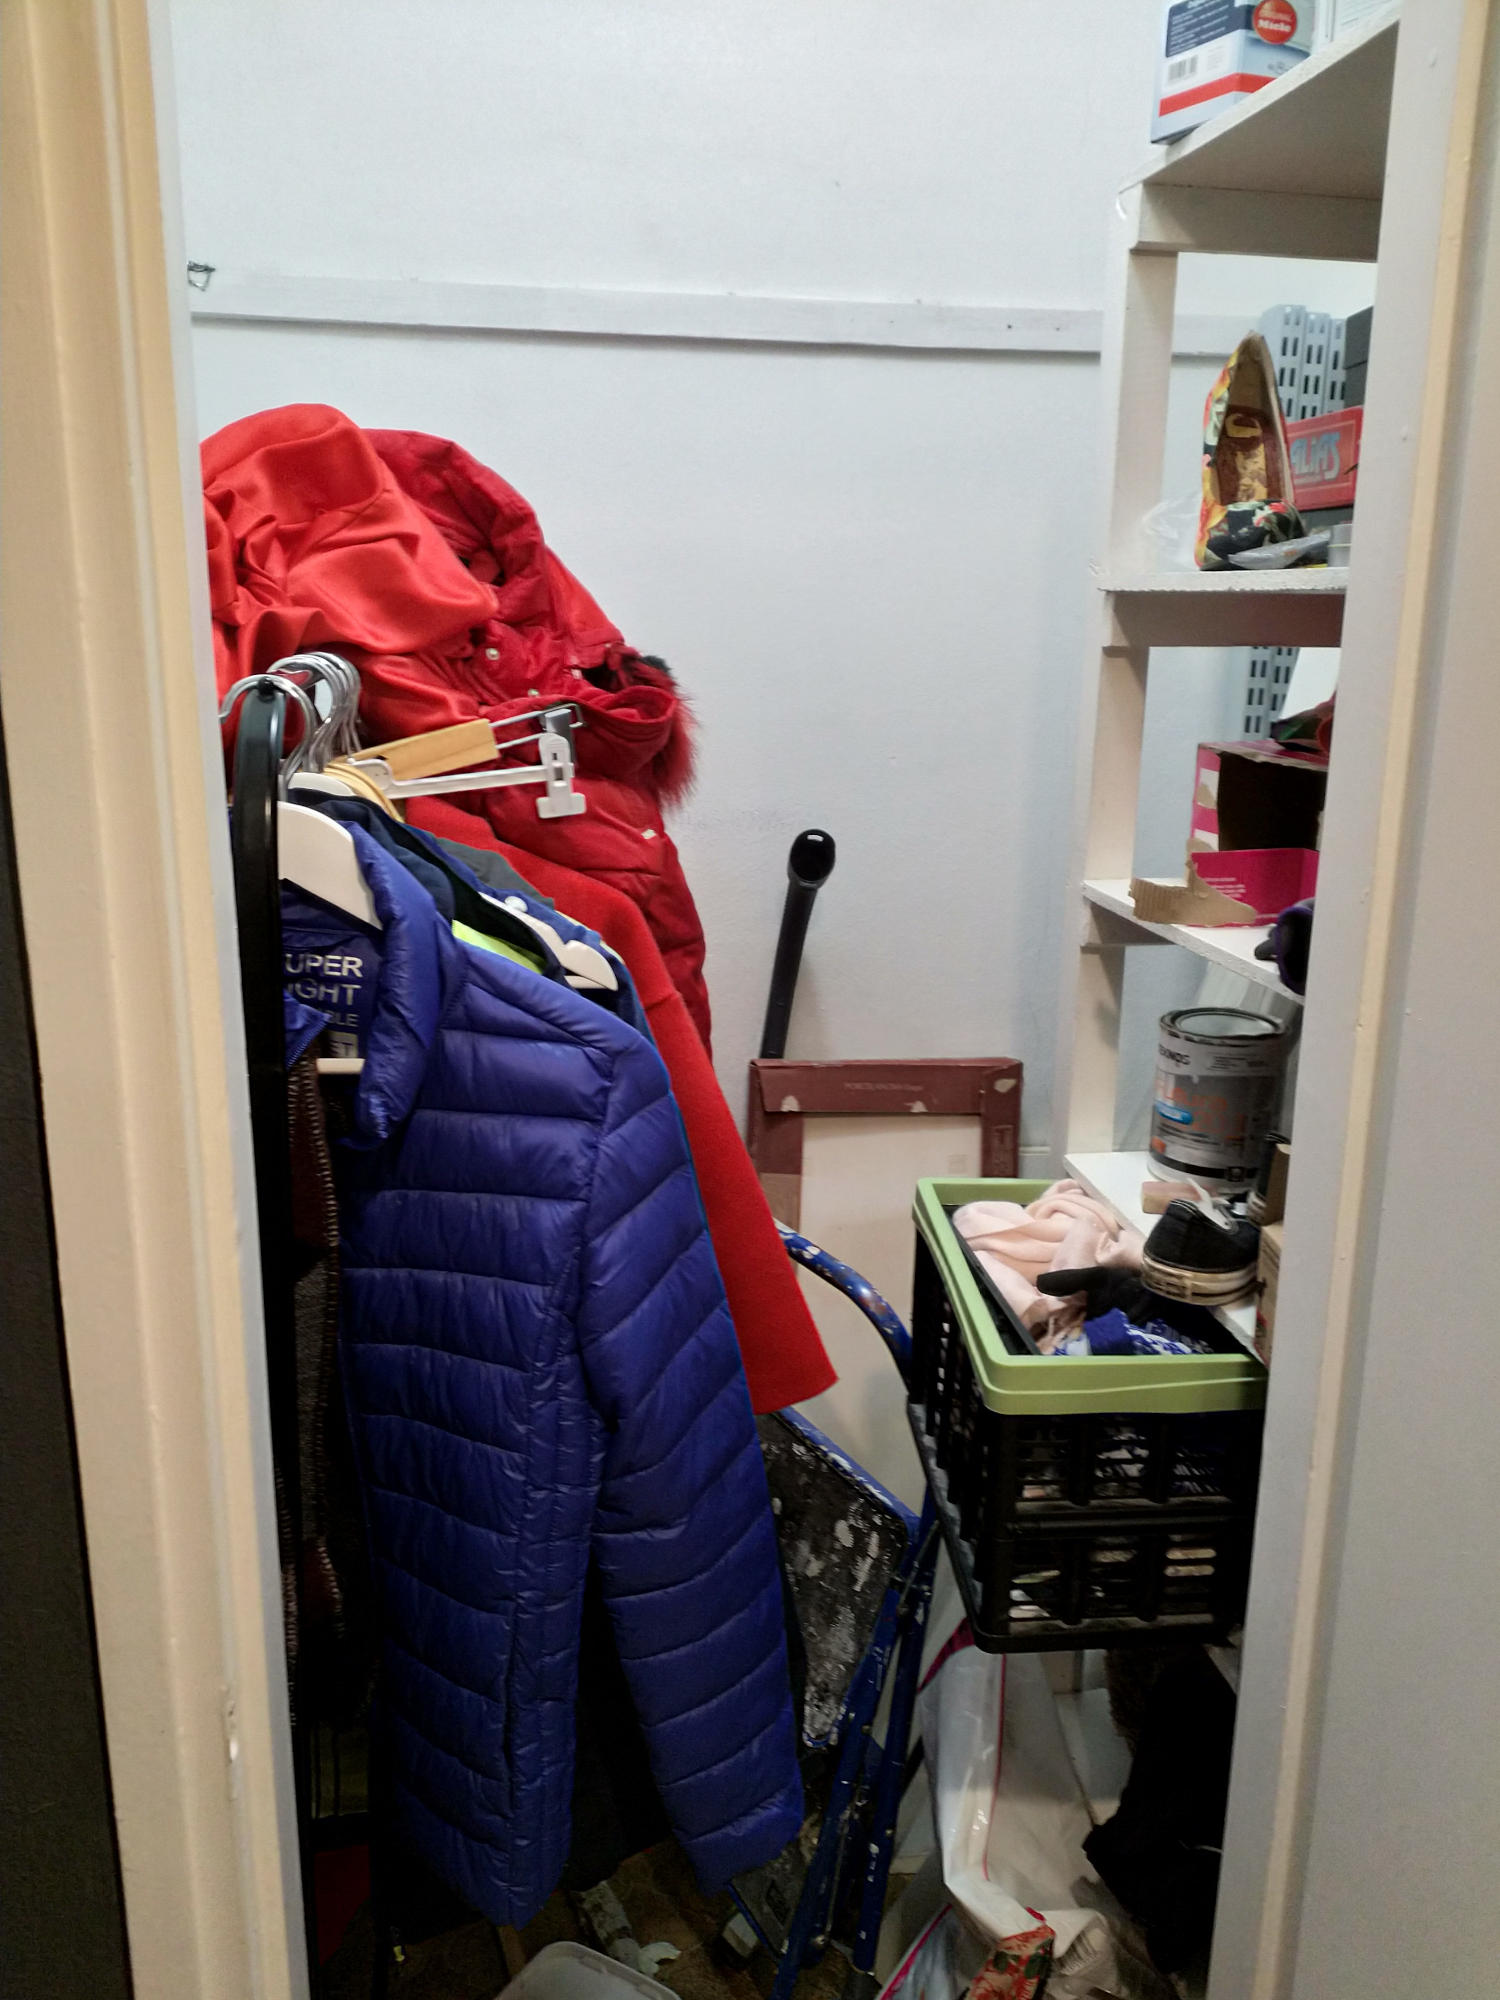
1. Start
This is the situation we are currently in.
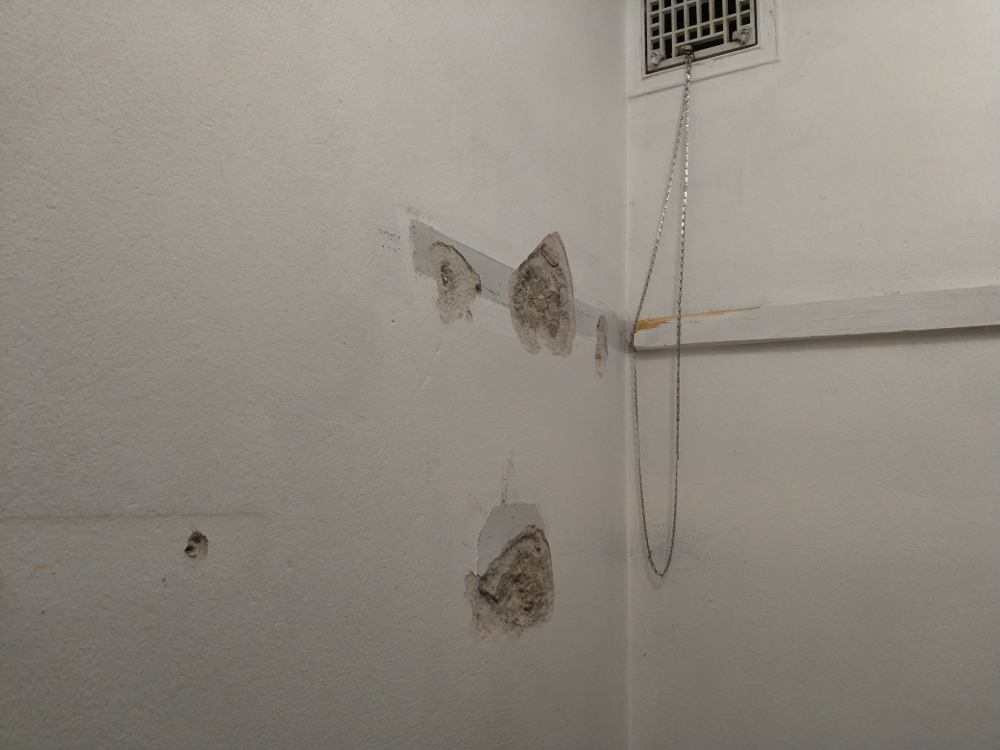
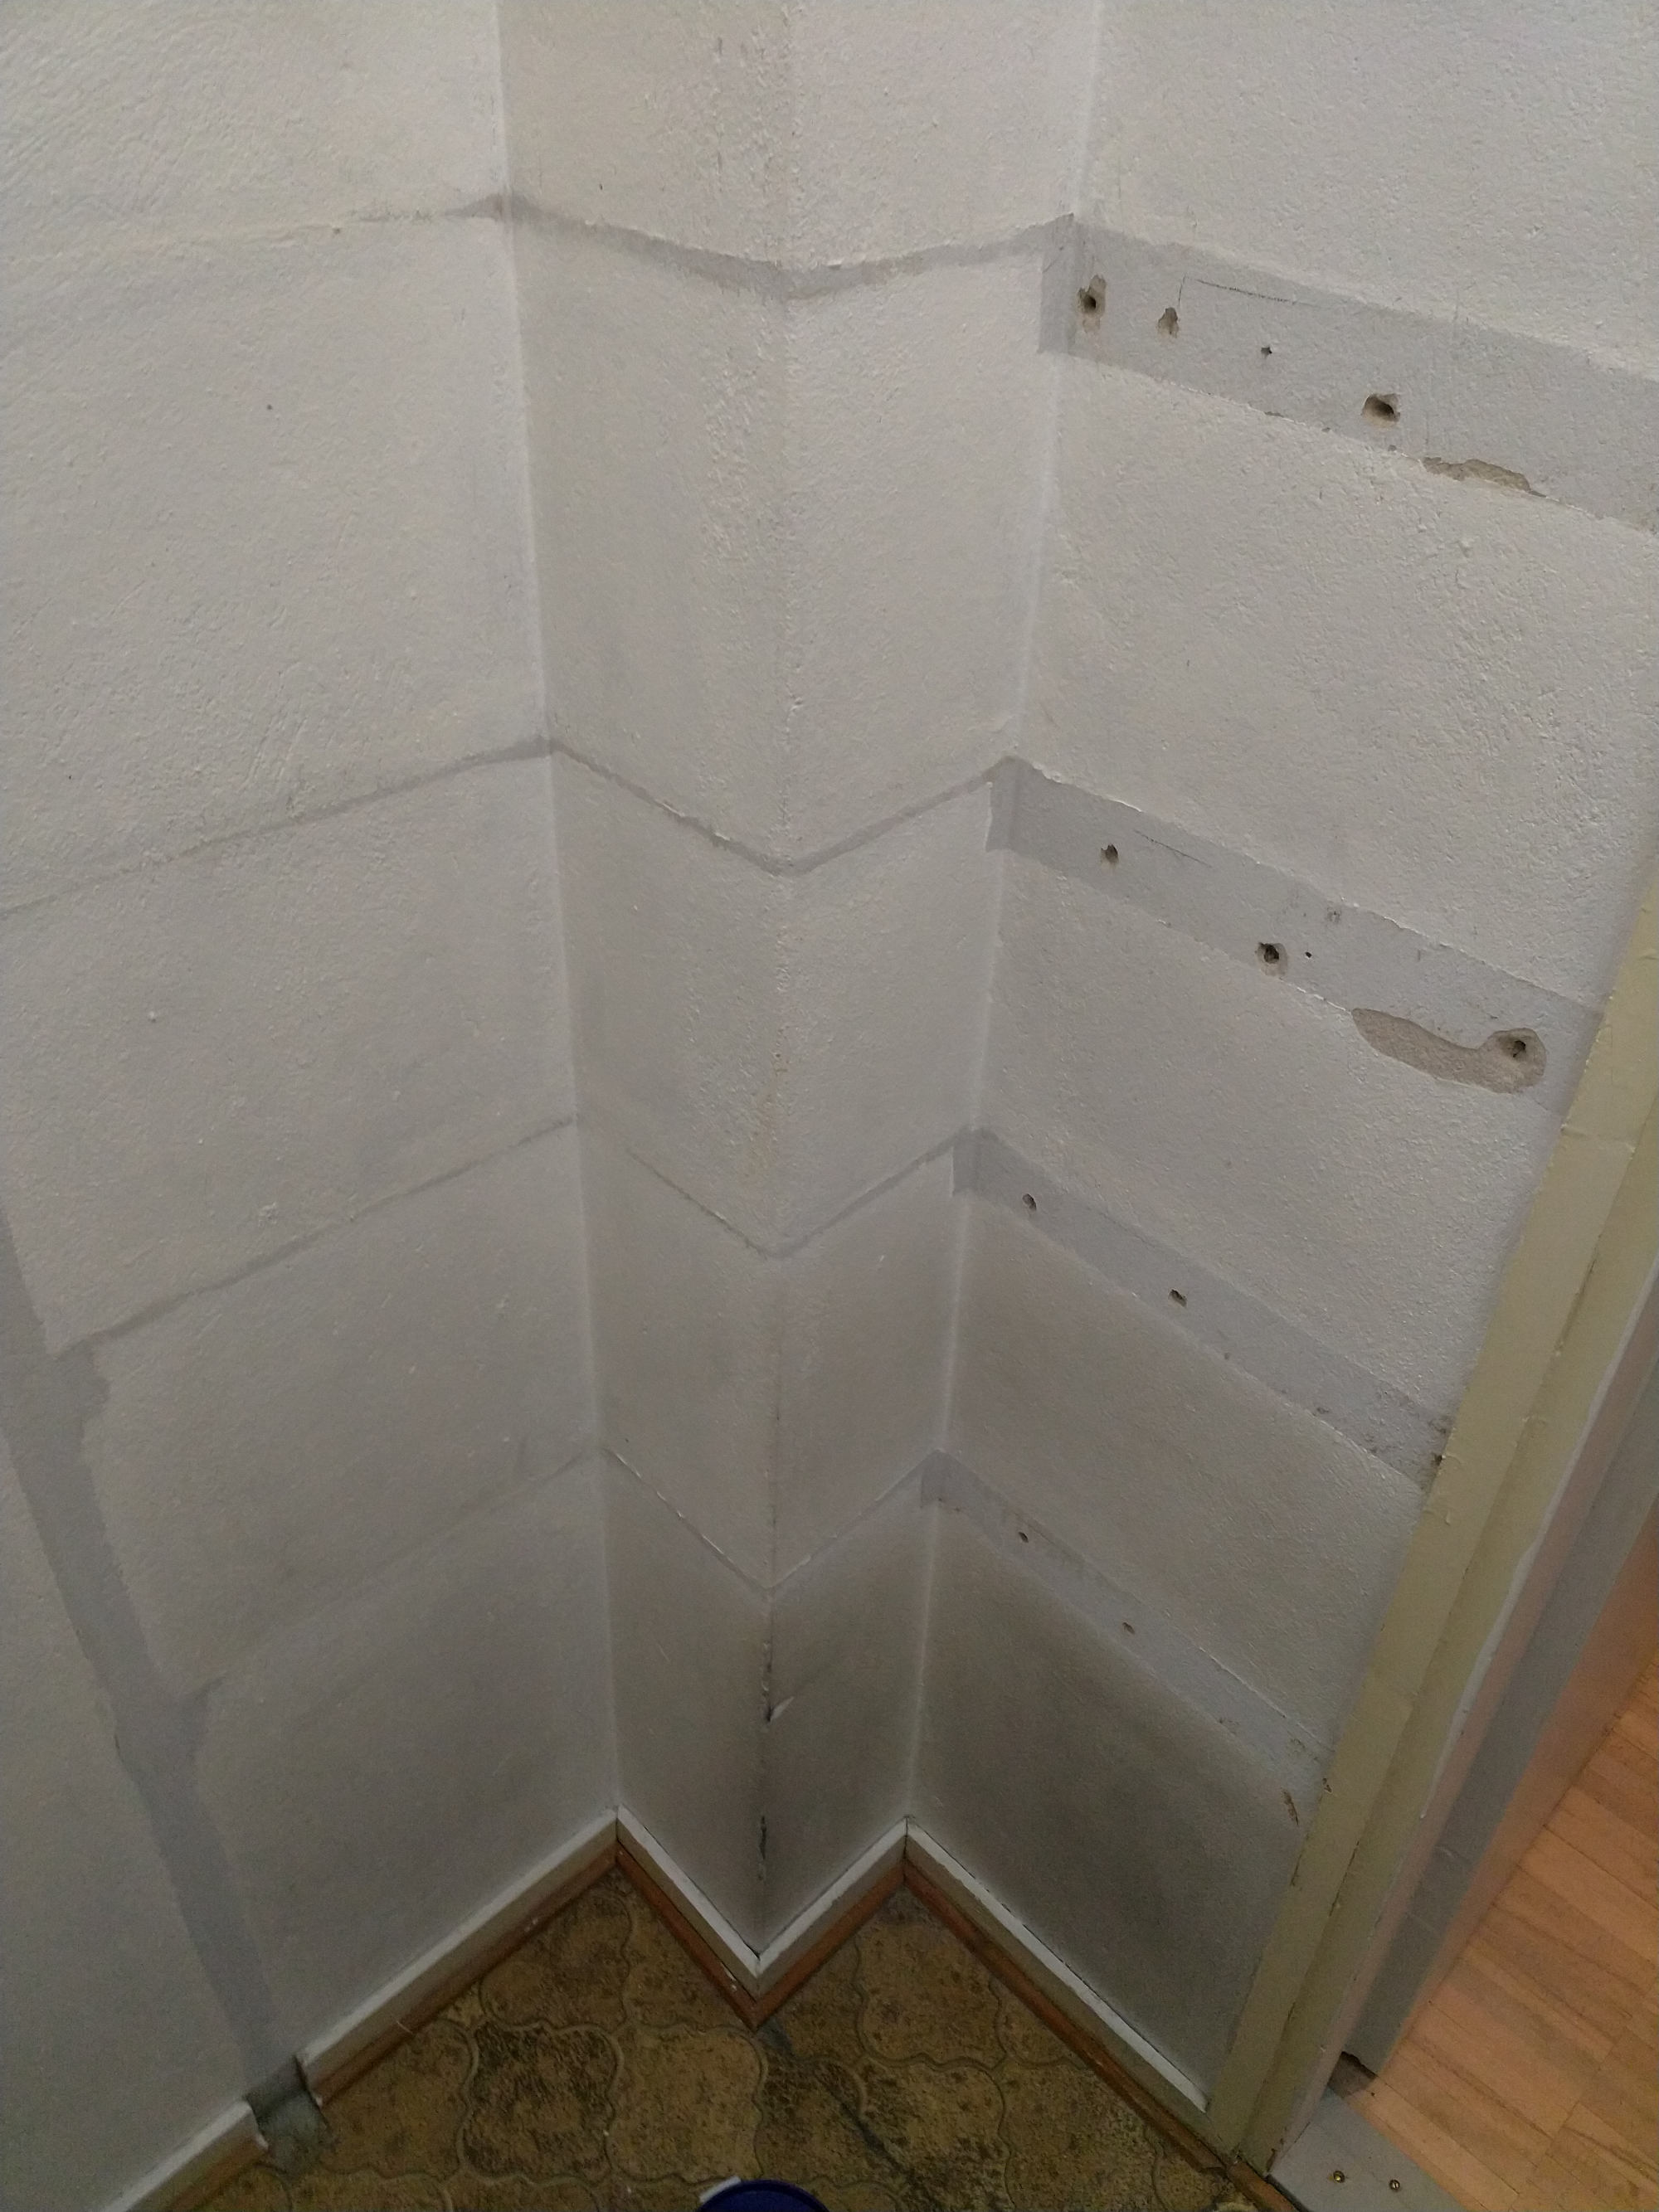
2. Remove old supports from the wall
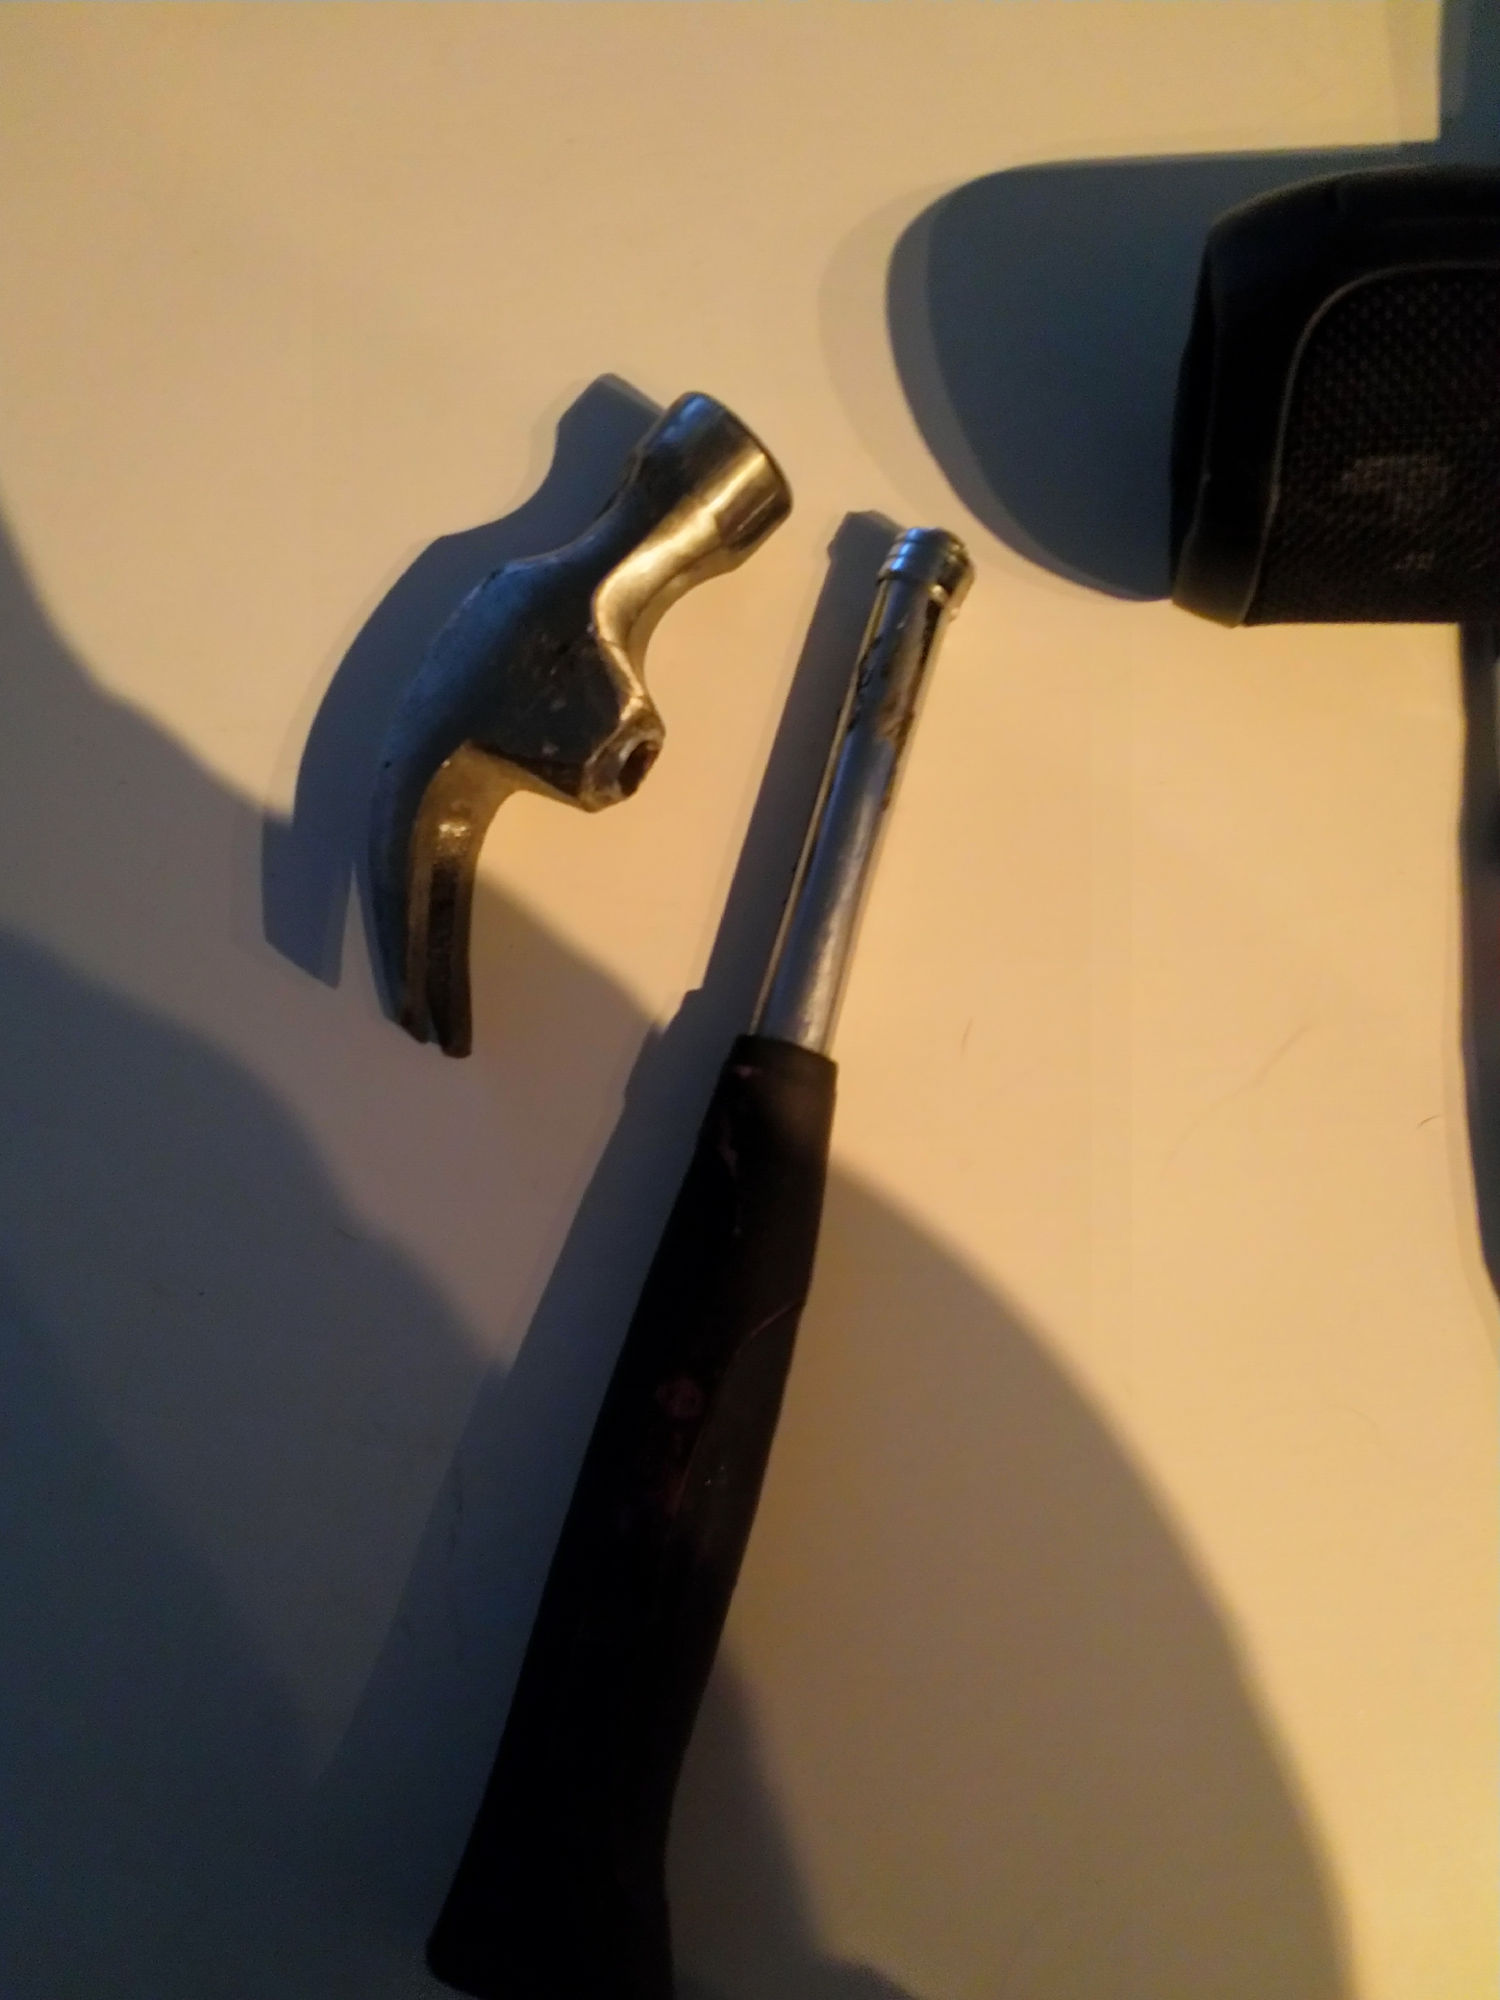
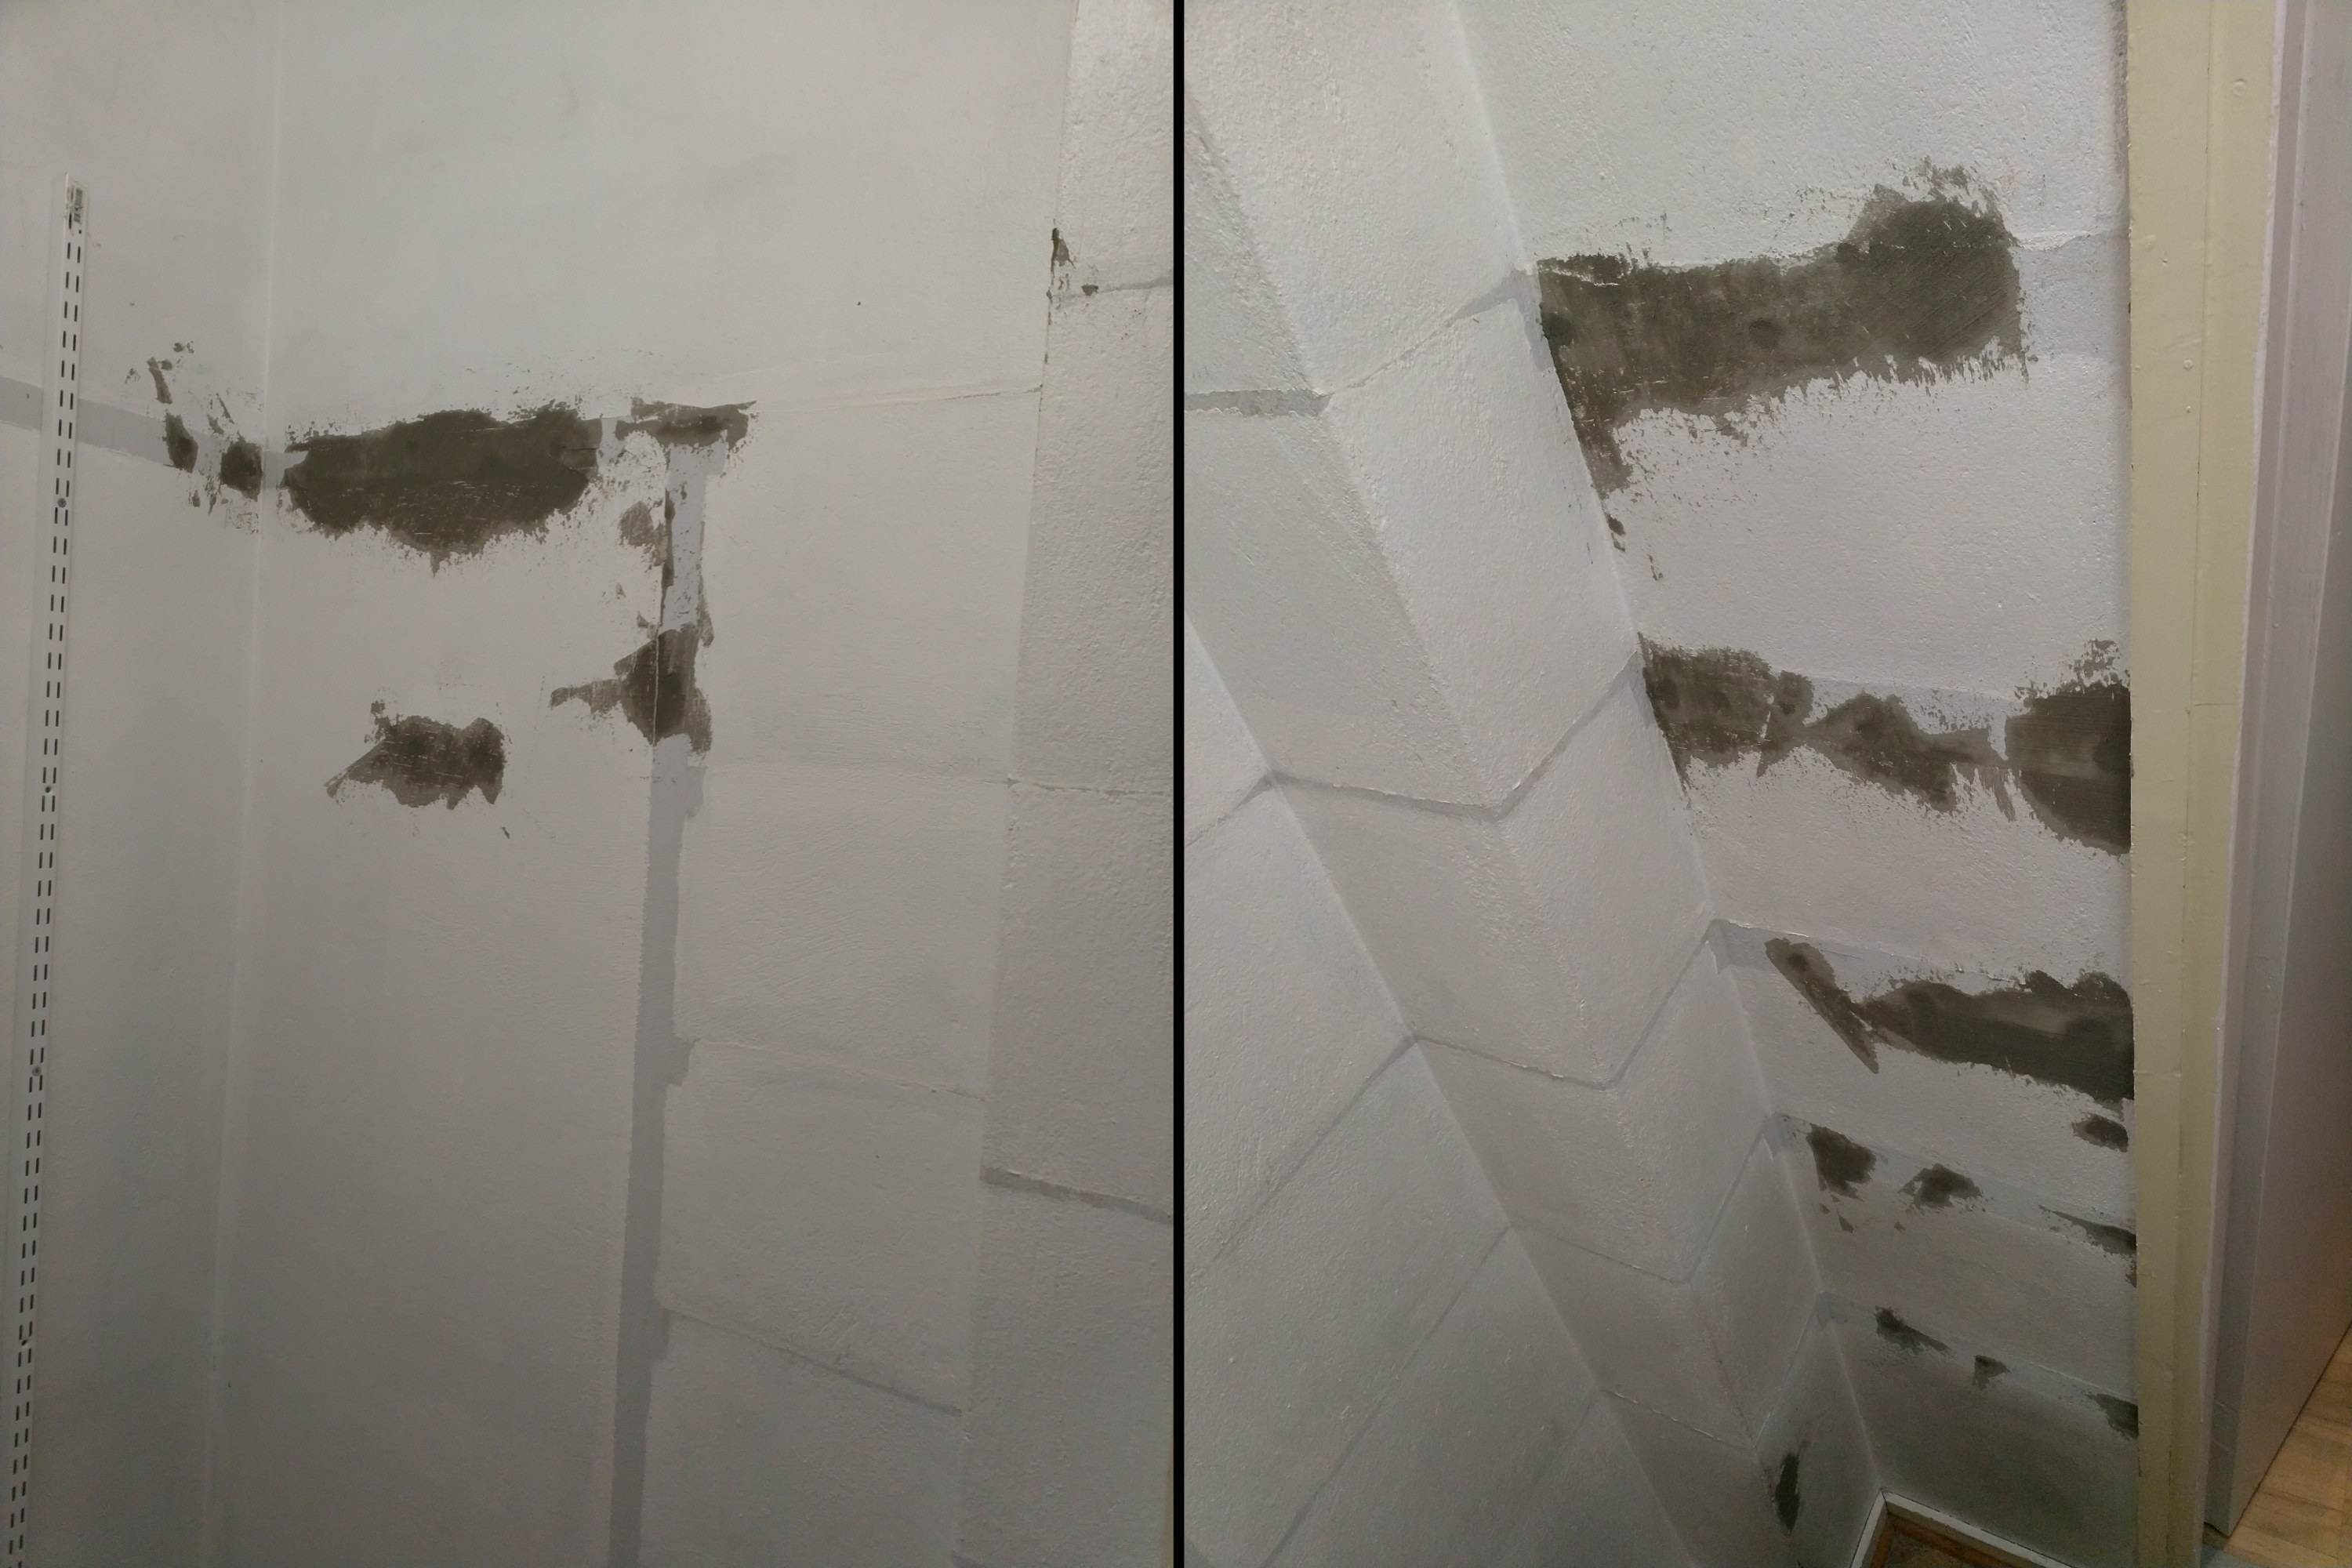
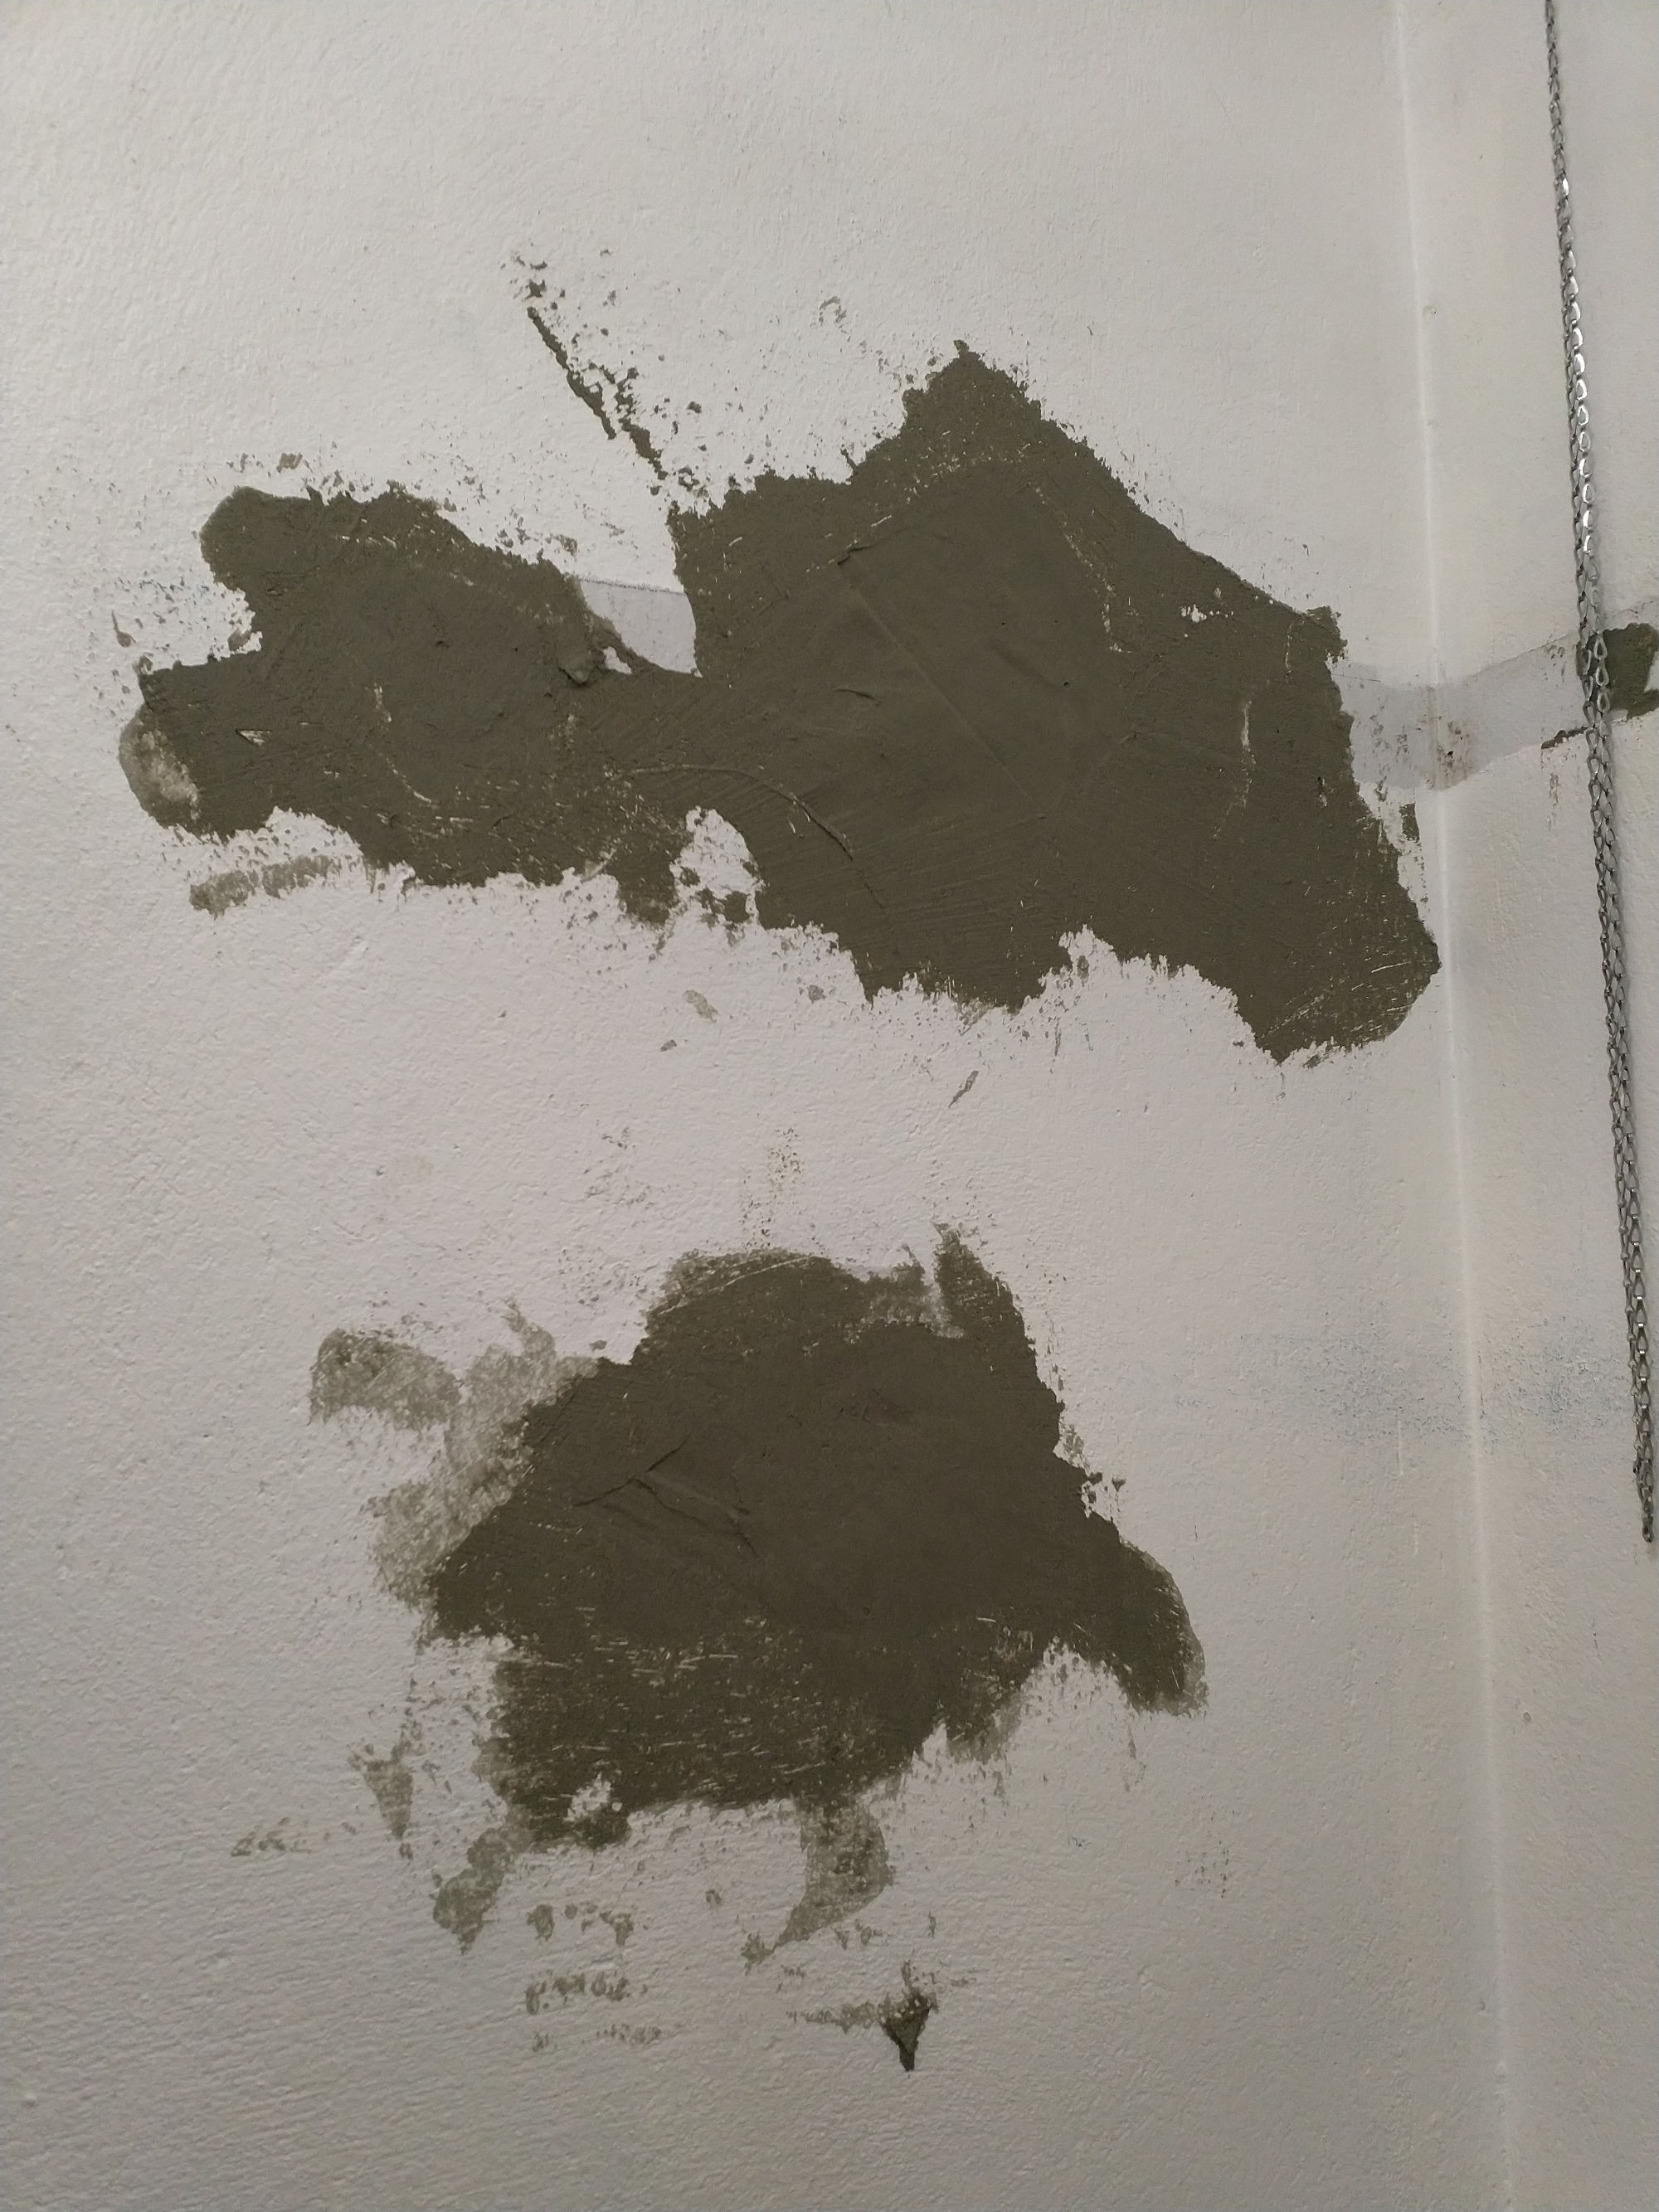
This is what happens when you remove 50-year old nails from concrete walls…
3. Fixing new supports
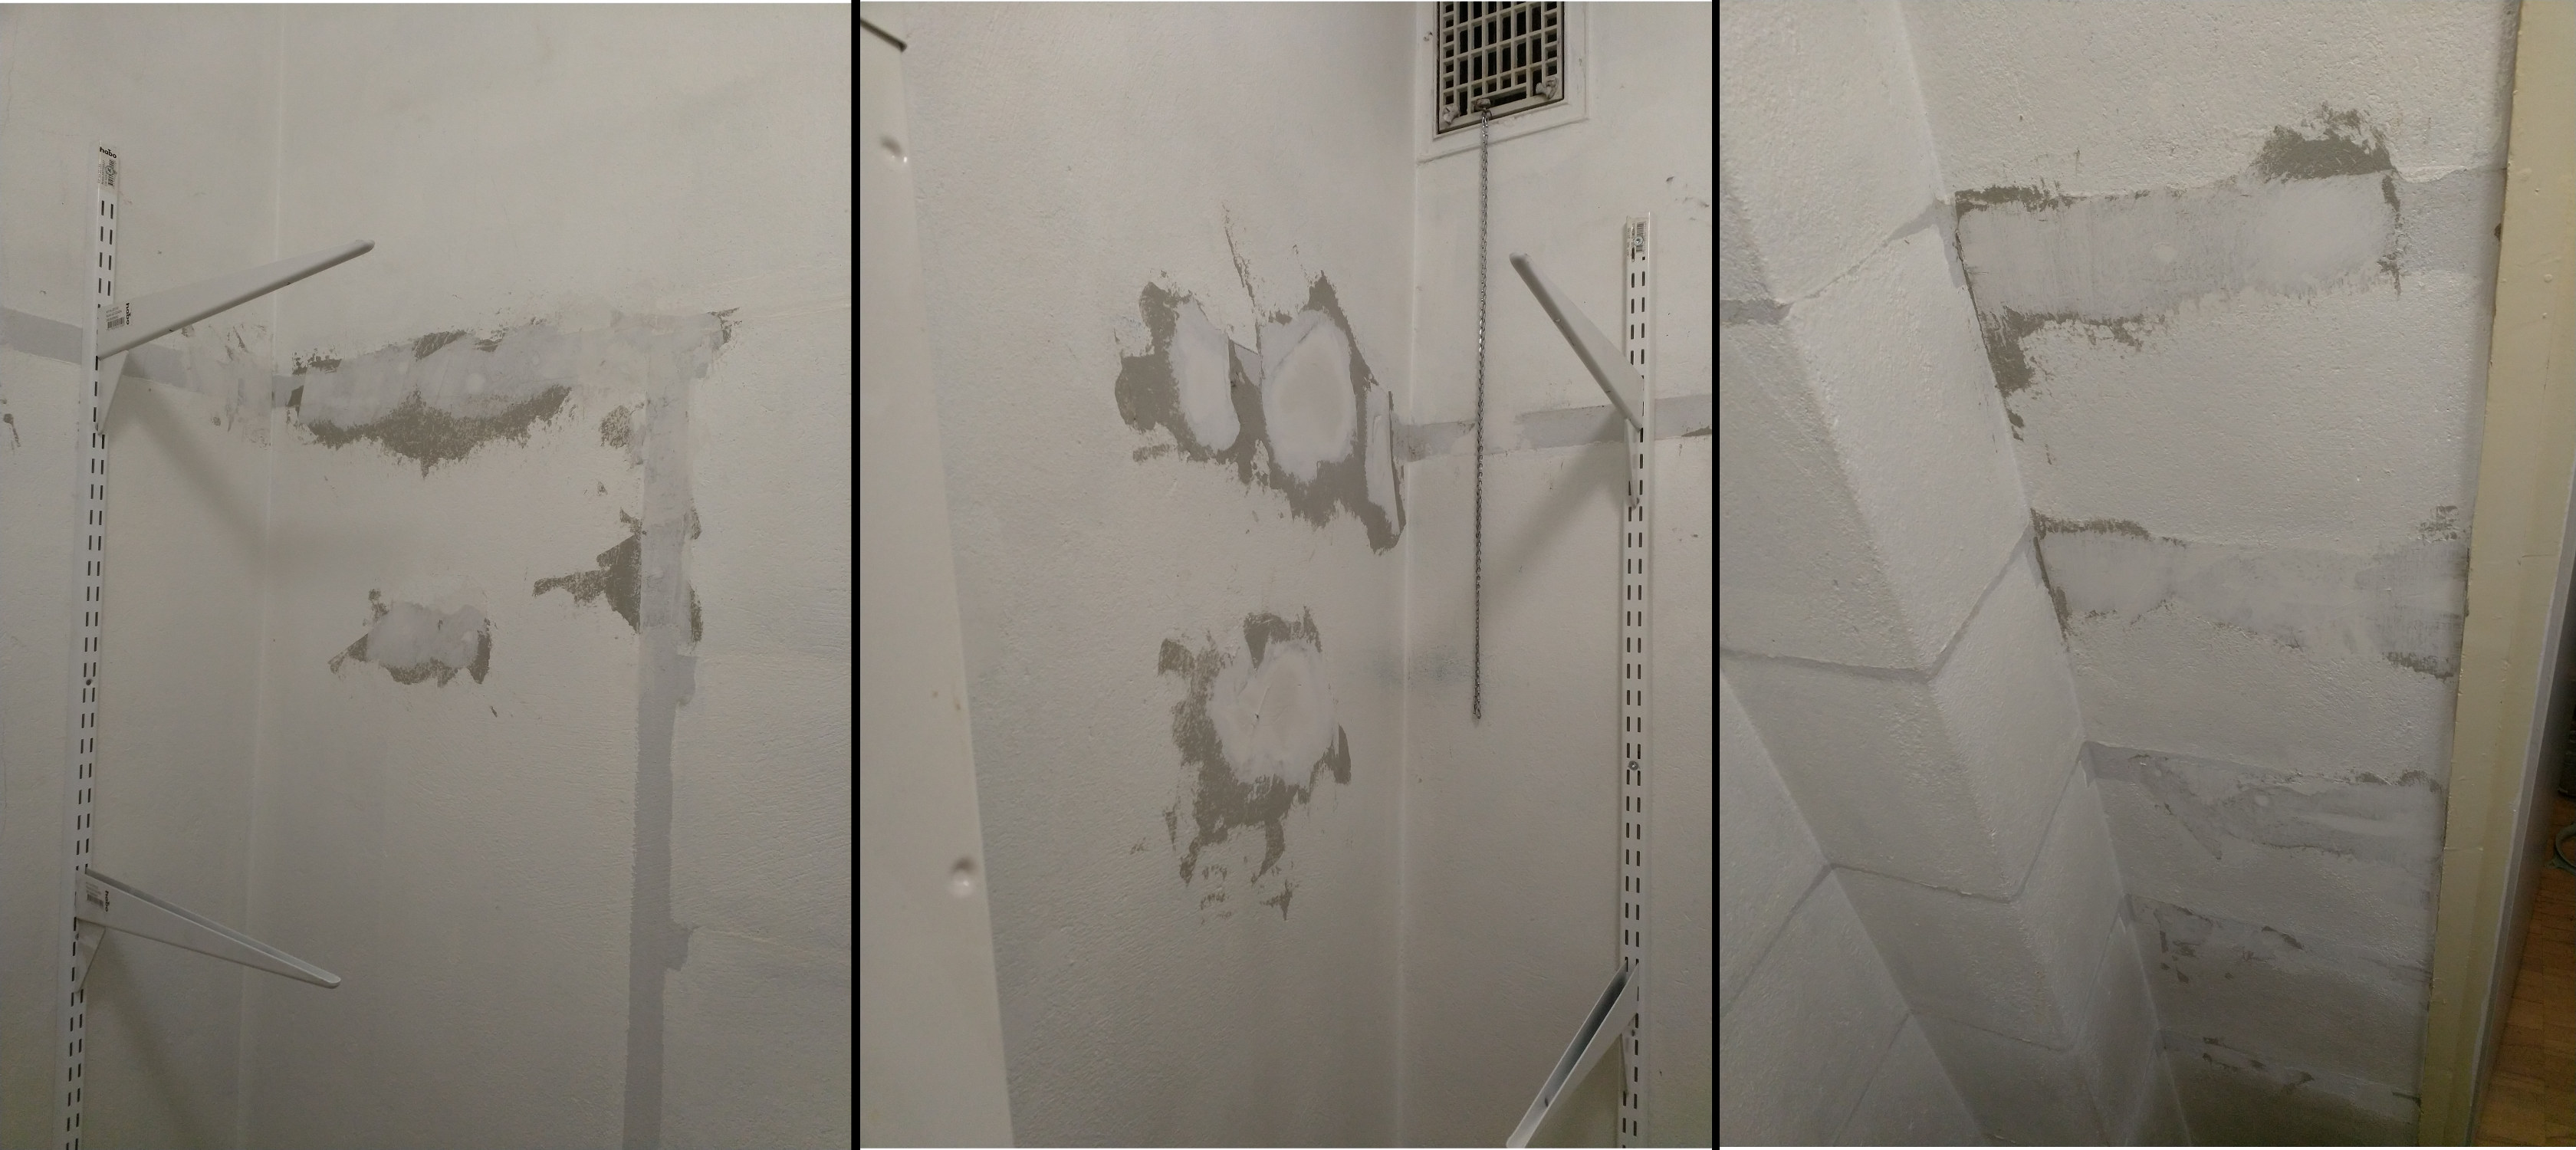
First we have to patch up all the holes in the walls.
I attached the wall beams with a rental hammerdrill, because working with bad tools is not fun. With the rental, I was able to drill 10 8mm holes to the wall in no time. Total cost, 25€ with SDS+ drillbits.
After drilling, I put in brickwall studs, and added some industrial flexible glue to really hold down the studs. The shelf supports have hooks that line with the beams
4. Making the shelves
I grabbed some 600x2000 birch wood shelves from the local hardware store, and cut them to the correct length. Now I can make some cutting boards from the leftovers :)
I also painted the walls with leftover light beige paint, just enough for two coats.
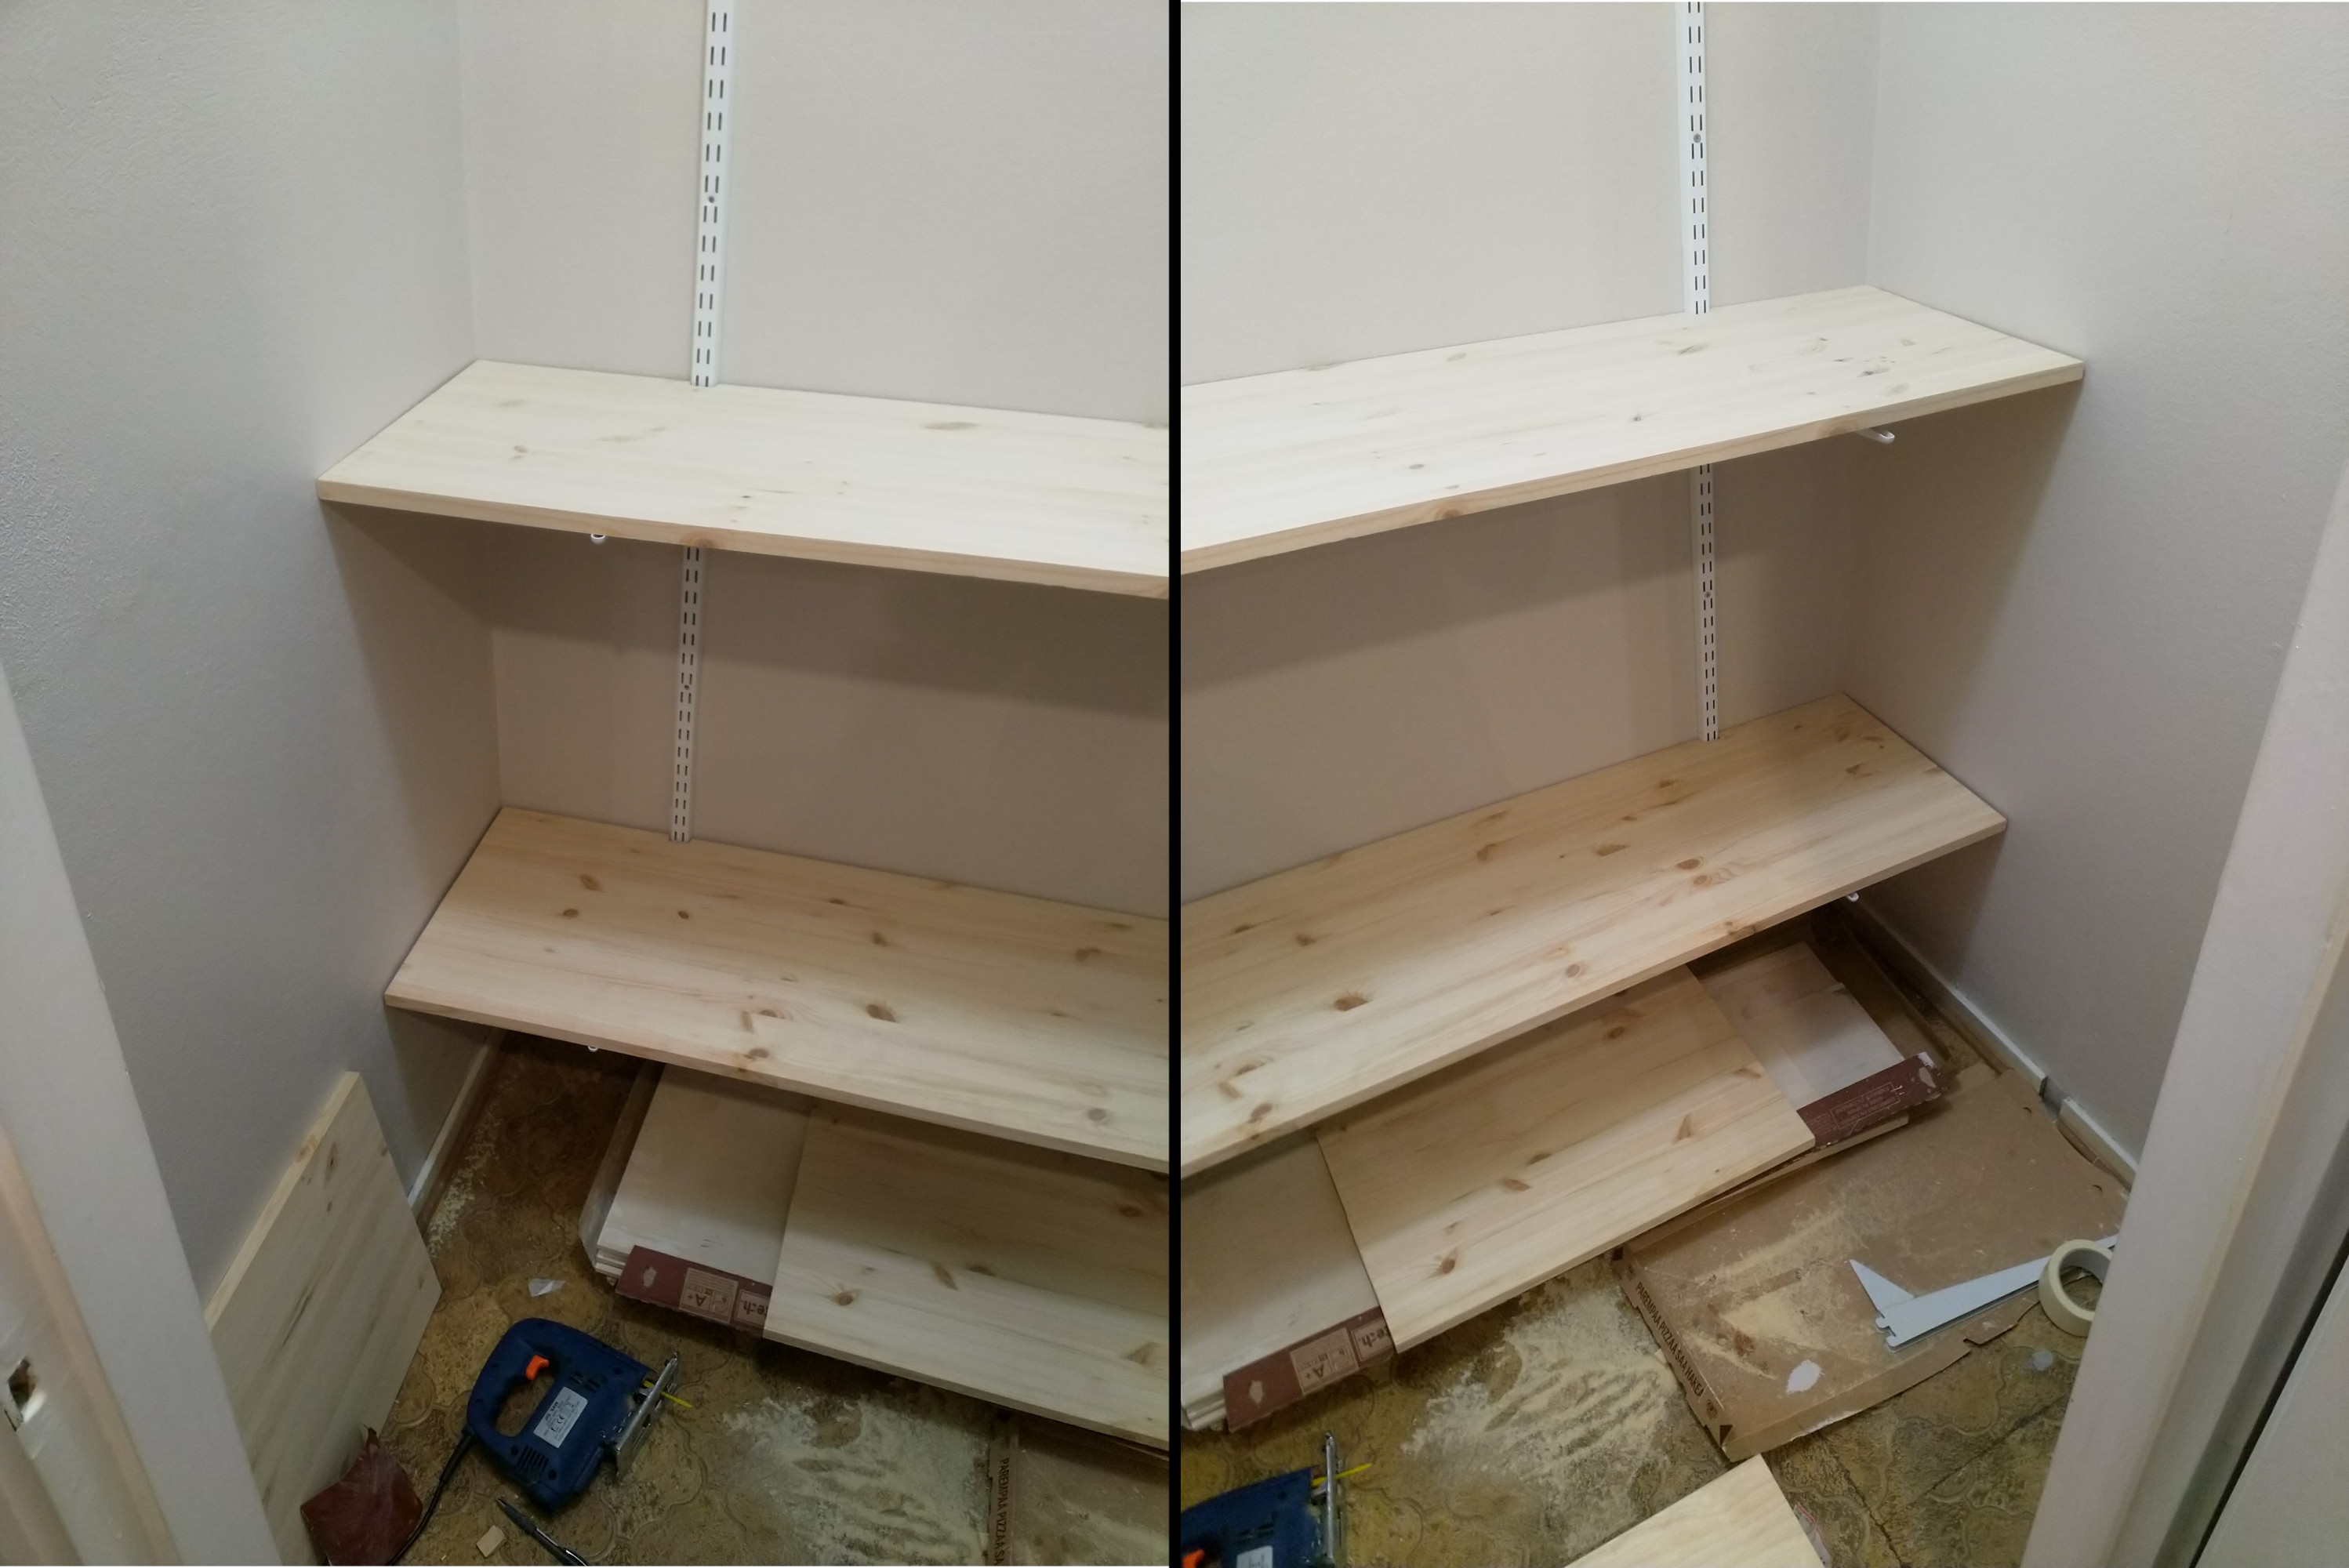
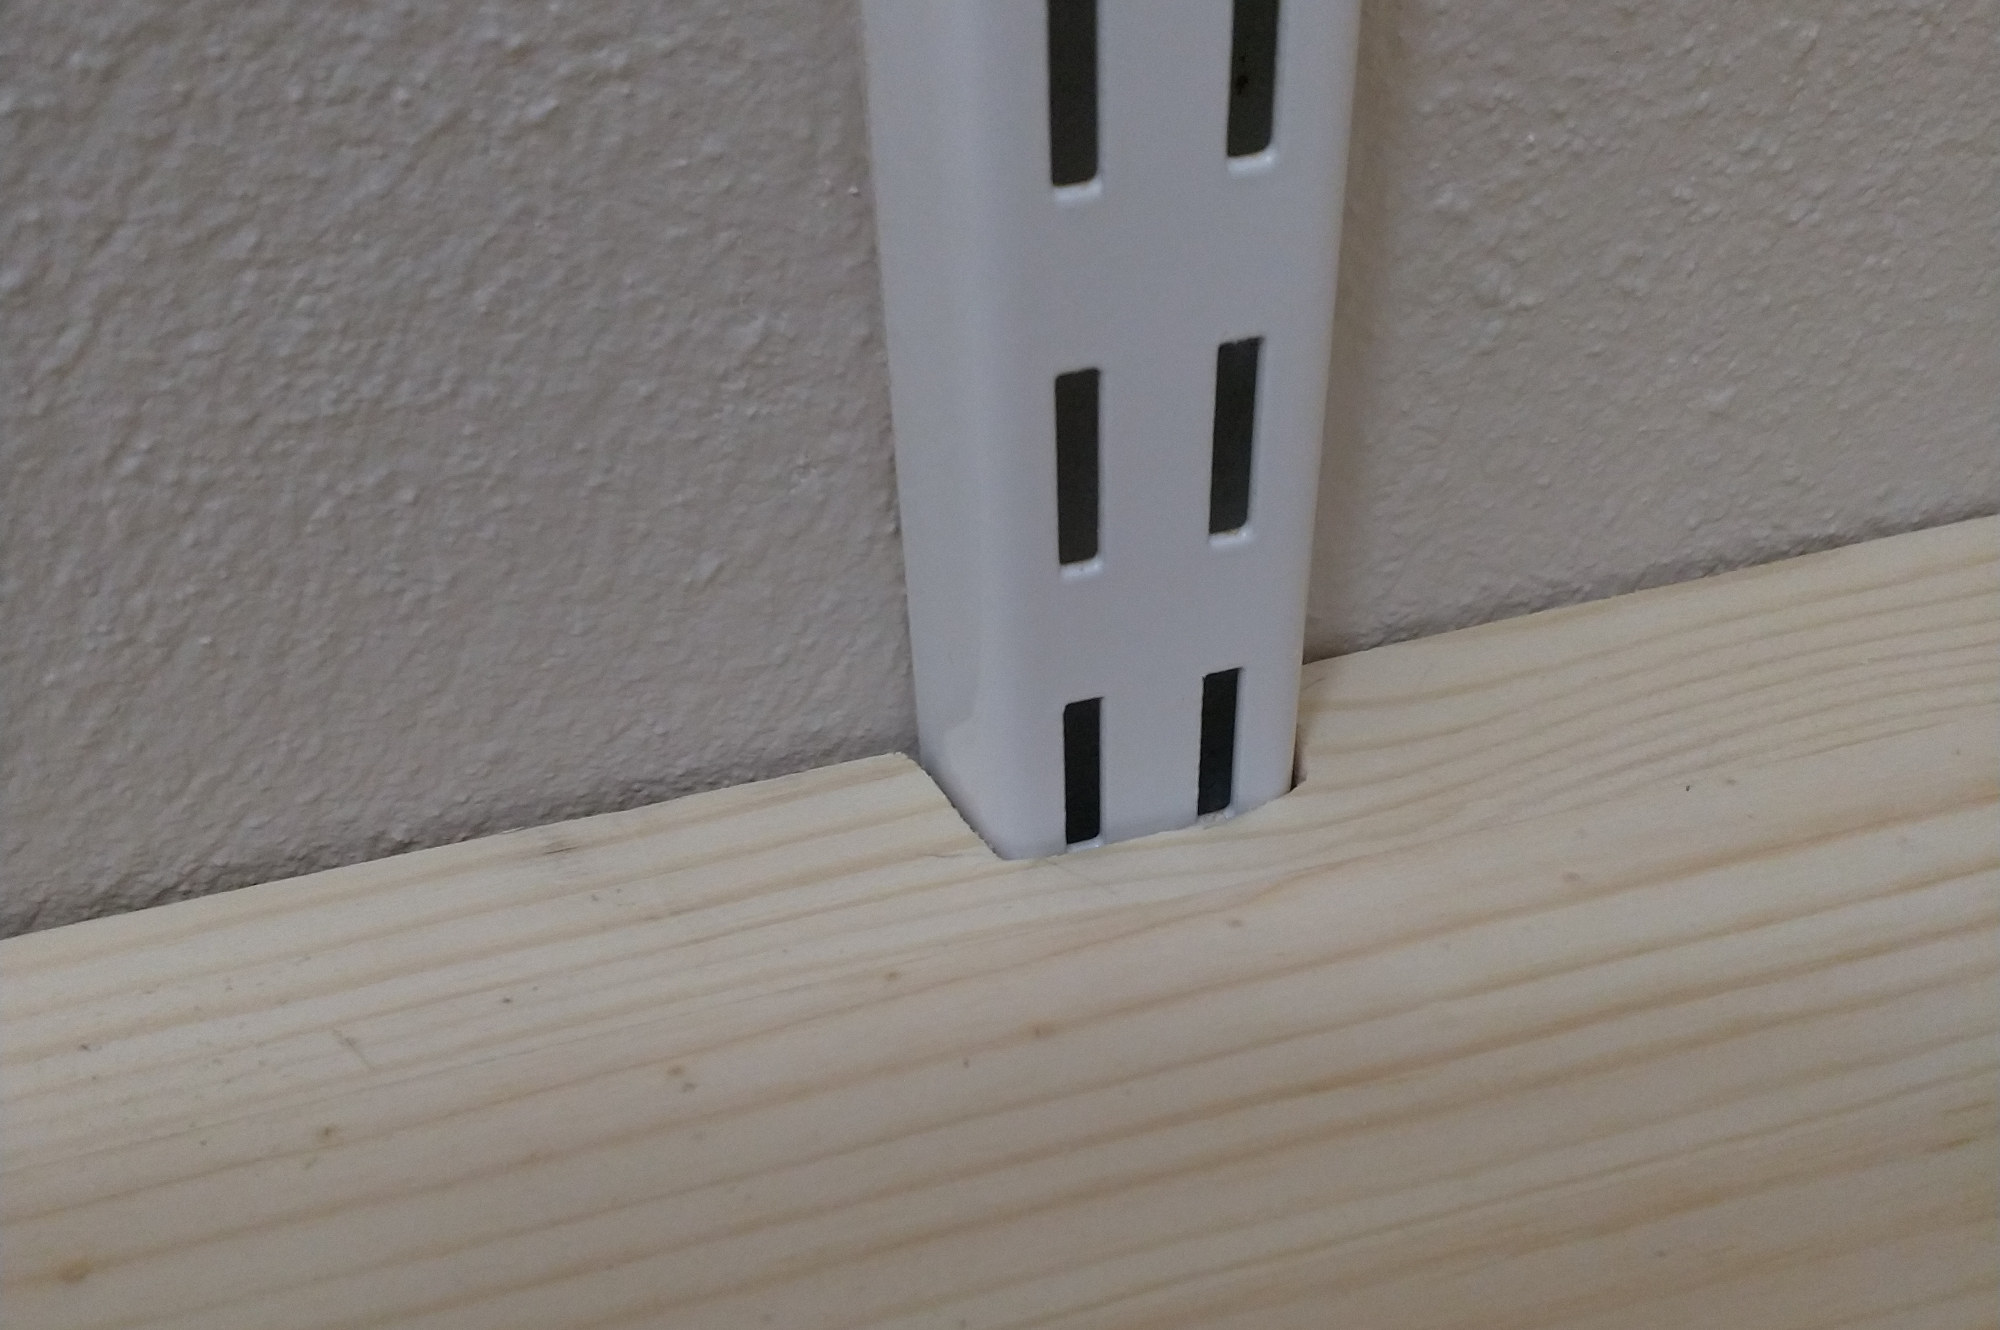
Made some relief cuts, so that nothing can drop down behind the shelves.
5. Final pictures
Here are the finished shelves. I like the natural wood colour, so I might leave them as they are now.
One thing that is still missing, is the coat hanger bar. I have been hunting for one that fits straight into the support bars, but I haven’t yet found one. Might have to weld one myself…
