Welcome to the fifth part of this series focused on building a SQ competition car. The class where I hope I can compete, is the EMMA Sound Quality (S) Skilled OEM-class
Links to more resources EMMA Finland and EMMA International
About that trunk
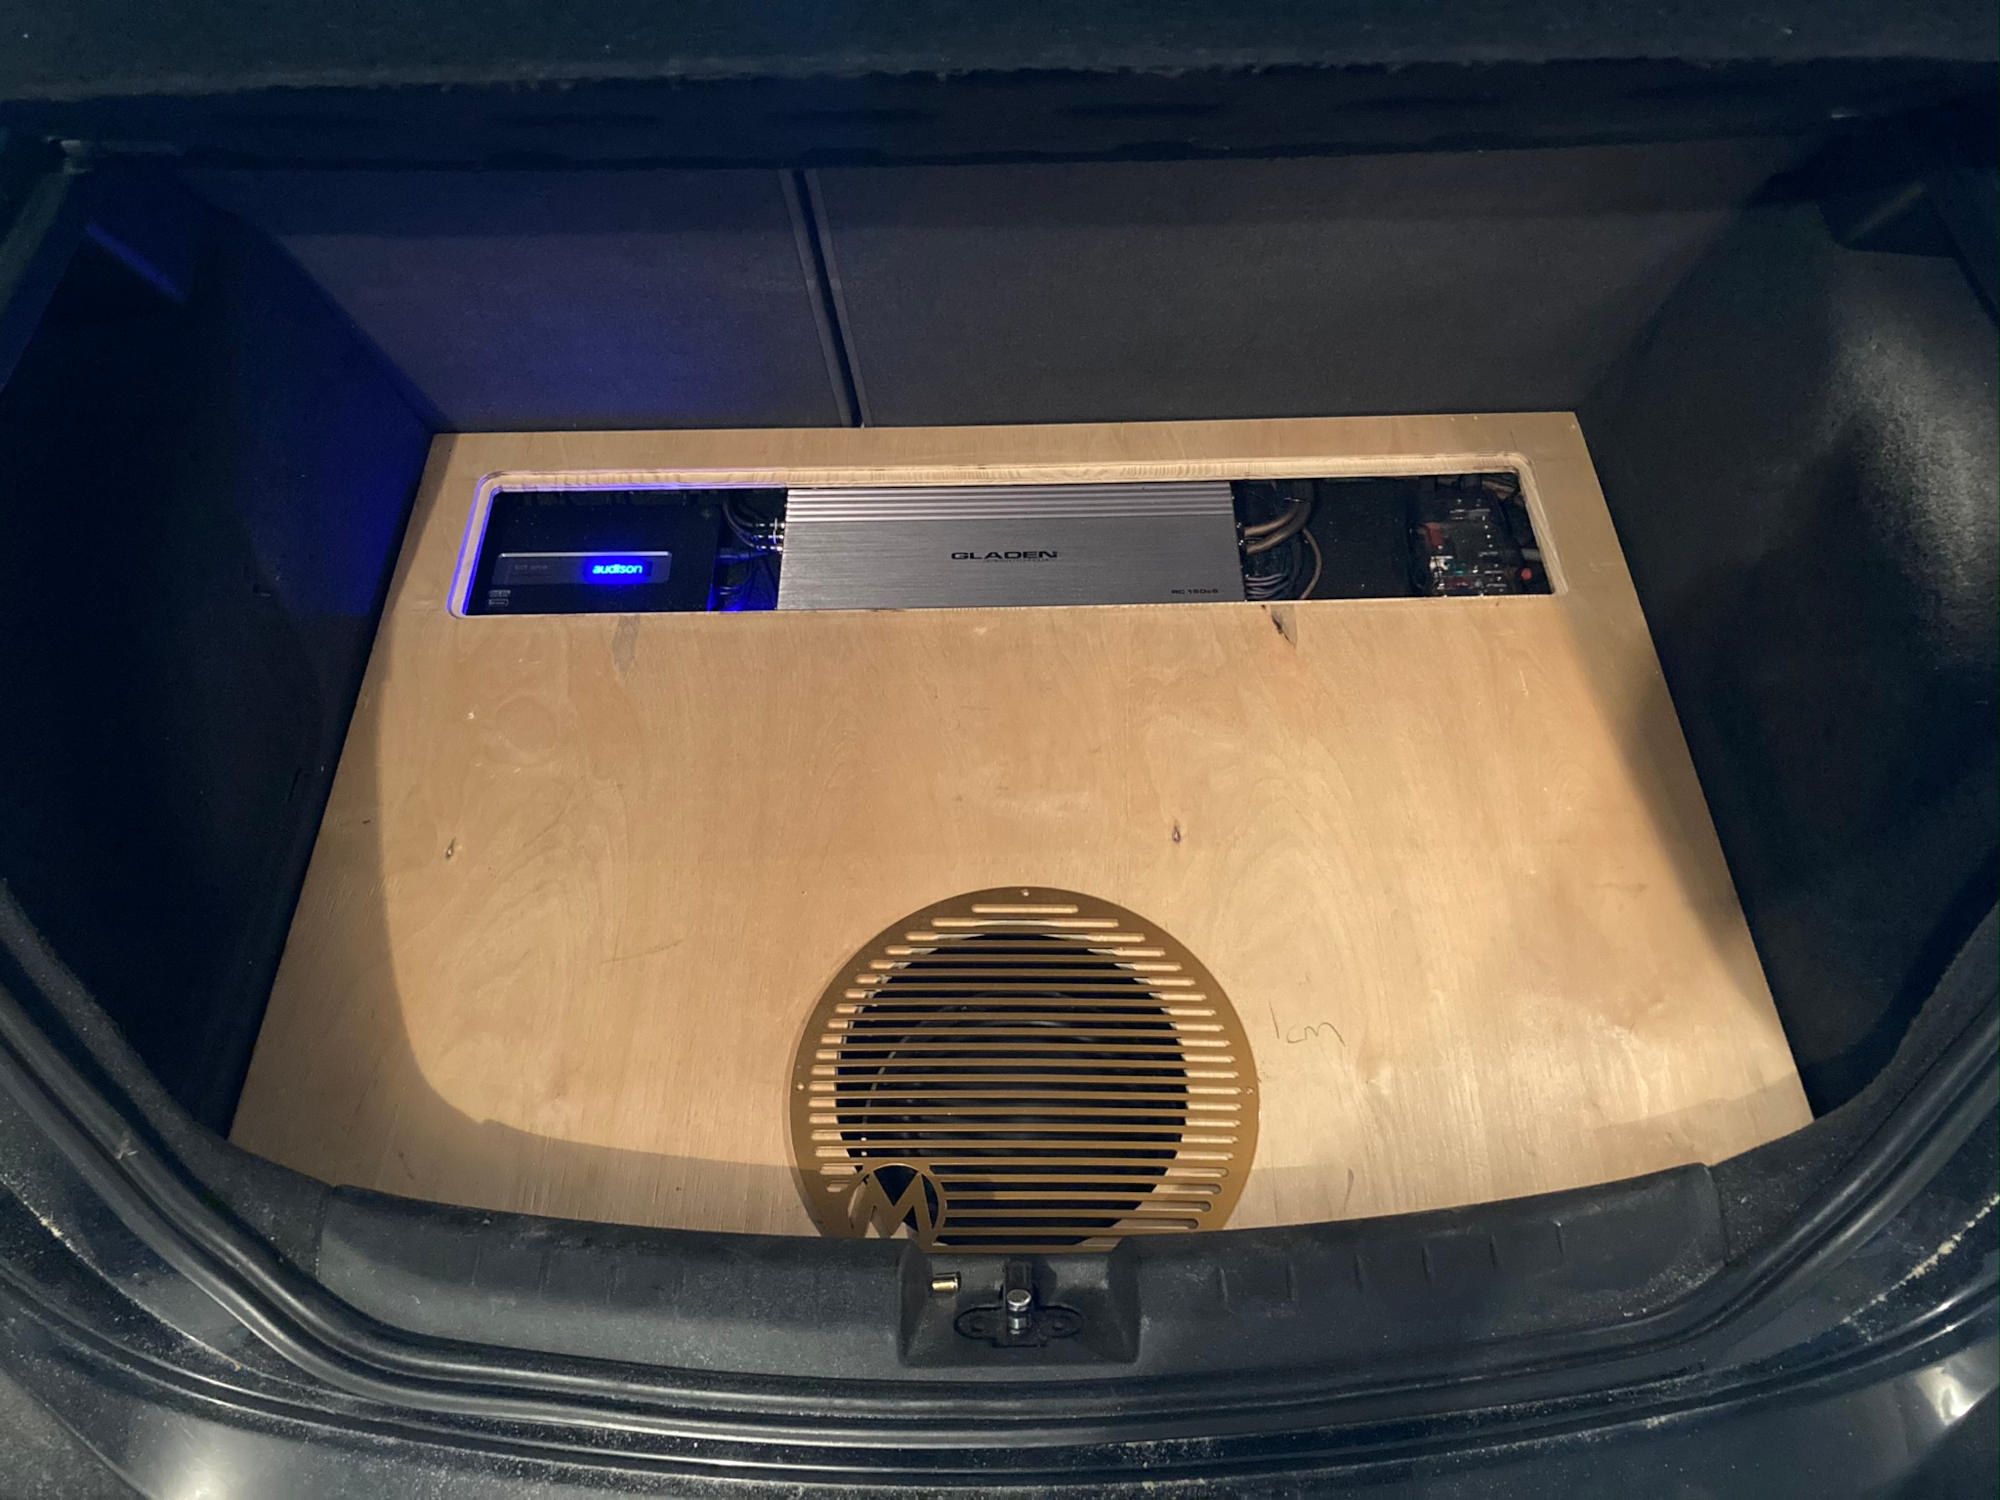
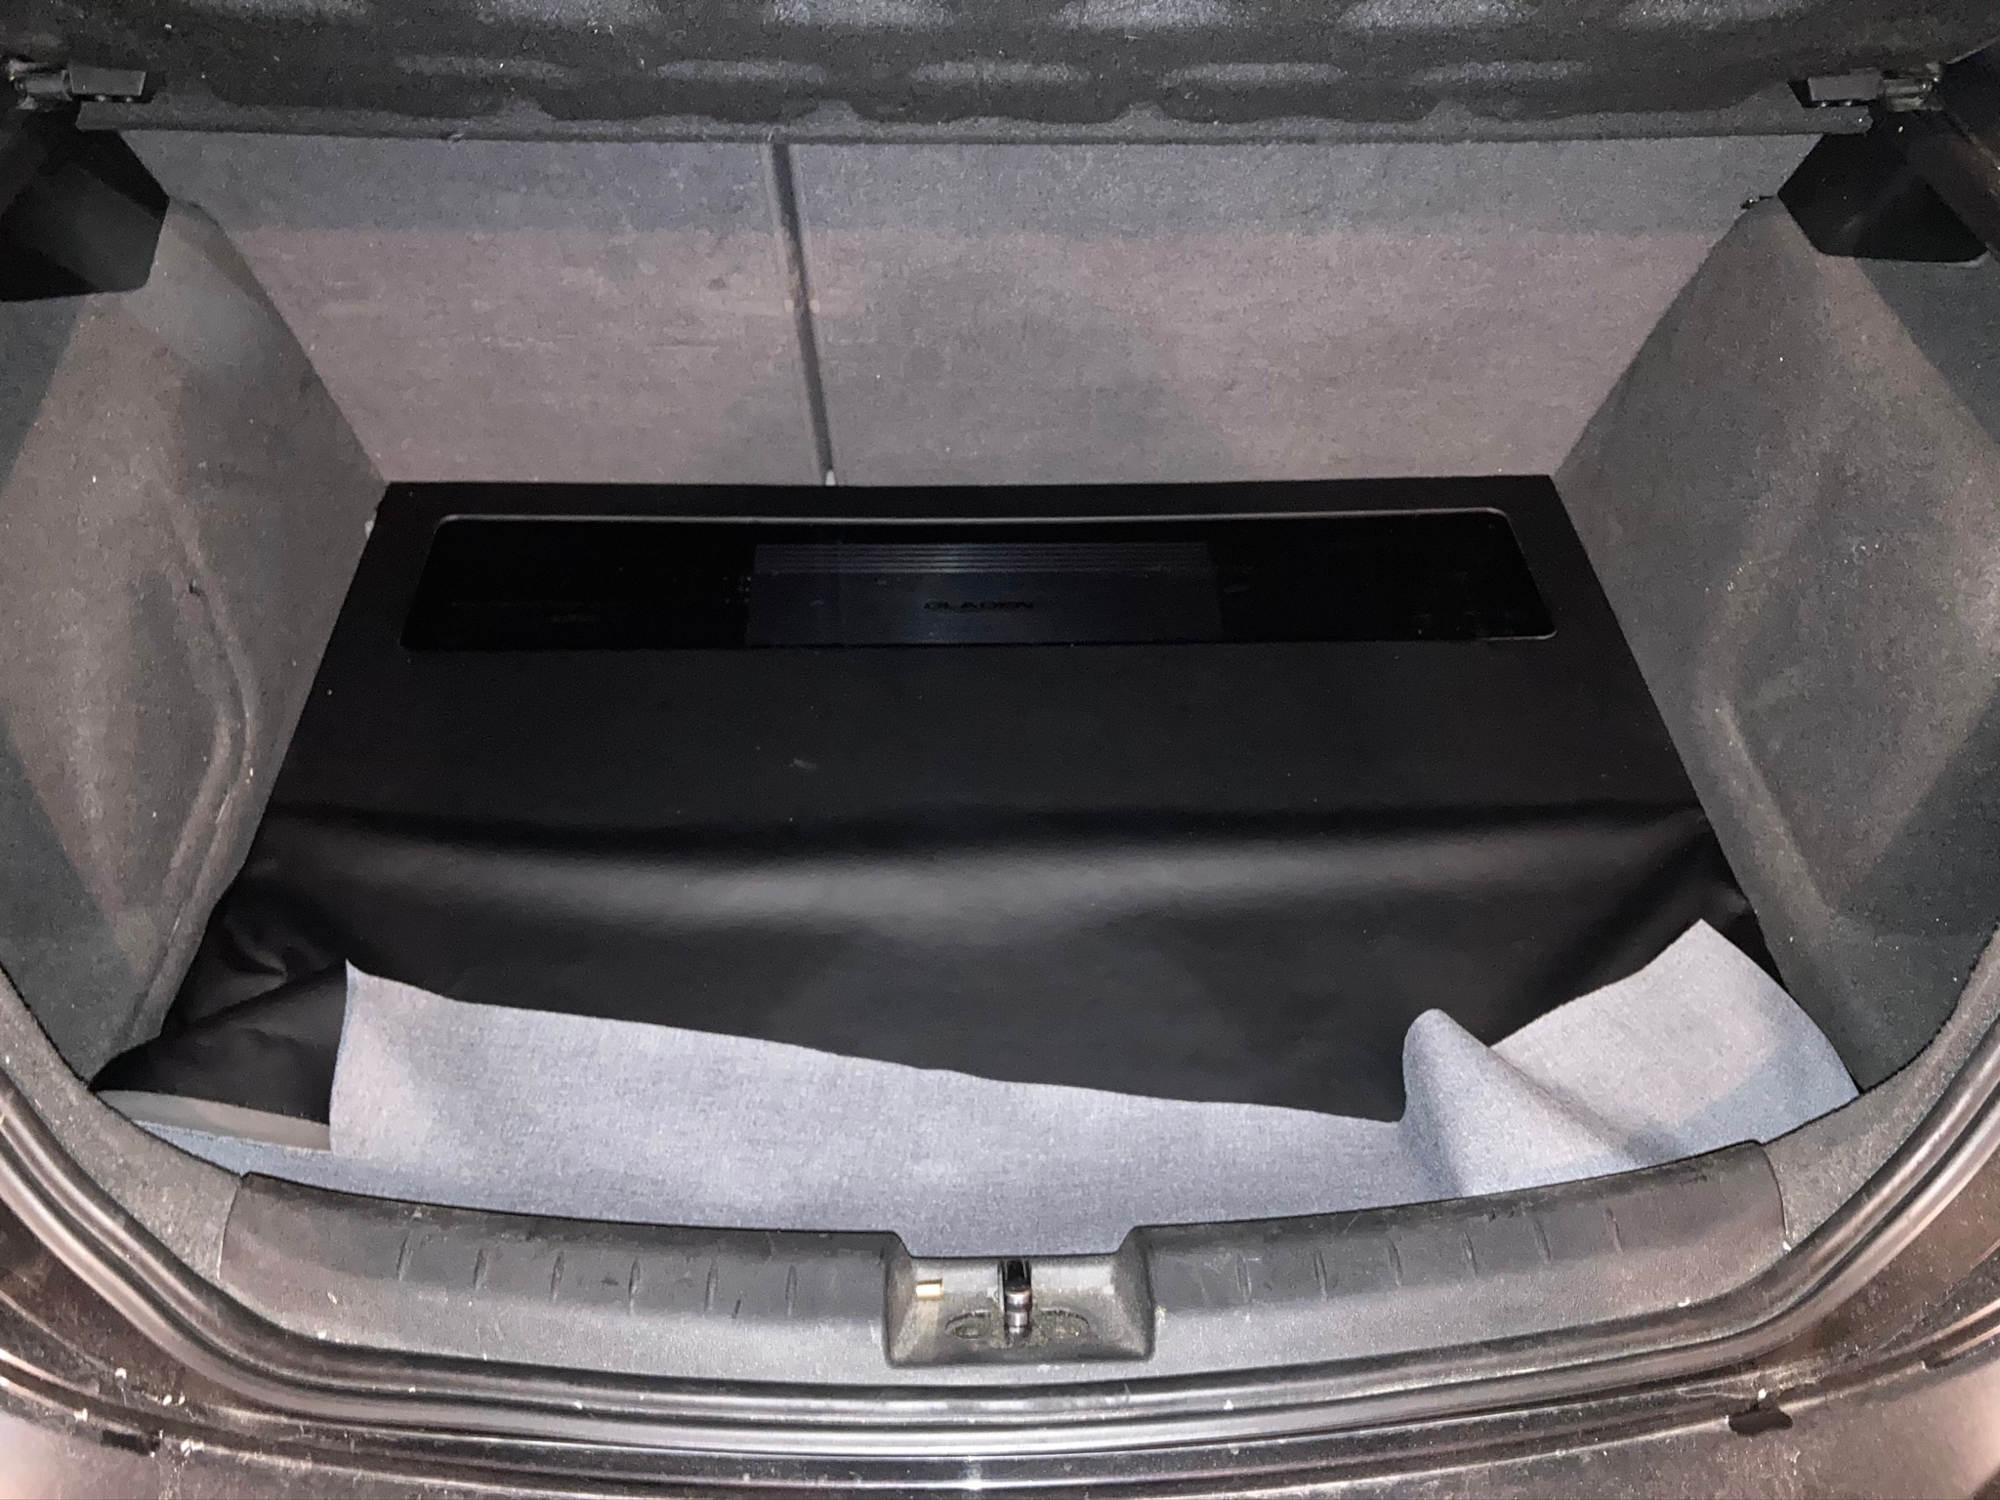
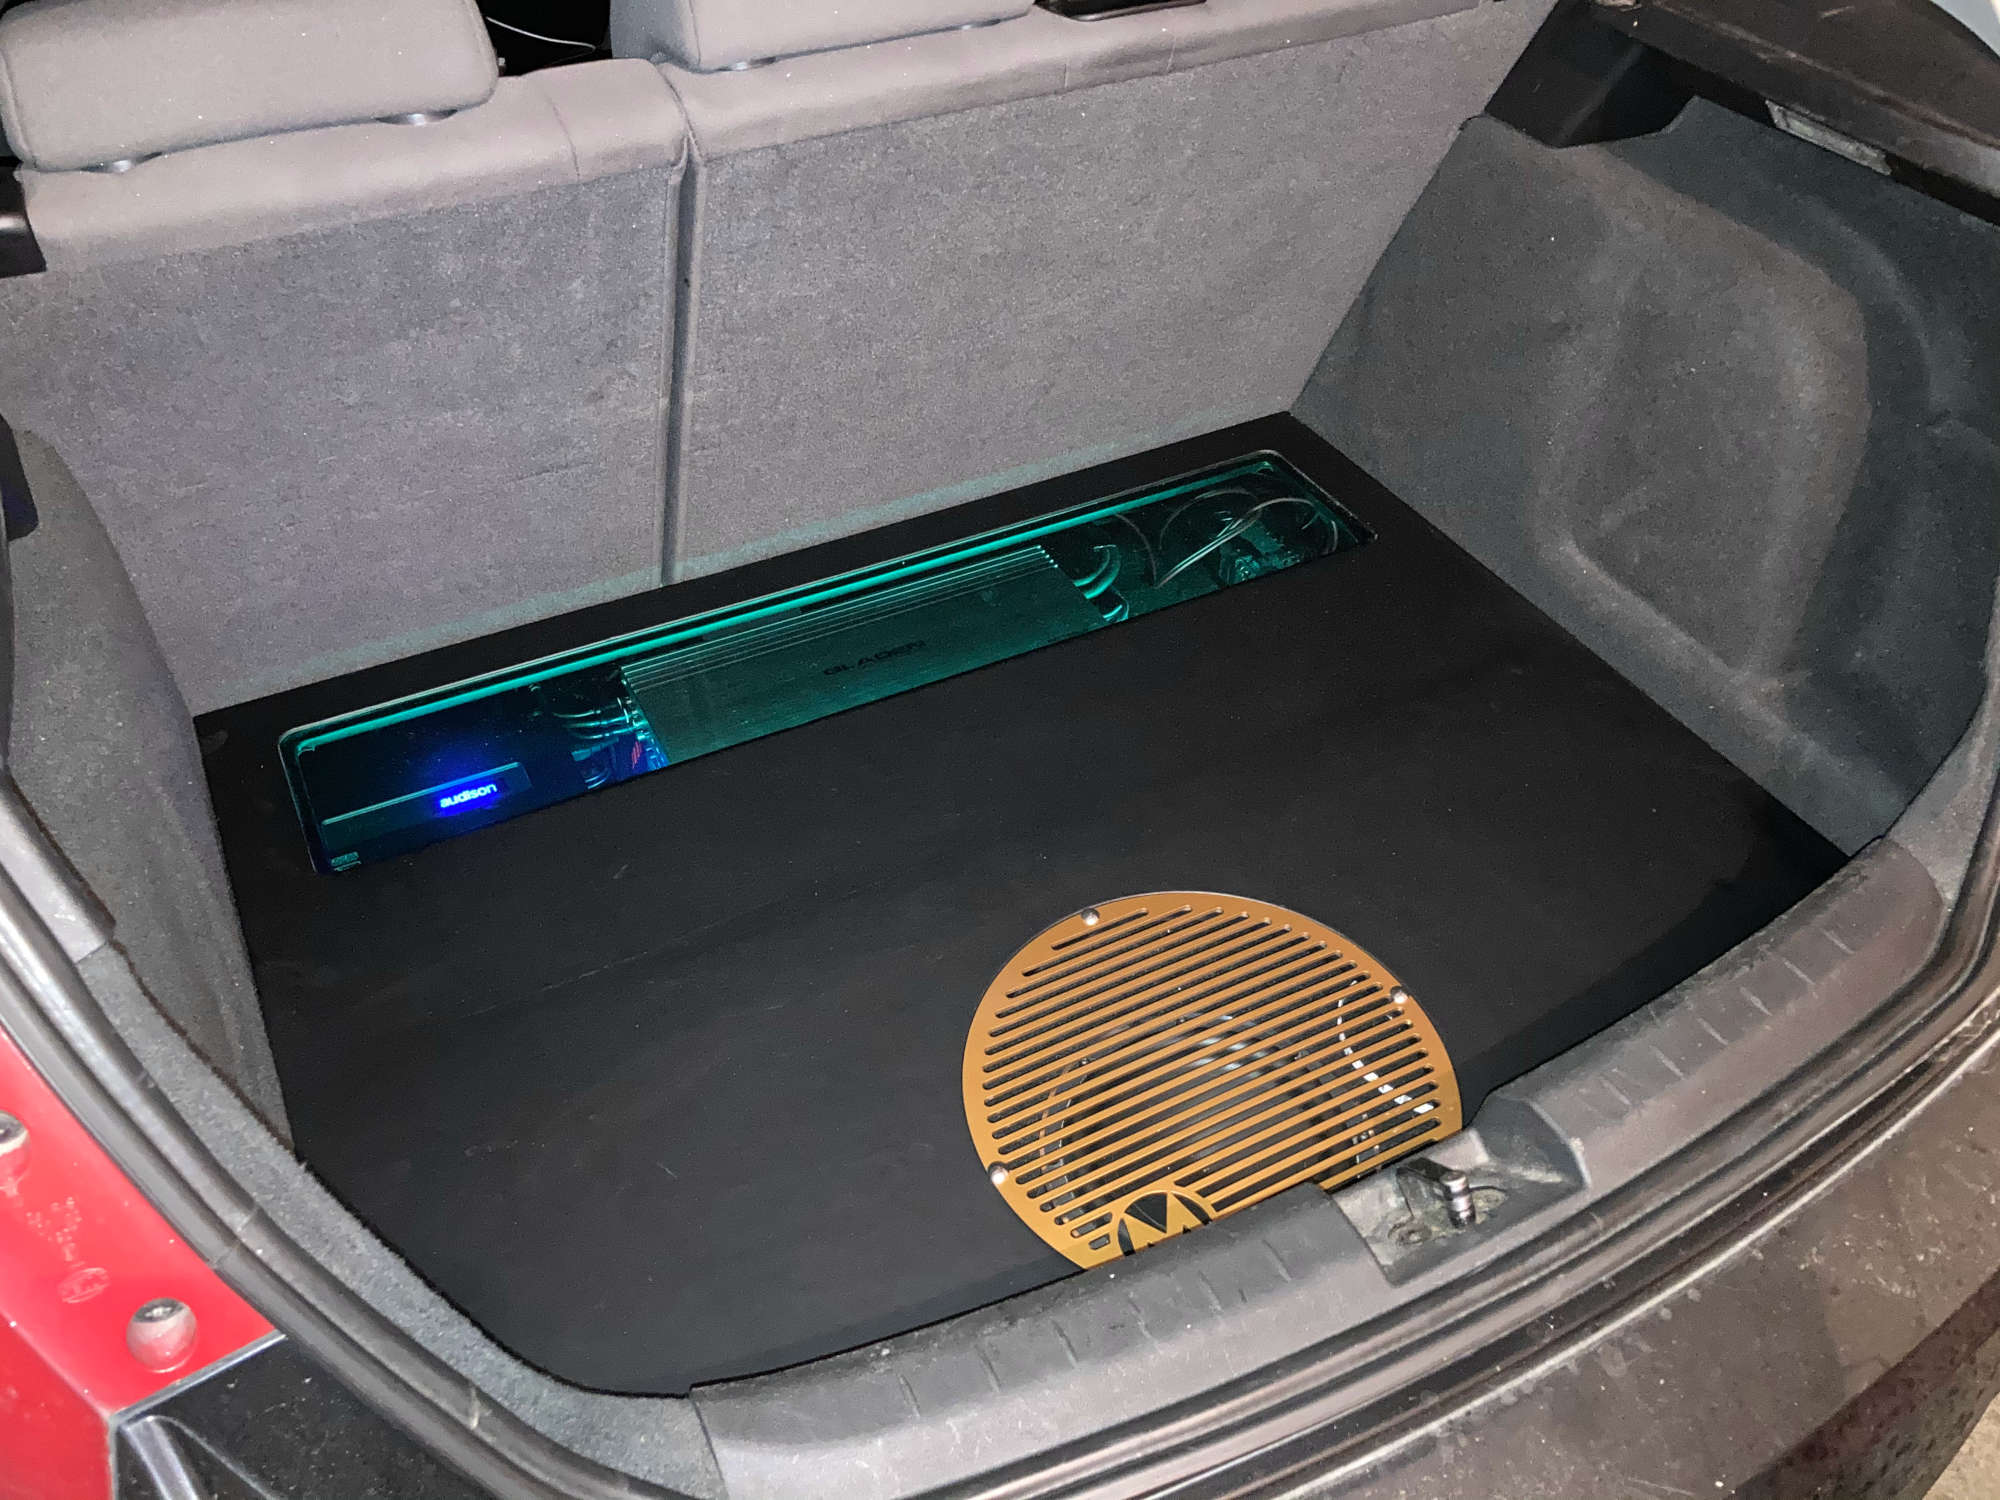
So now that the sound side is starting to plan out nicely, I need to do something special for the trunk. For a while, the trunk looked like this;
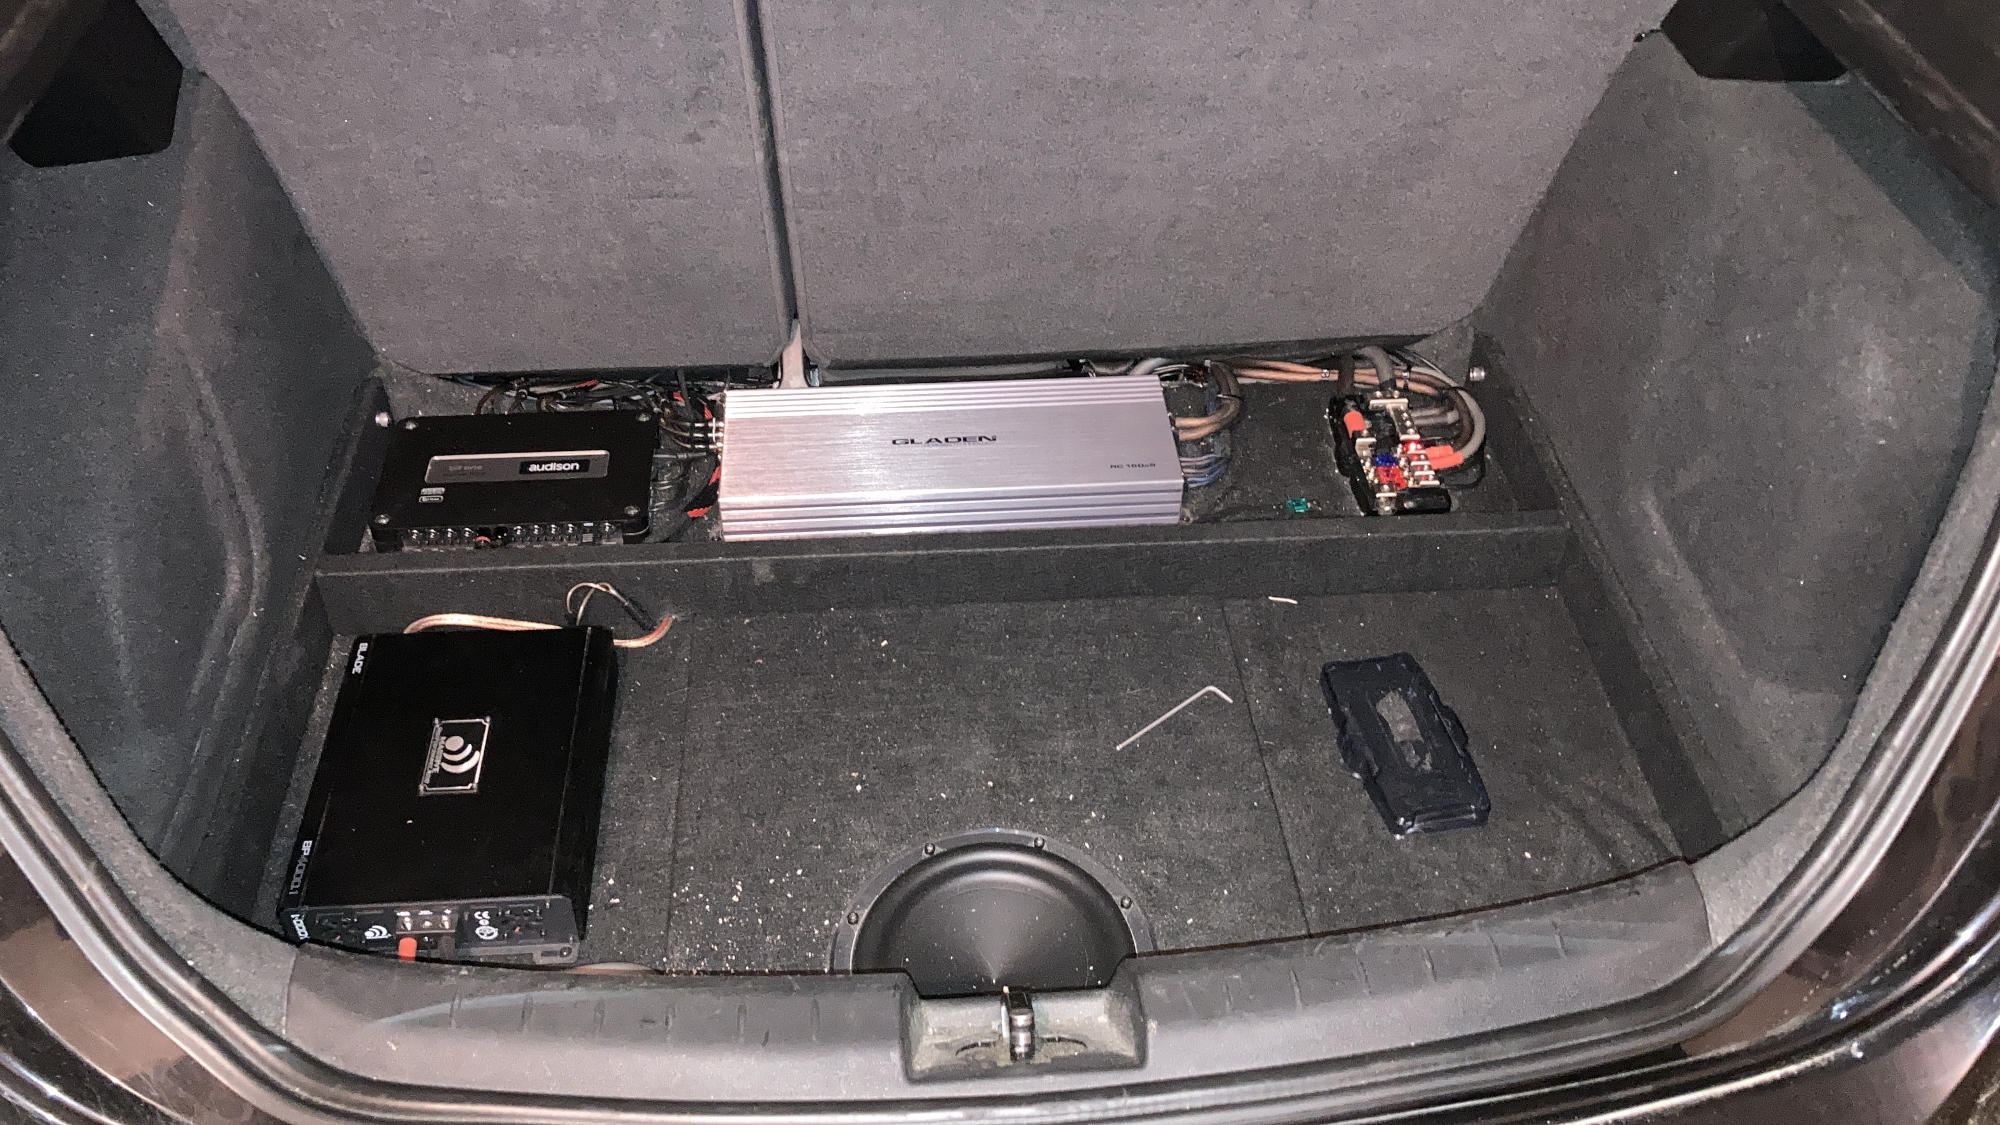
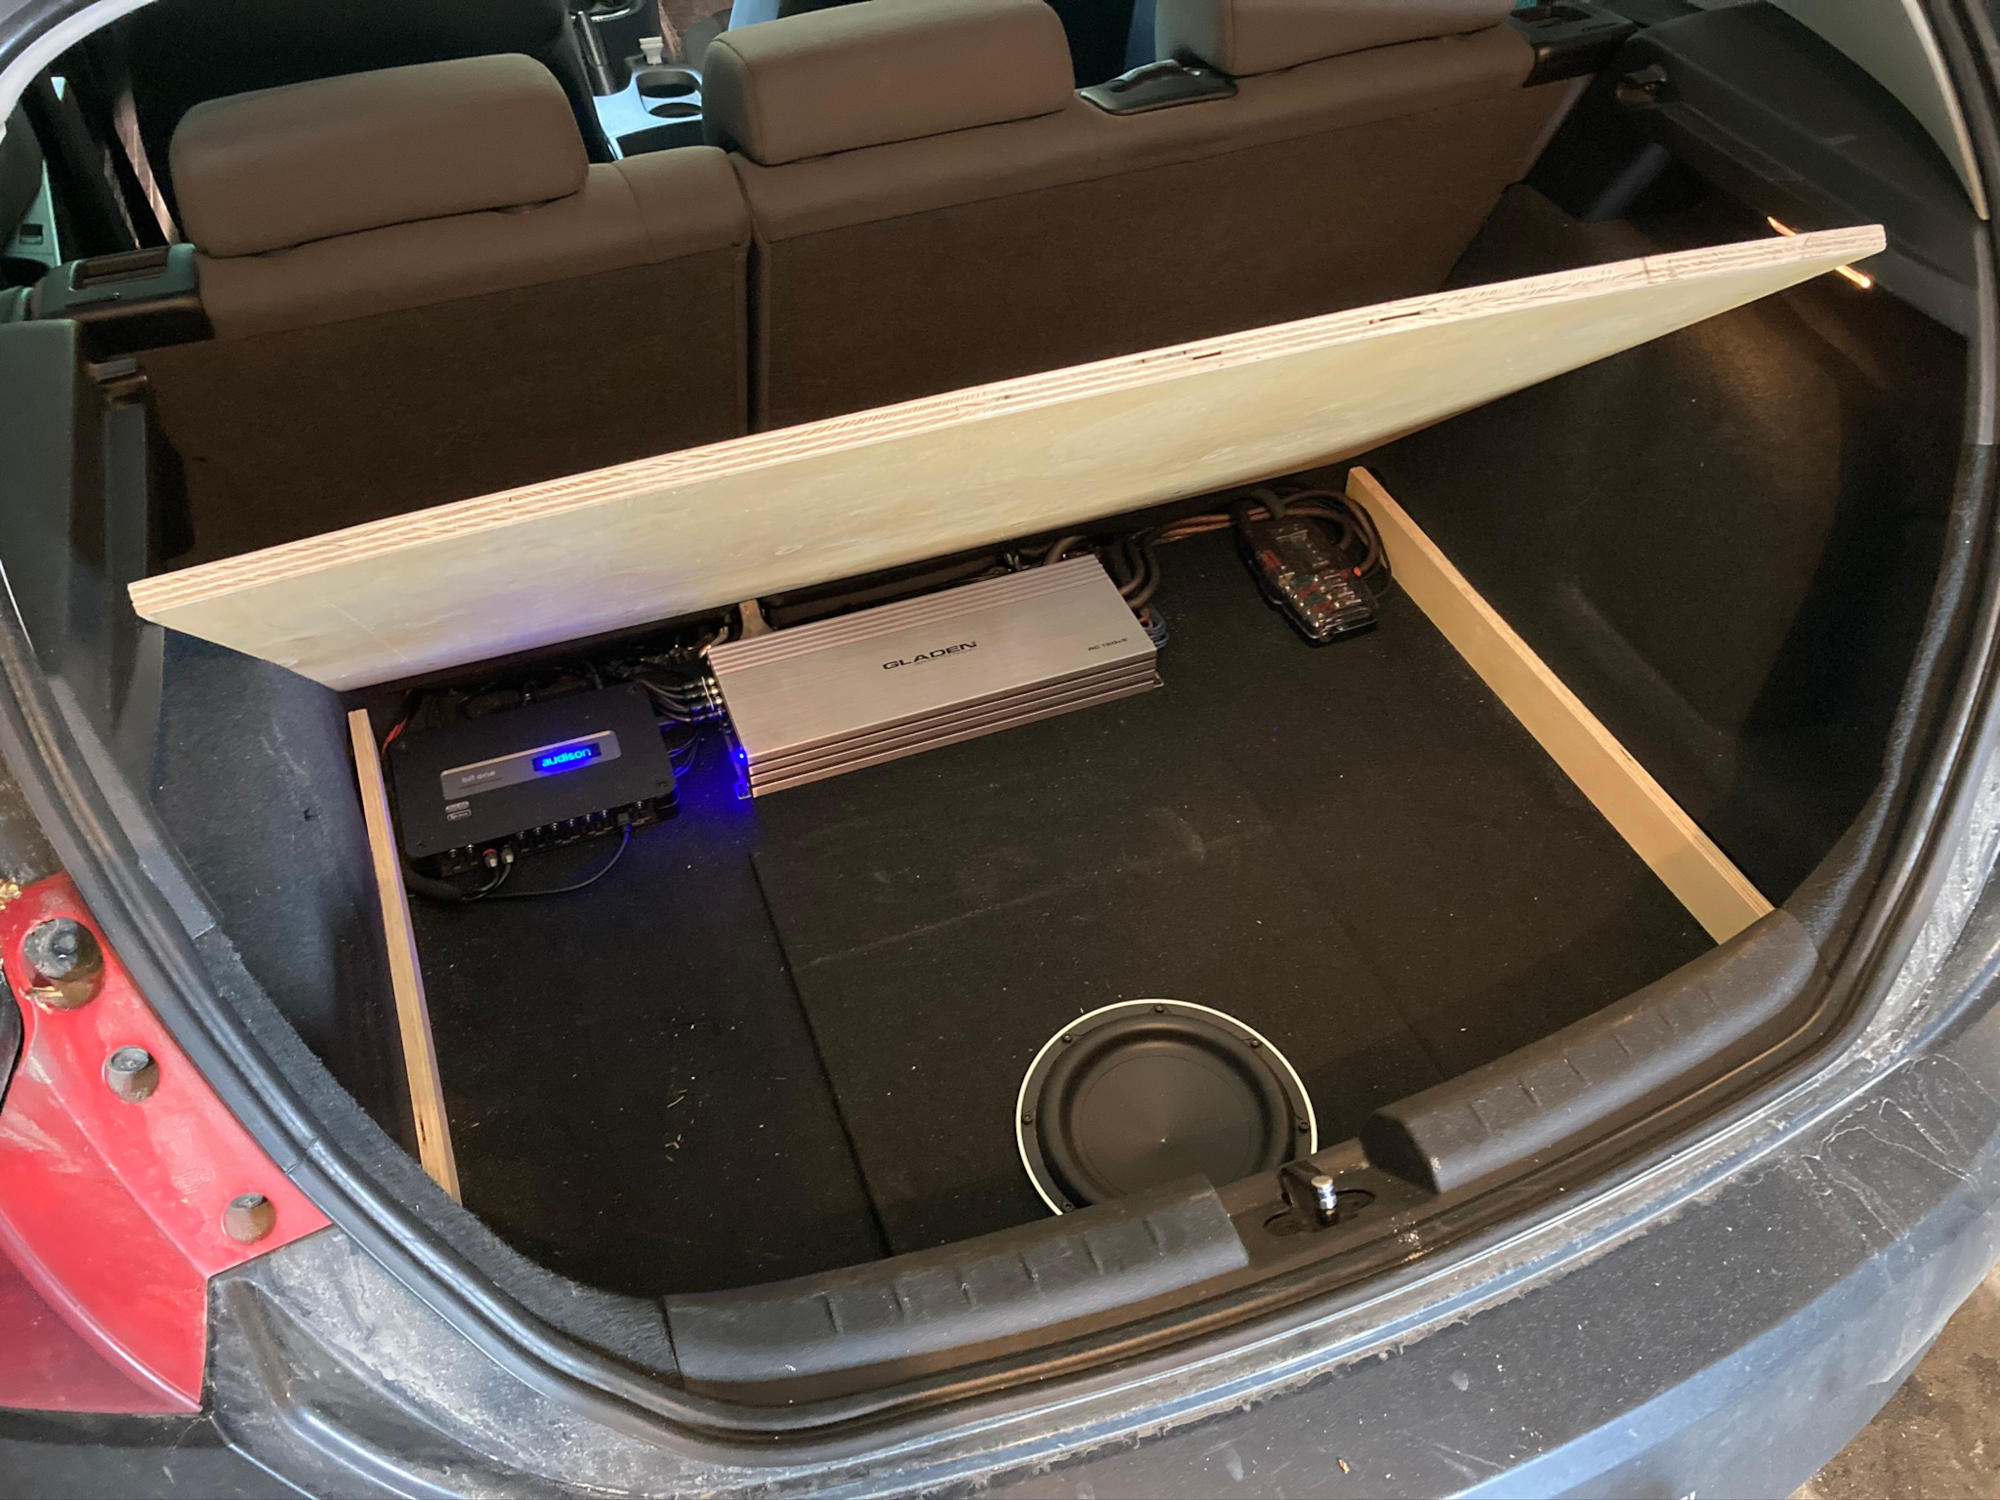
The sides have two M8 bolts going to the chassis to hold the bottom plate down along with the subwoofer enclosure in the middle. I Might post some pics of the box build some day.
On the center we have a removable support beam to support the weight of the cover plate, so I don’t have to worry about my luggage breaking my amps :)
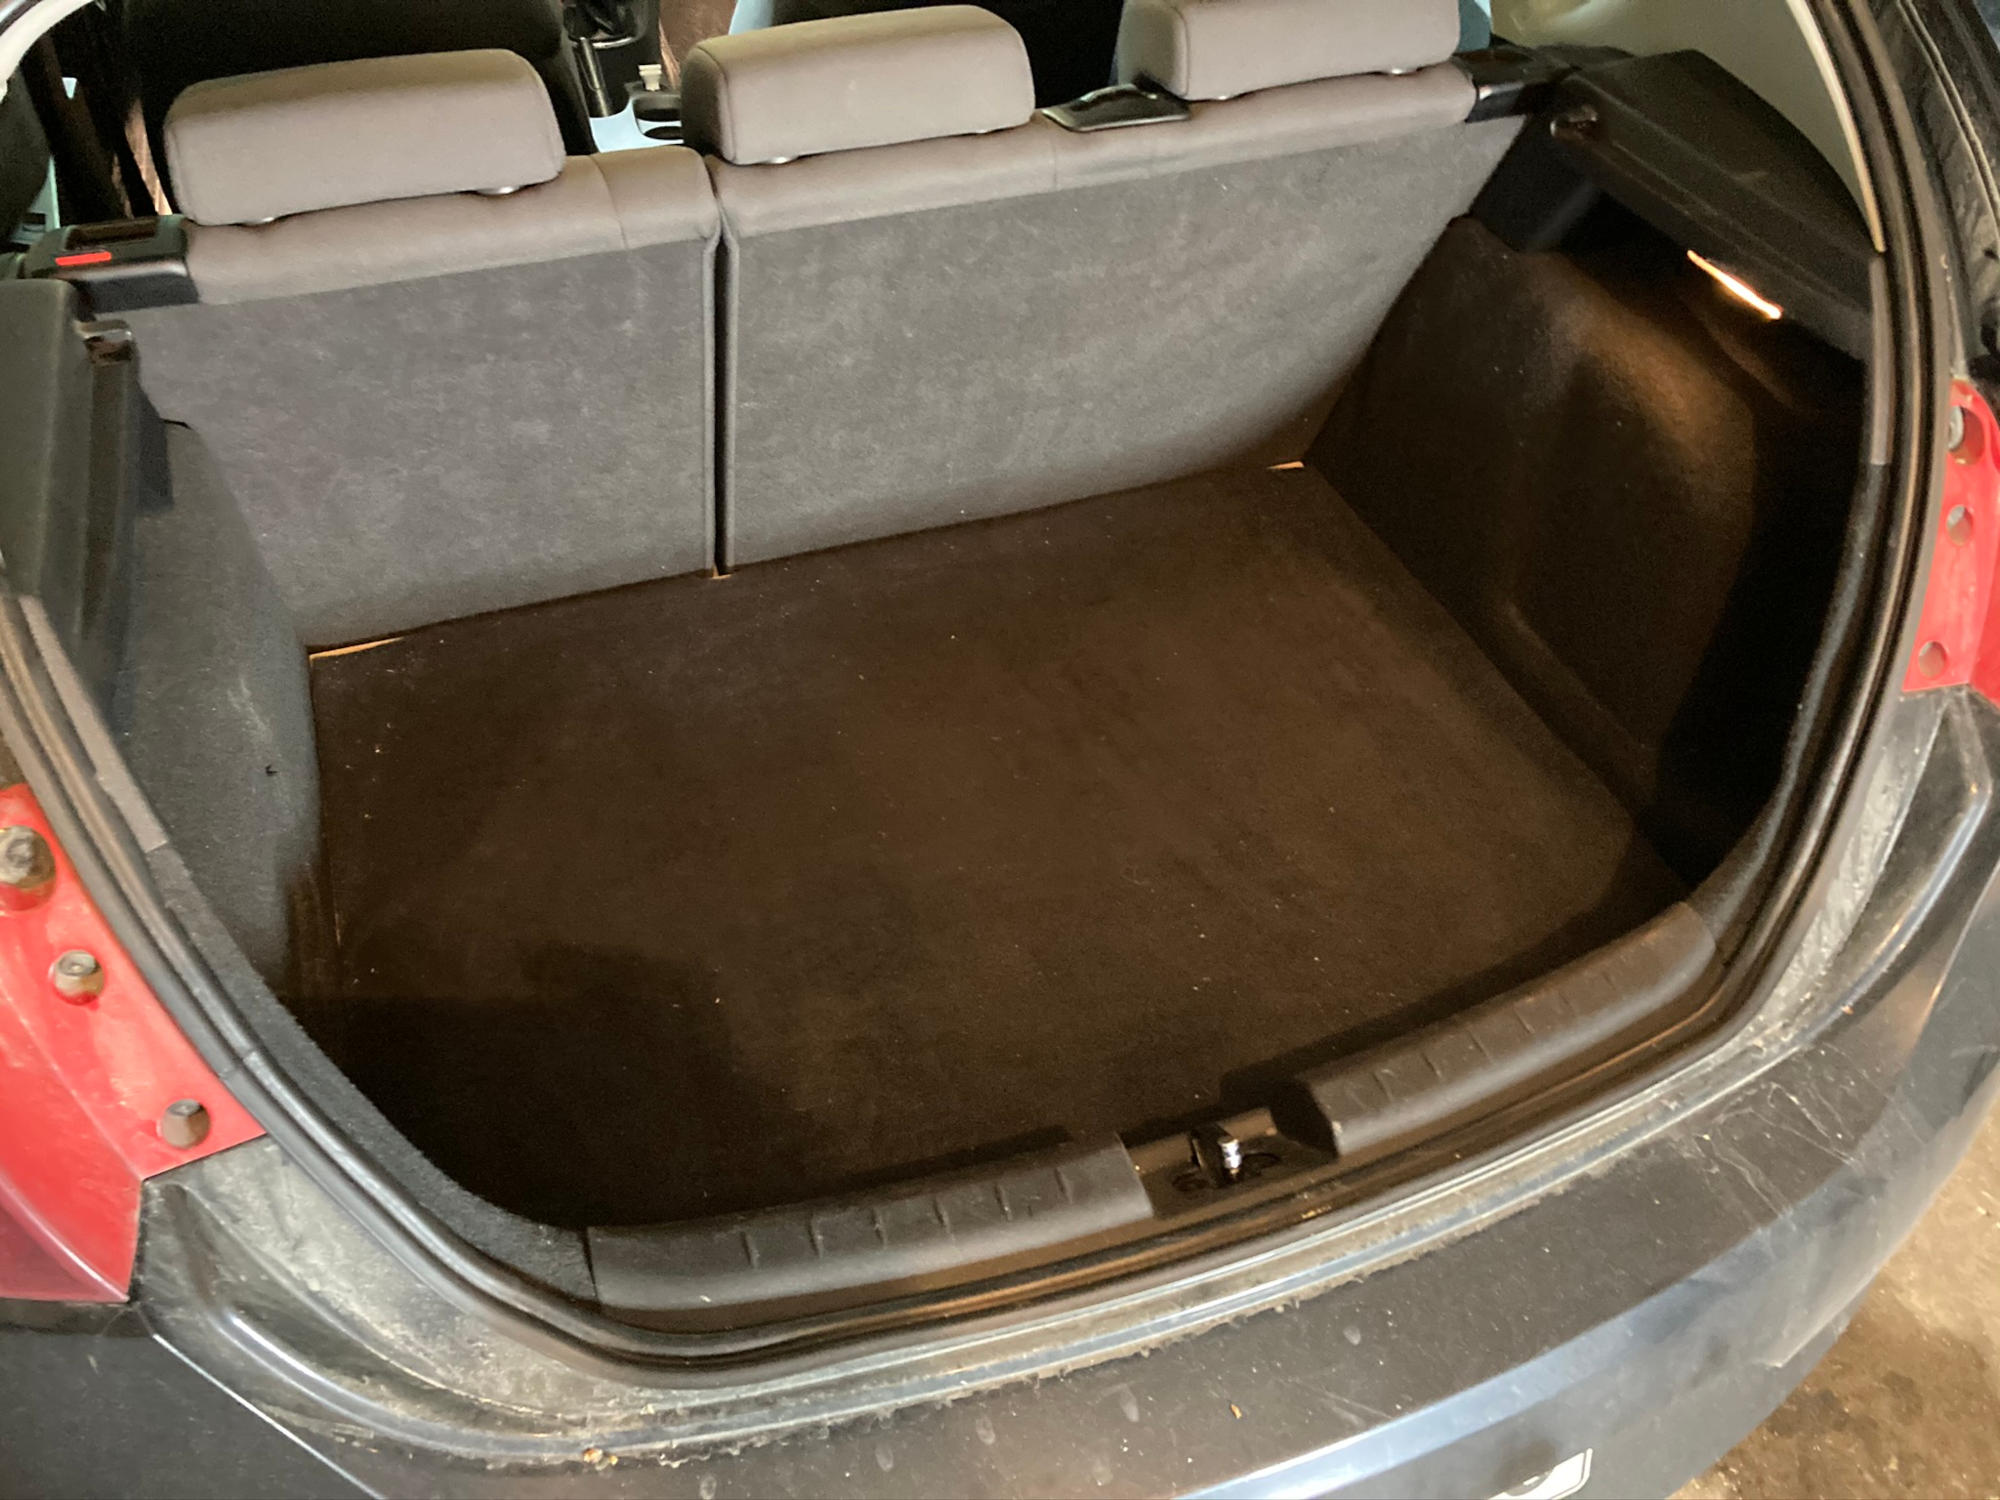
Looks very plain, but it works. While competing, the top cover will have to be removed, because it creates a fake box for the subwoofer, and affects the sound.
Make it pretty
While functional is always pretty, extra points are awarded for “presentation” and “first-optic impression”, so I had to do something about the cover plate. Easiest option would be just to cover it with some fabric and call it a day, but I wanted the trunk to look more like a “show-car” trunk.
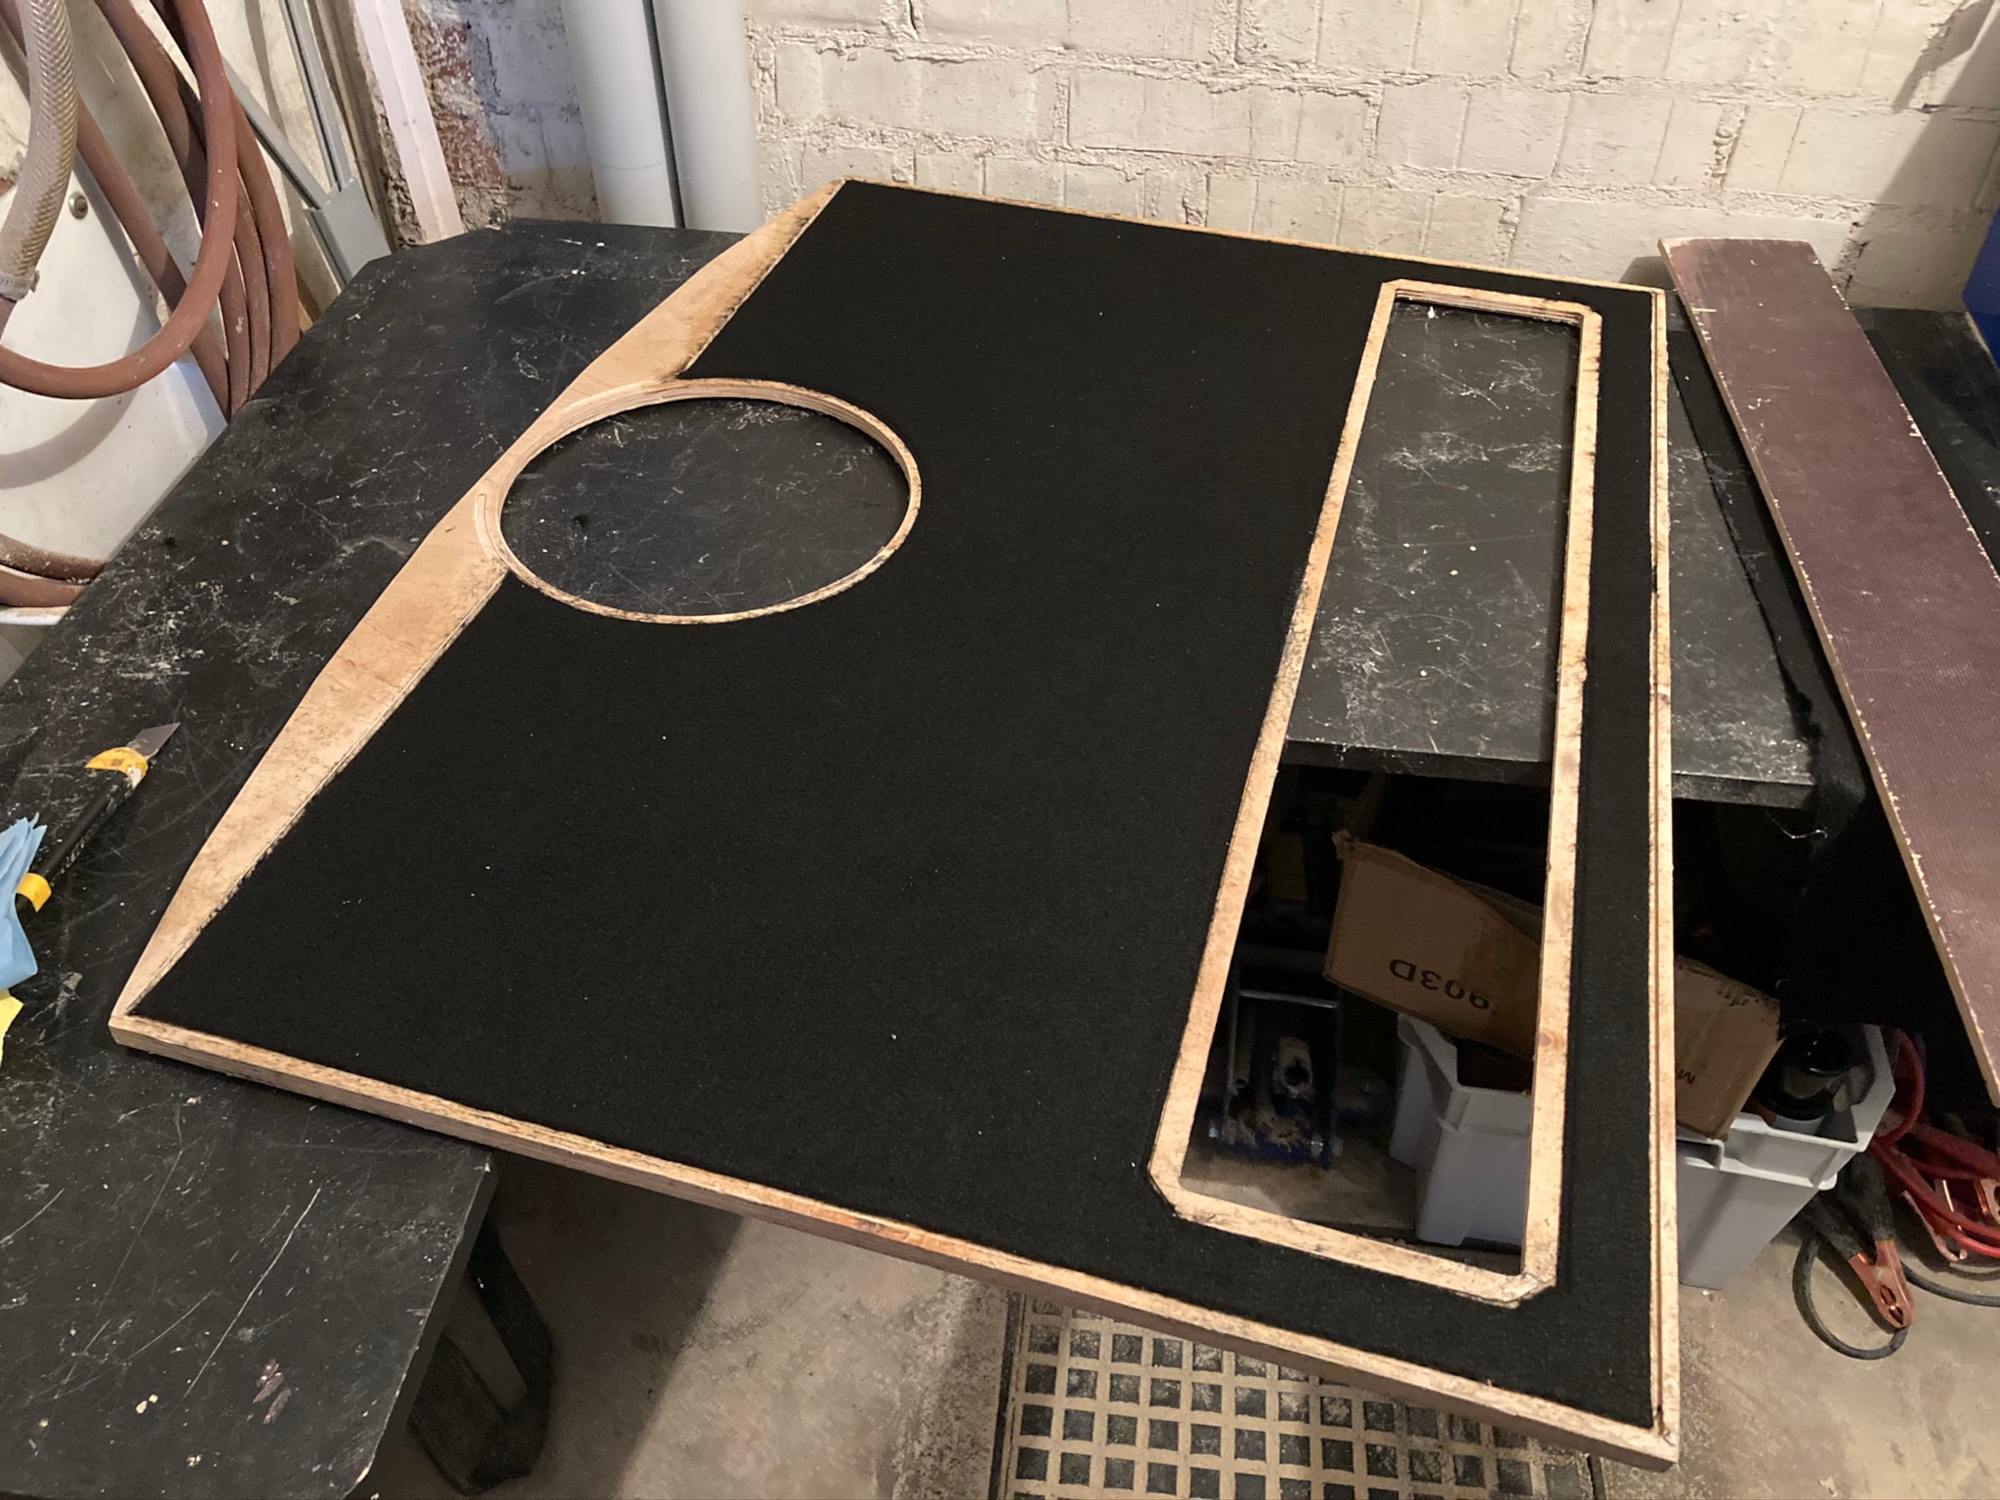
Step 1, make a few holes
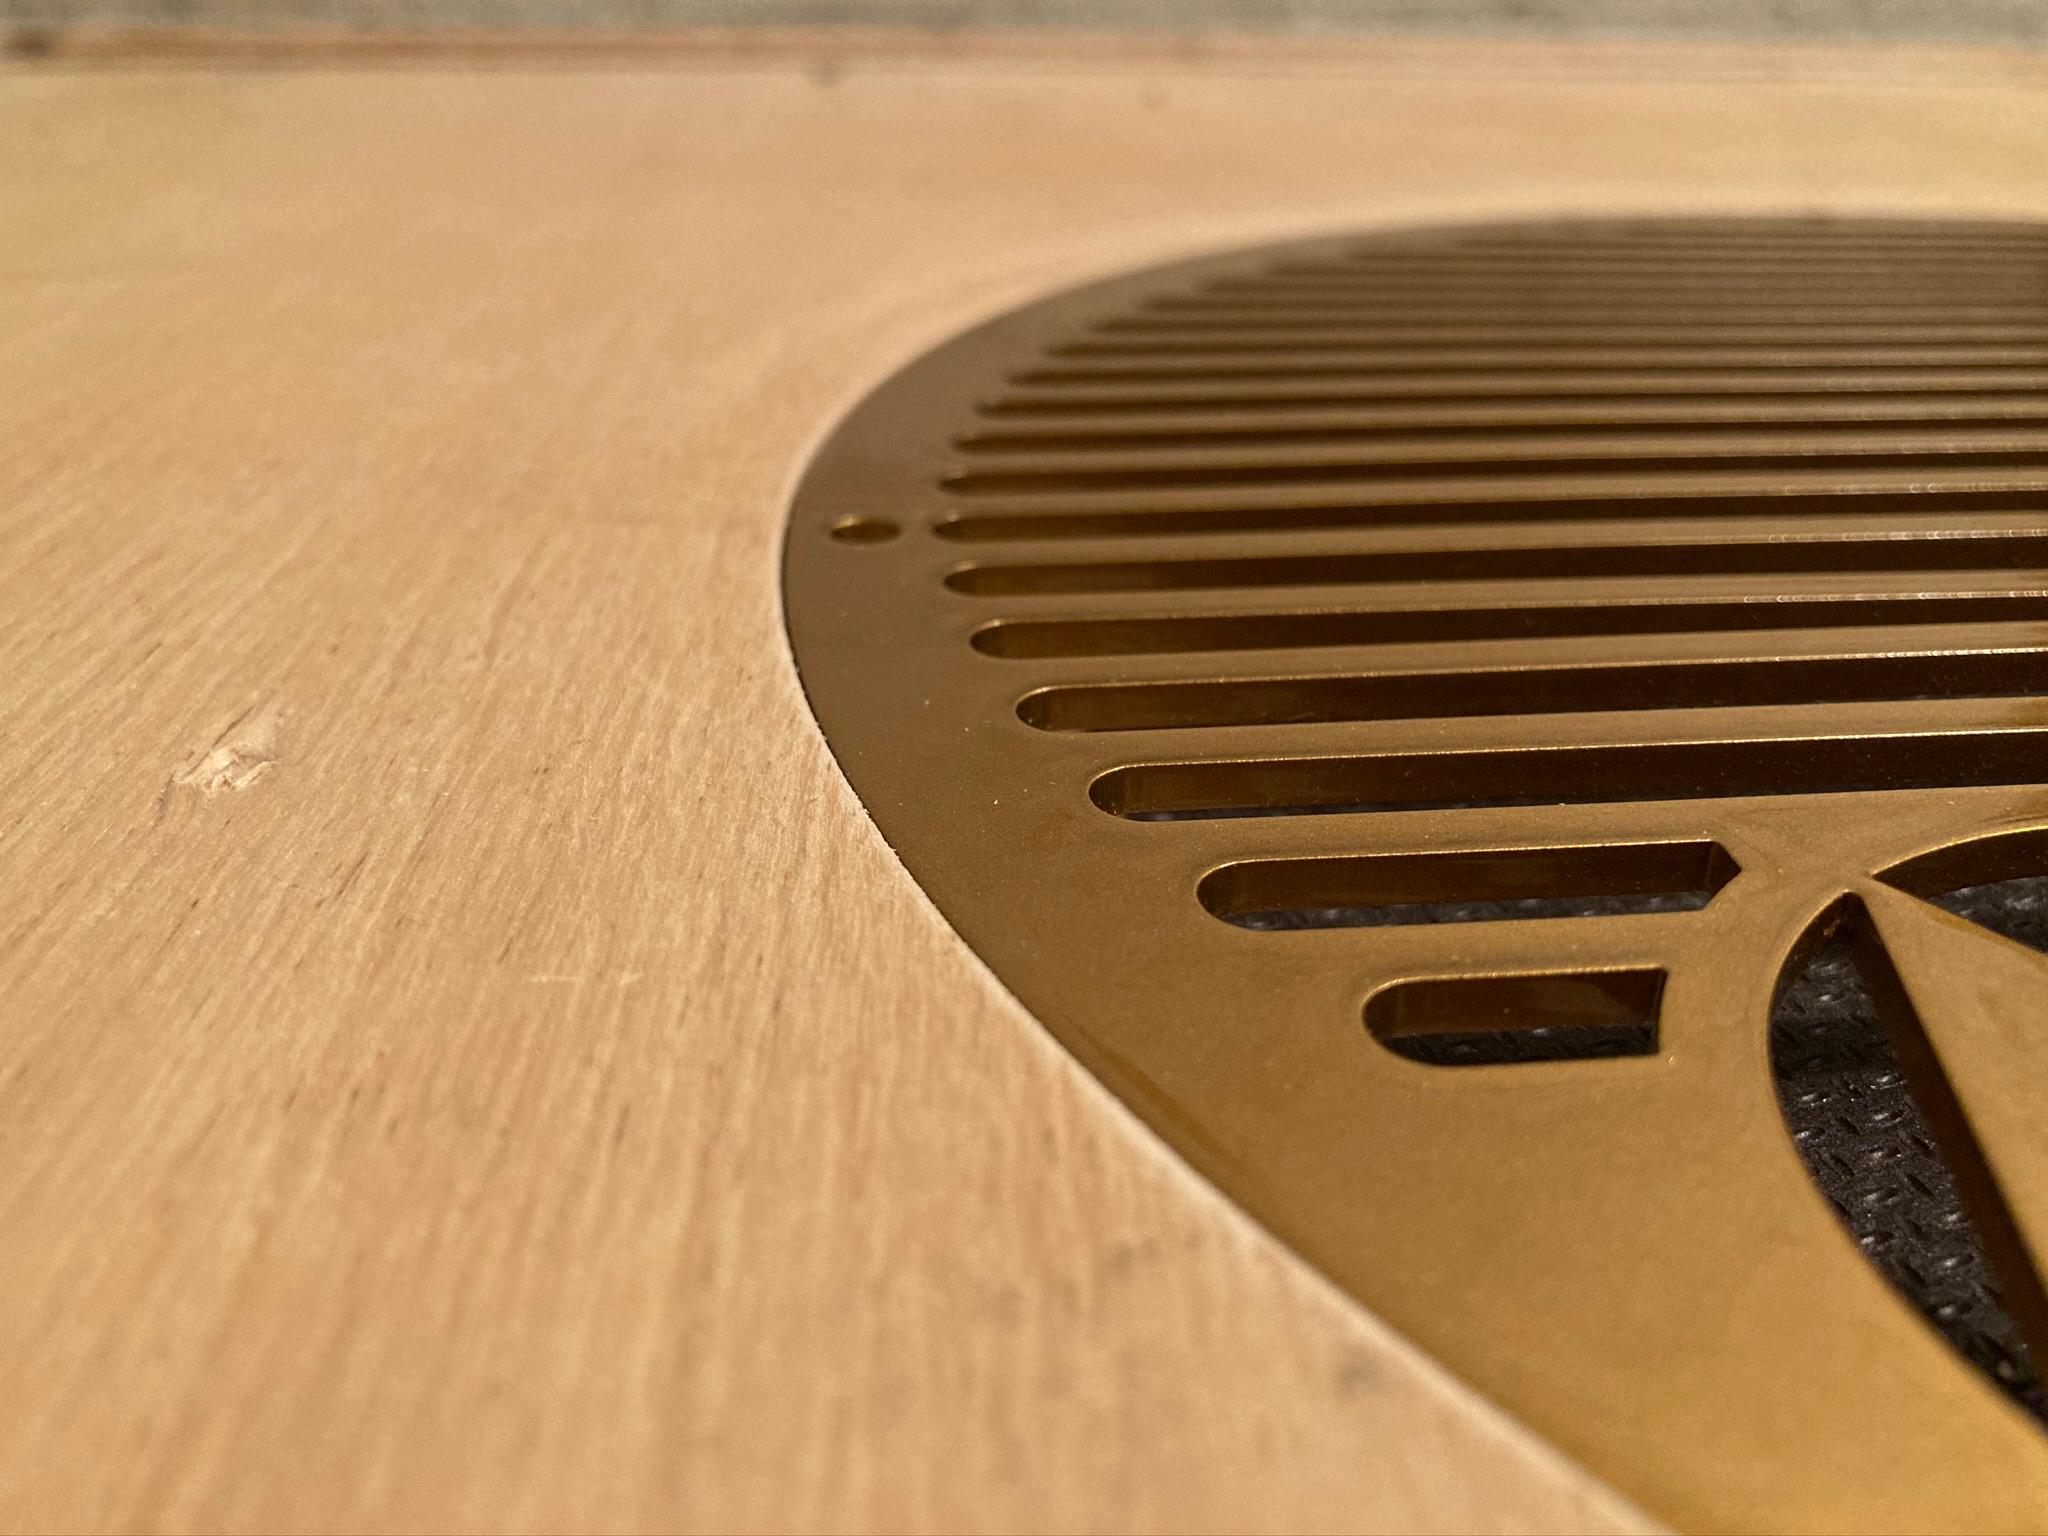
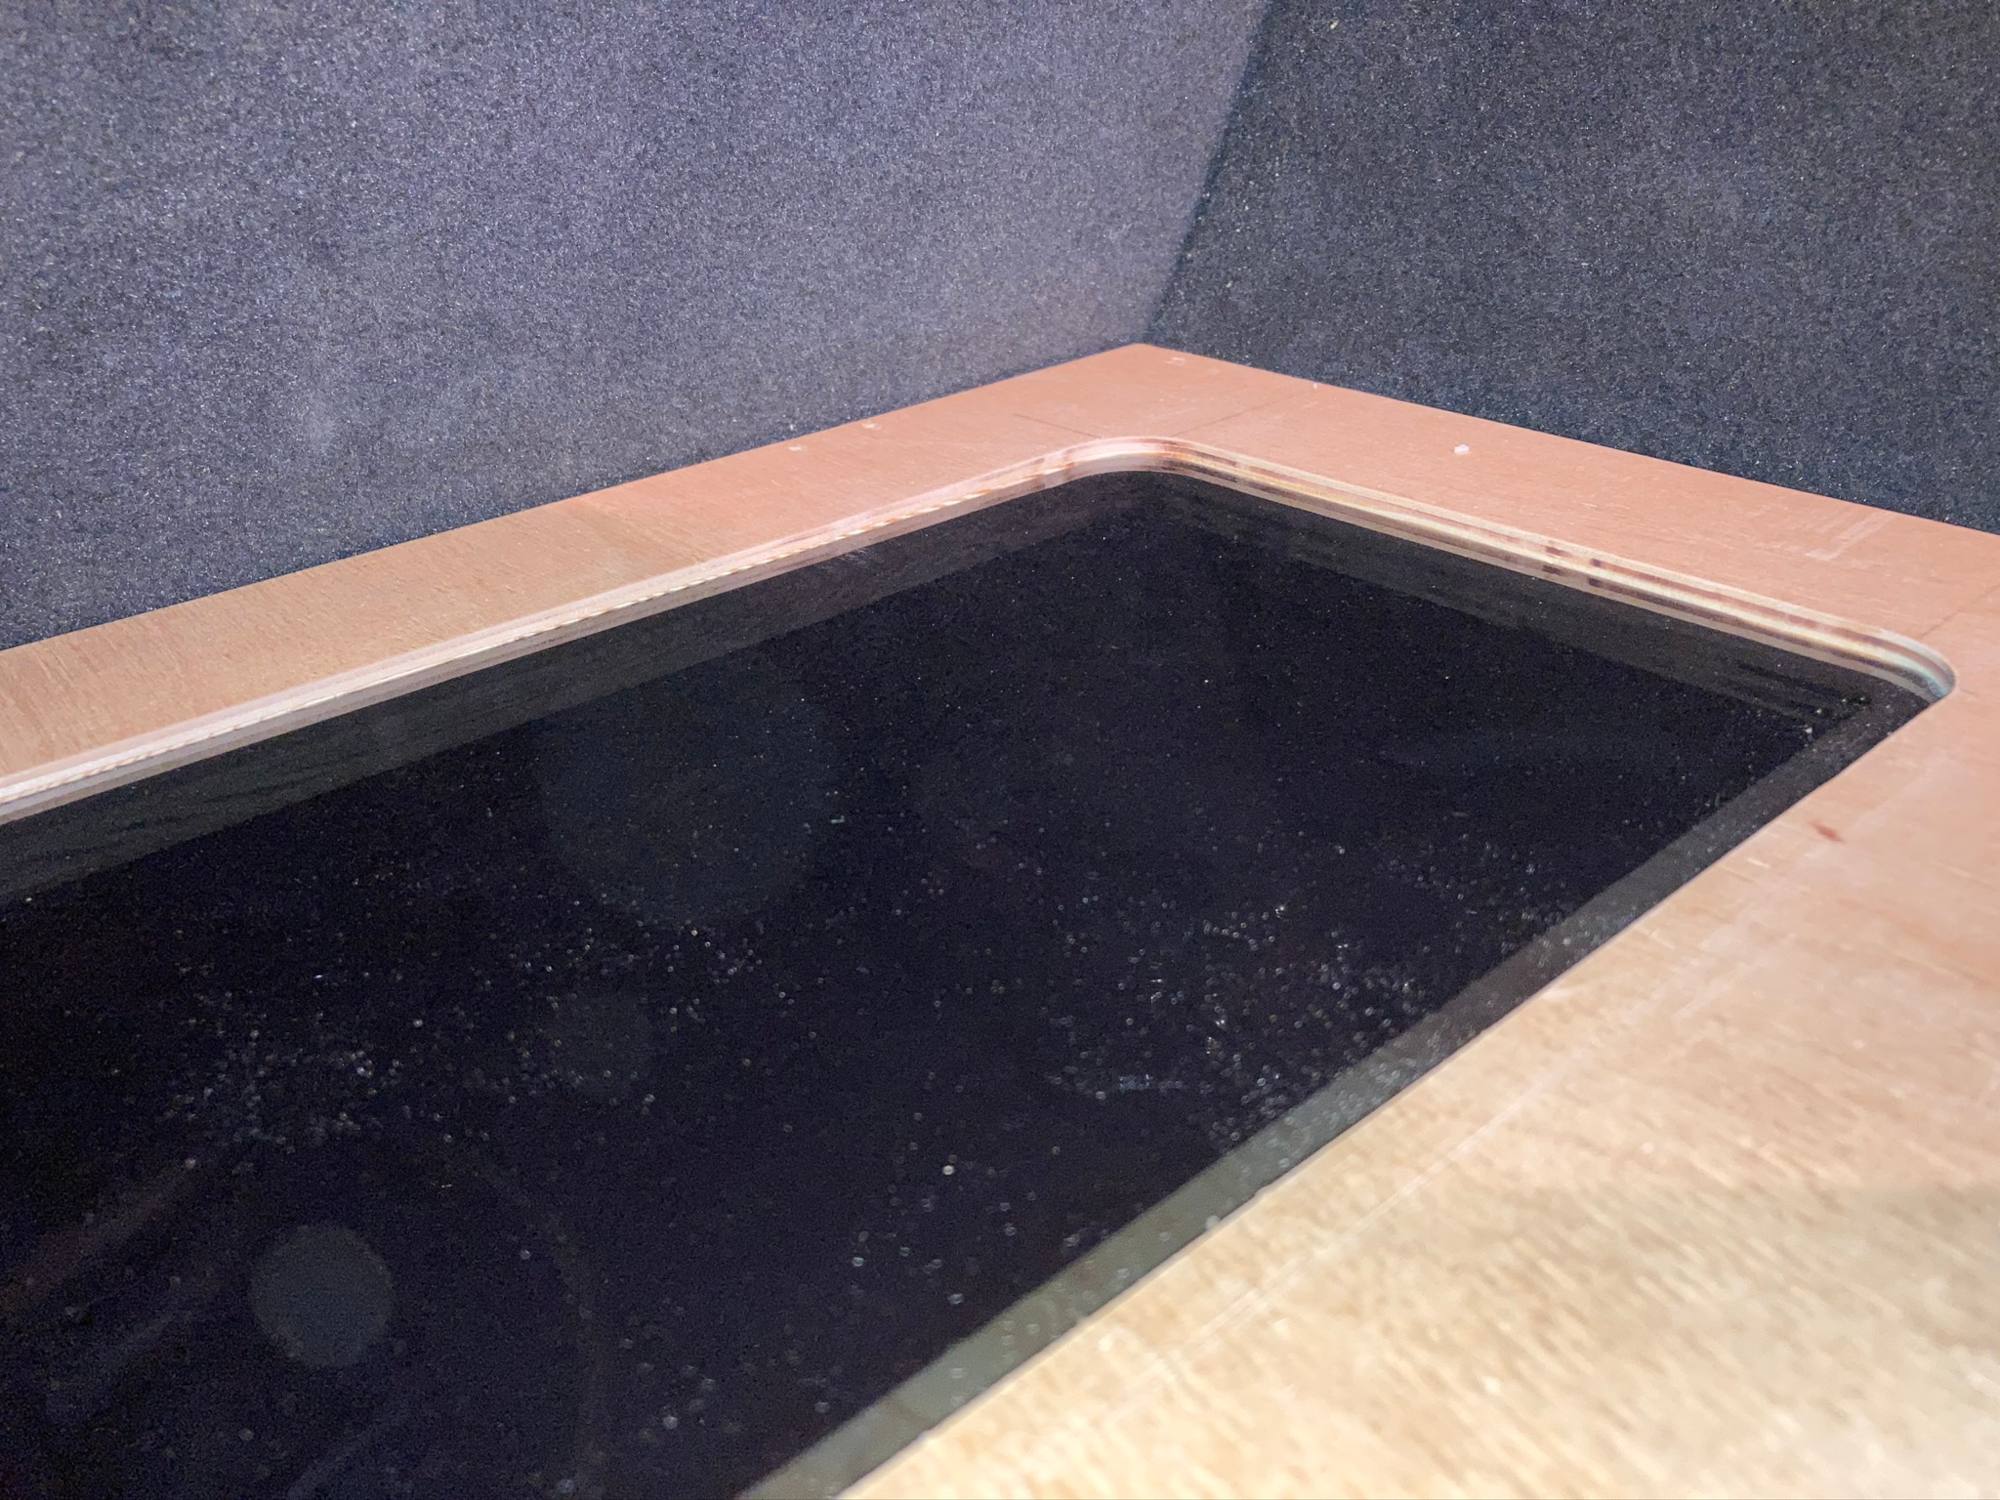
First, I made a big hole for a viewing window to the top, and another hole approx the correct size for the subwoofer grille.
Then I routed a nice recess for the window and the subwoofer grille. The windows recess is deep enough for me to make a cover plate for the window, so I don’t have to worry about scratches.
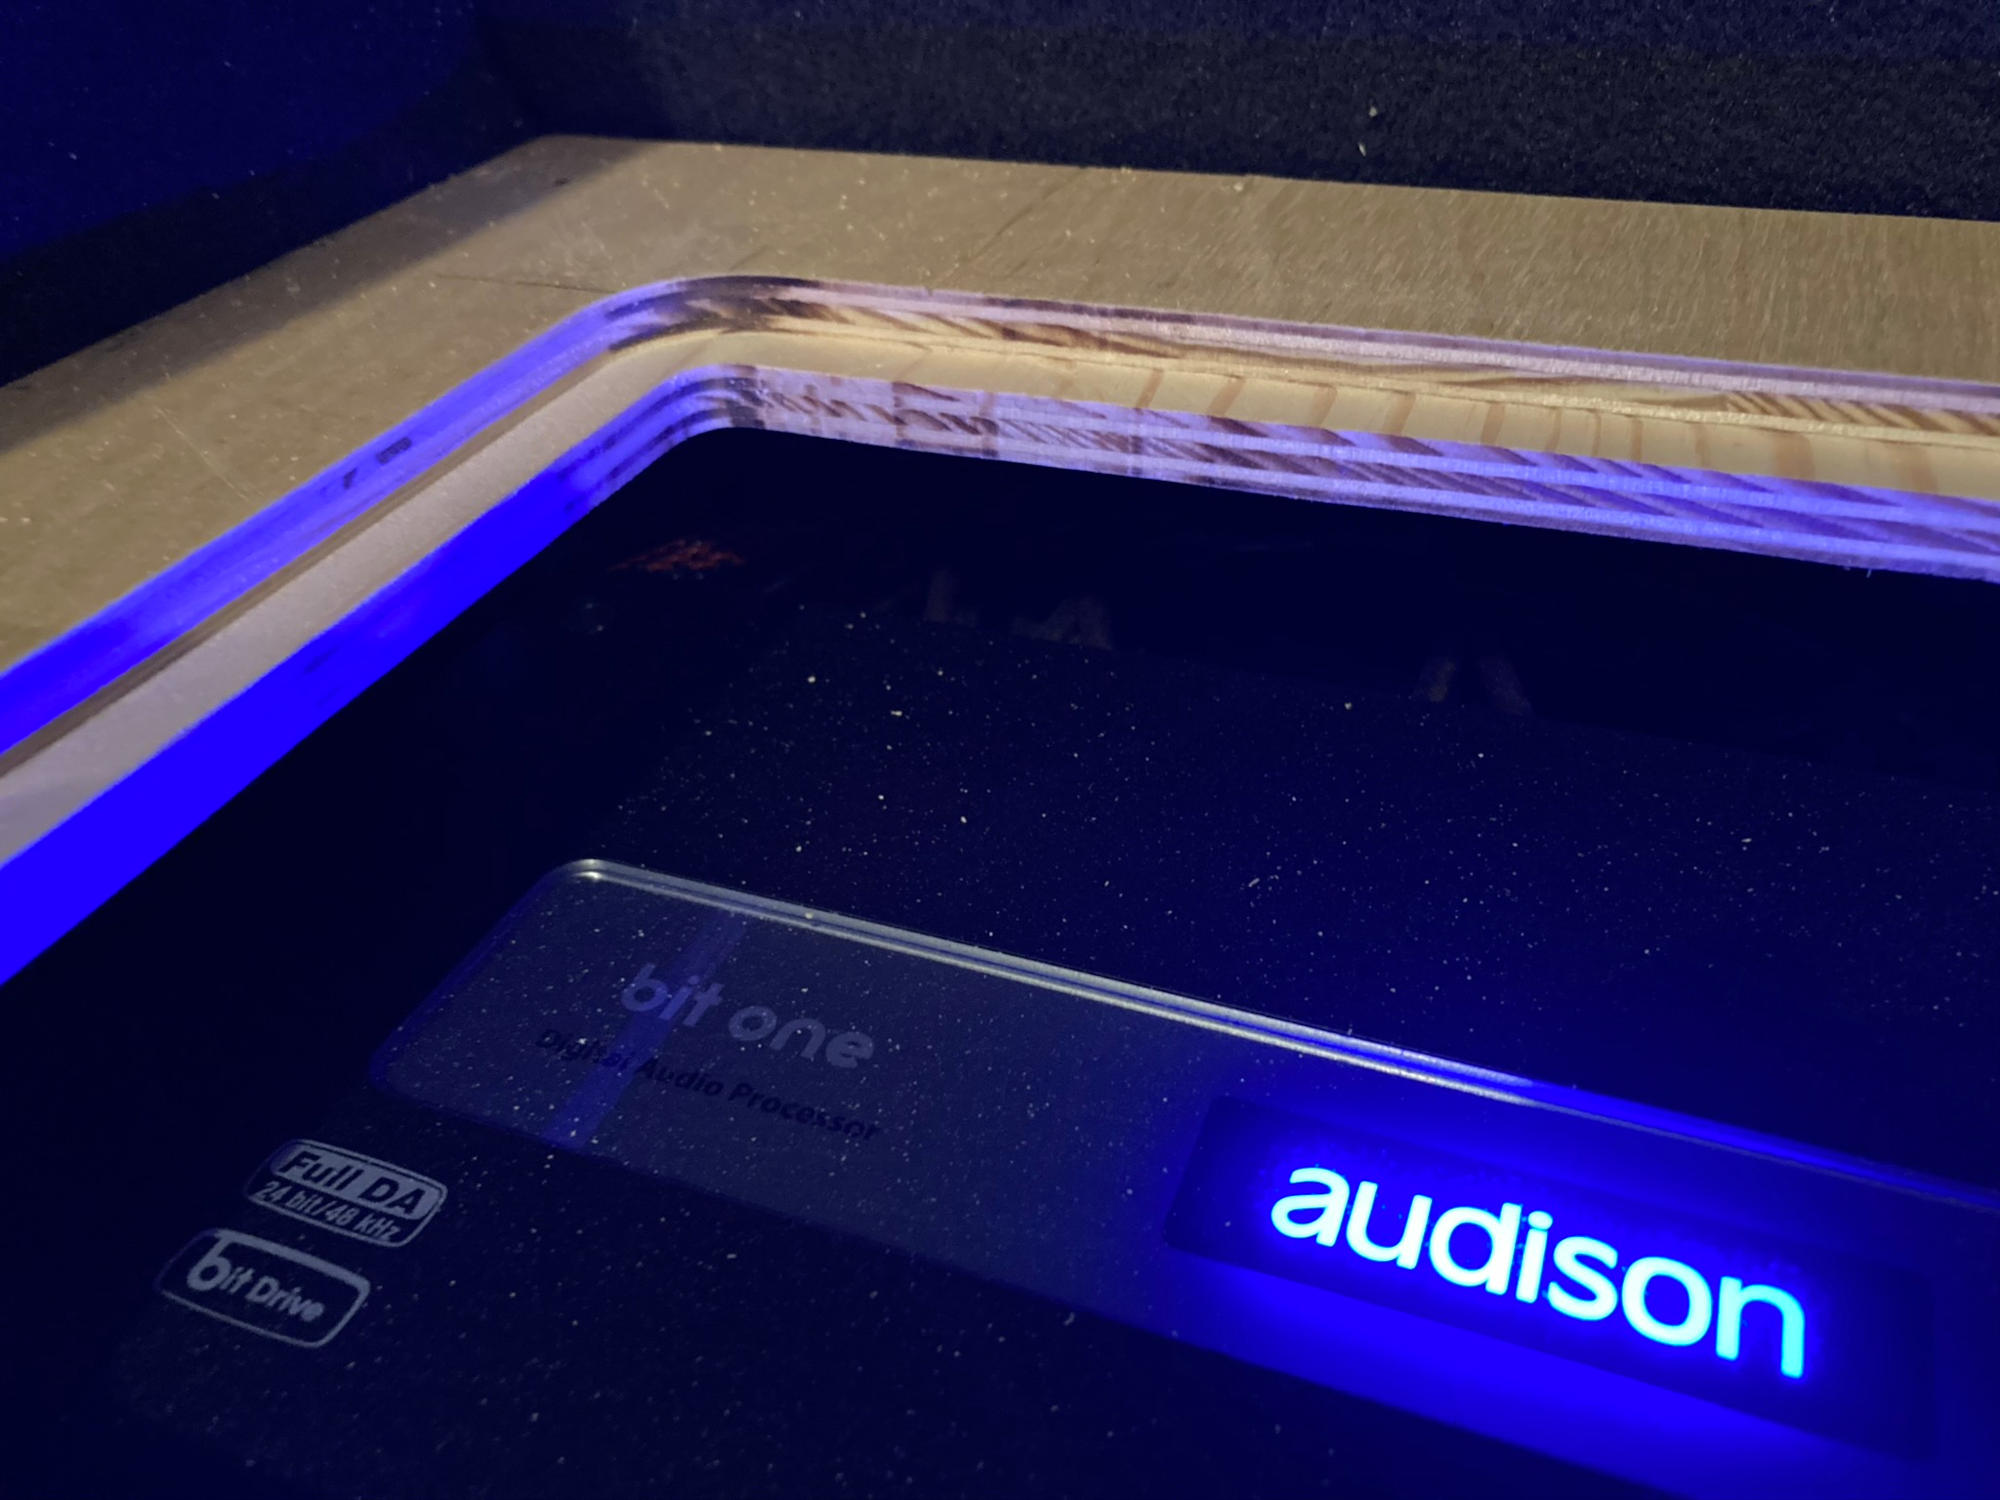
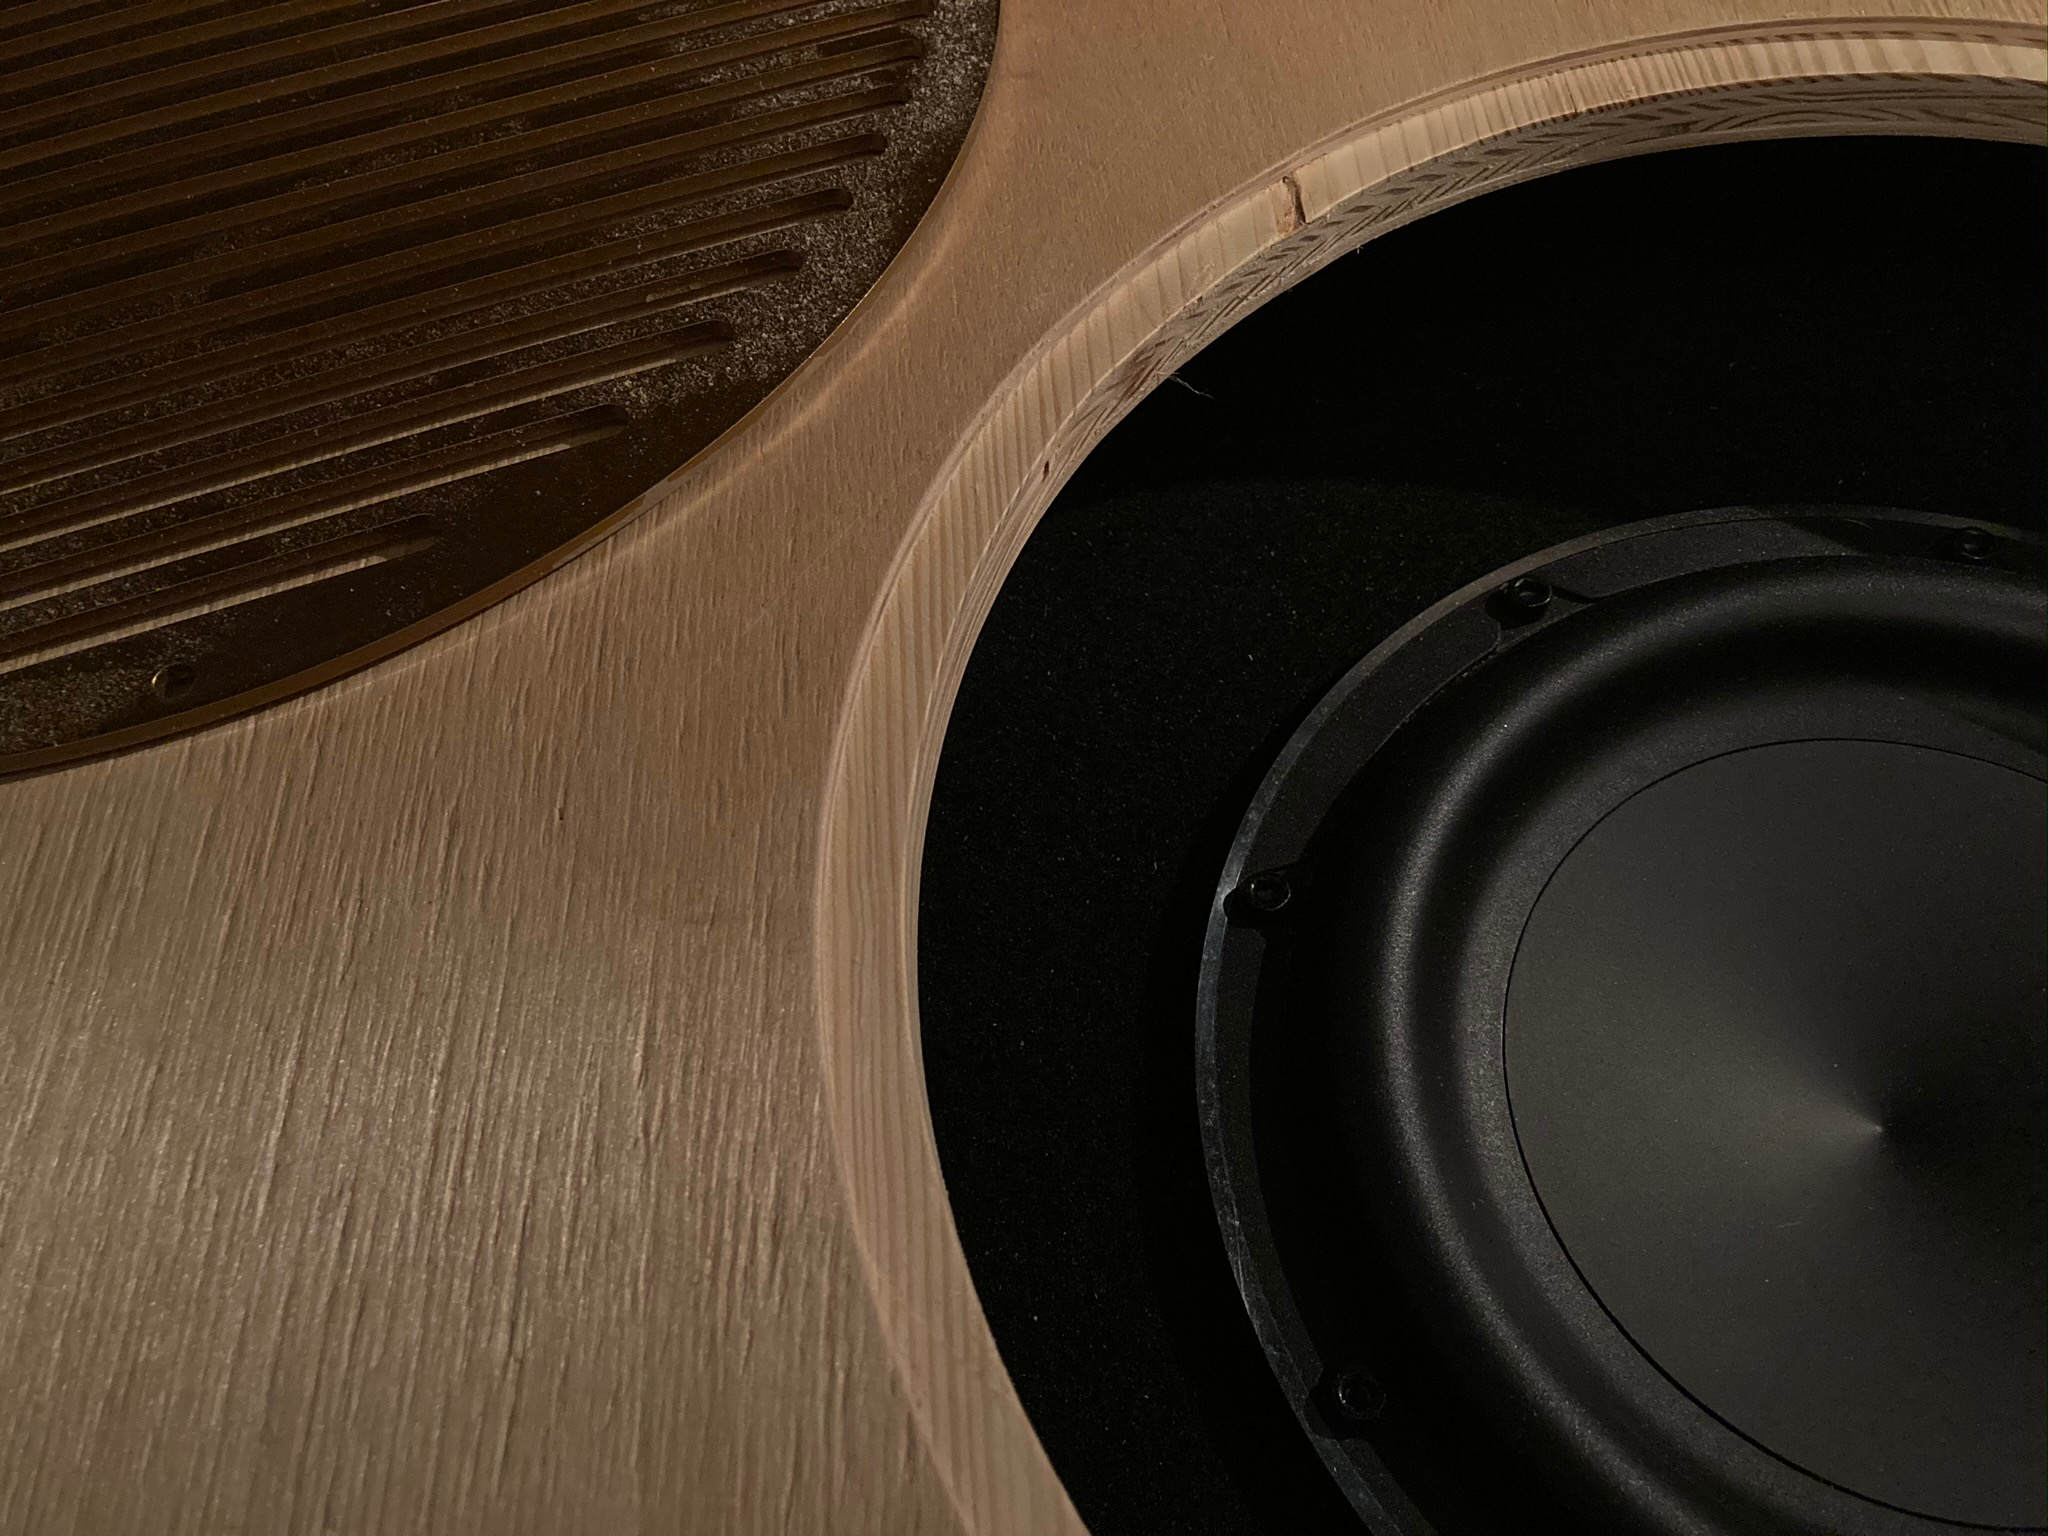
Nice and flush!
I recessed the window down a few more mm. This is so that when I add the fabric and the window, I can make a protective cover over the window, so not to scratch it.
Step 2, route all the things!
Now that we have the holes done and routed nicely so that everything is flush, I need to work out how to hide the wood. Easiest way would have been to just cover the wood with one type of fabric, but I like to have a “theme” for the trunk. So, I bought some faux leather from Eurokangas, and used the rest of my black fabric for the underside.
The fabric seams are hidden in a 3mm deep channel. Big thanks to CarAudioFab and SoundmanCA on giving away all this info on how to do upholstering on YouTube!

Leather glued to the top.
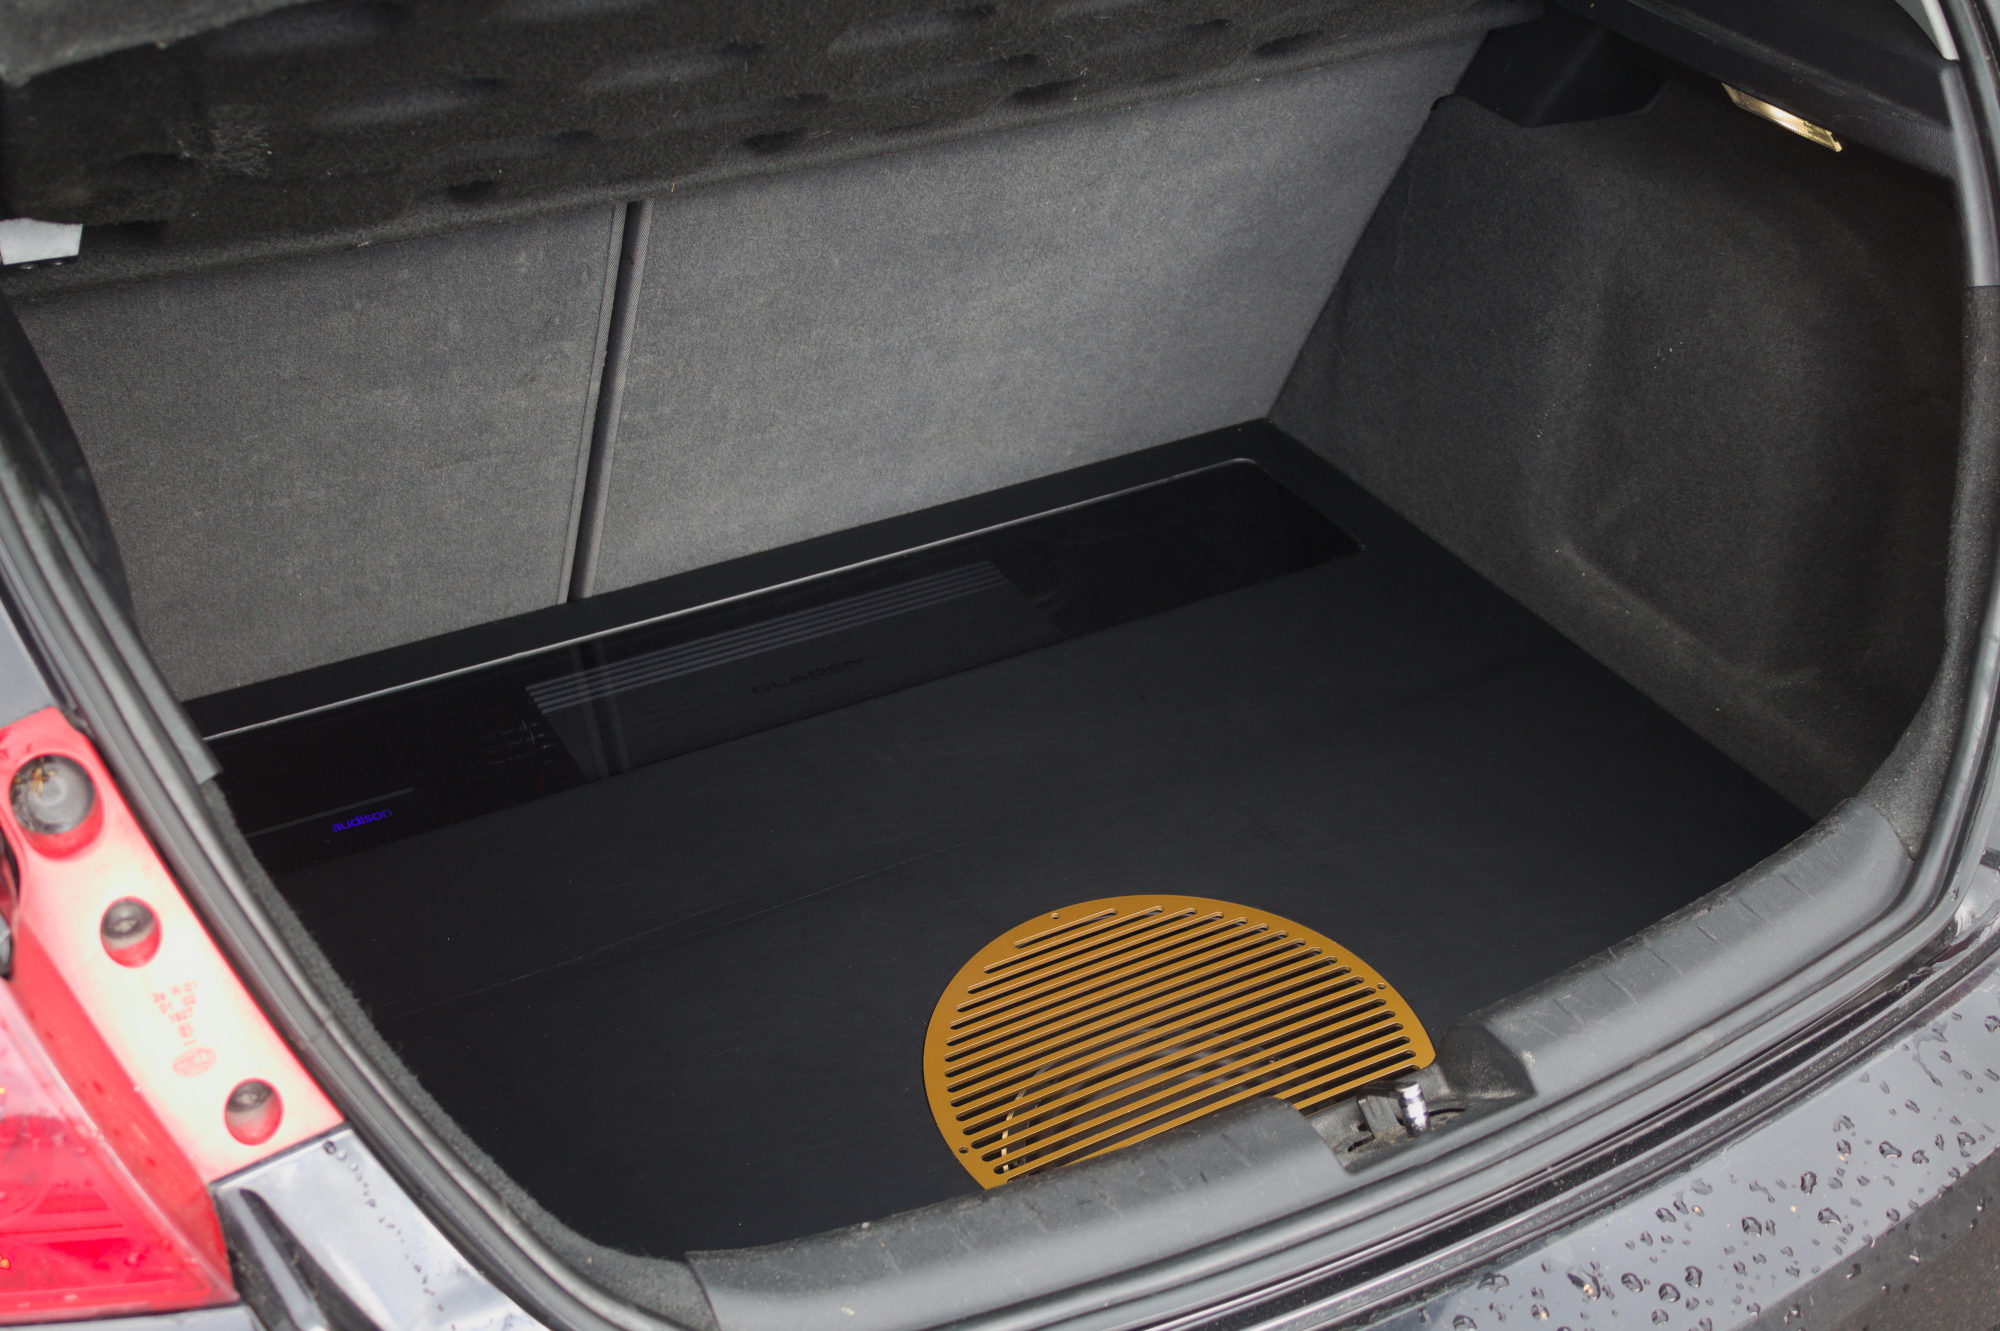
Final images.

Next steps
RGB, tuning, FINALS!
You can check the results of my previous competitions from EMMA Finland’s page, EMMA Finland -> Tulokset/Results 2019
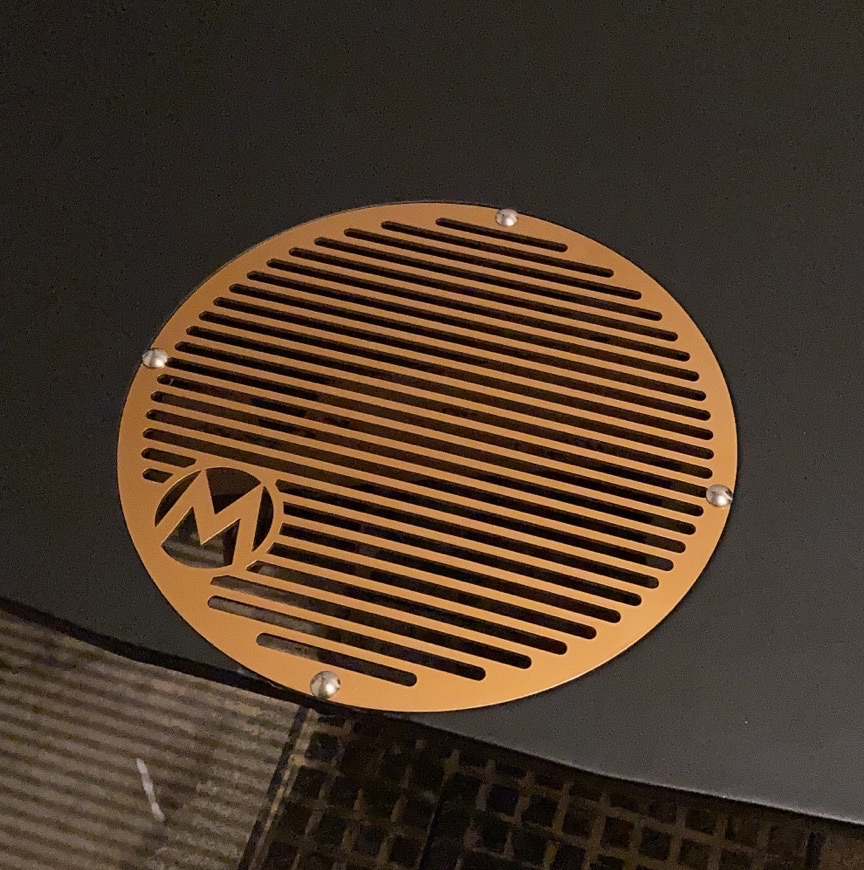
Sneaky update
I already finished this post, but I made something special for the finals;
I also attached the plate to the wood with some dome head bolts and locknuts;